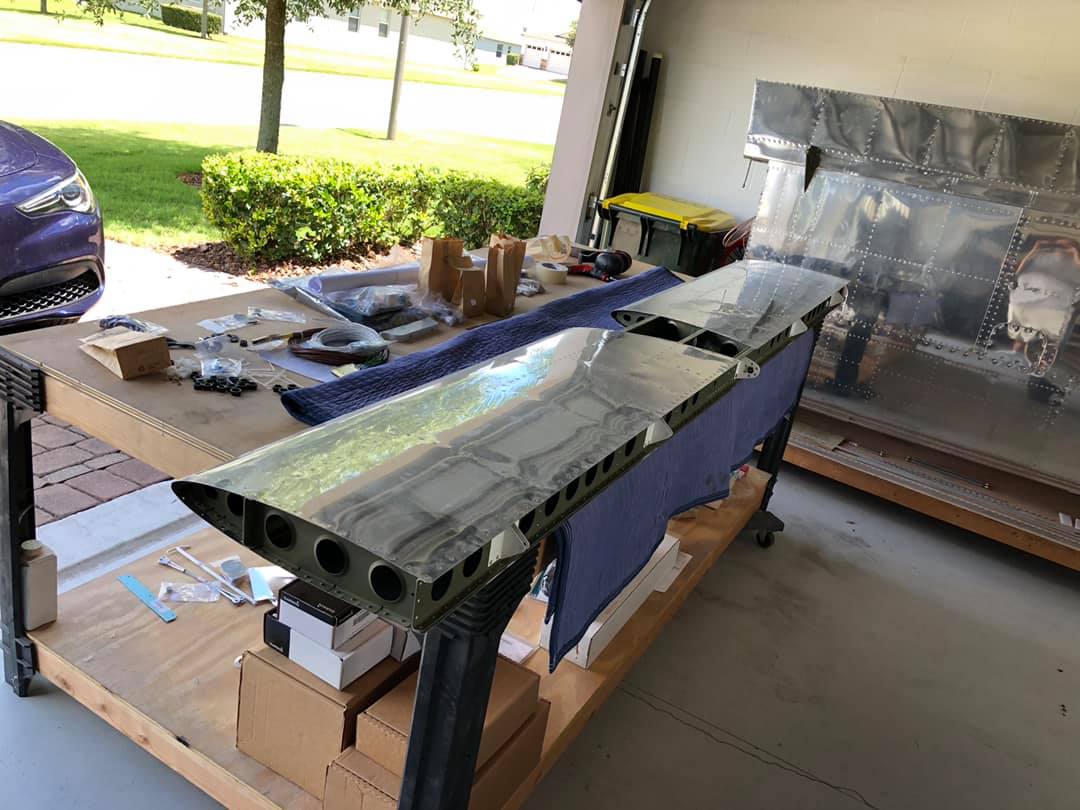
The horizontal stabilizer is out of the house for mounting prep!

Left elevator adjustment in progress. At some point, I really ought to hook up a battery and run the trim tab to the in-trail position.

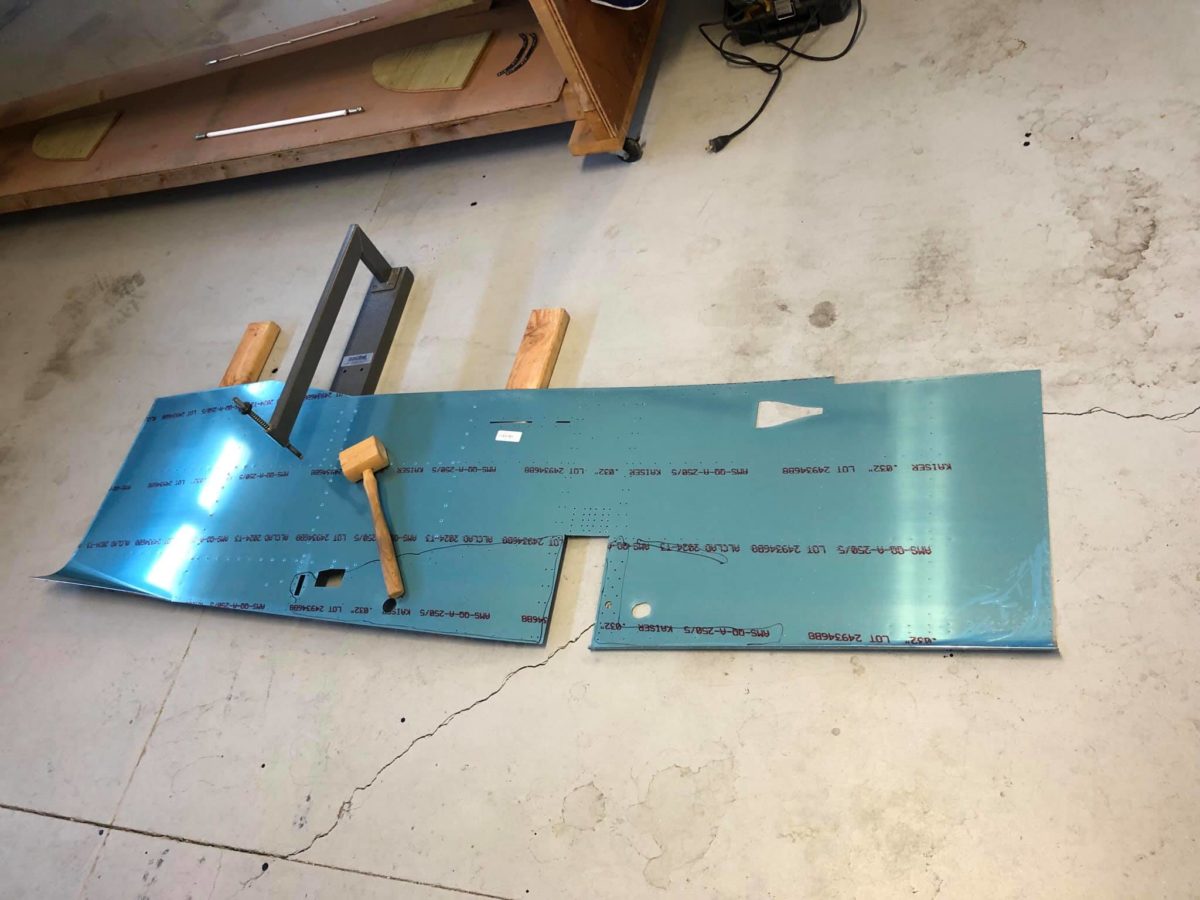
Left elevator adjustment in progress. Here, it’s clamped (gently!) in the in-trail position to facilitate drilling of the elevator horn for the stabilizer’s central bearing.

Right elevator adjustment in progress. Naturally, the rolled leading edge is scraping the stabilizer’s rear spar. Even slightly backing out the rod end bearings doesn’t clear the interference completely. The solution is to double the number of pop rivets on the leading edge, which will flatten the pillowed skin. Unfortunately, that means I’m now awaiting another delivery. Sigh.

ELT antenna is installed and secured. It will eventually curve under (and remain in contact with) the rear window.

ELT components in work. The panel remote control requires a little 6V lithium battery of its own, so…I’m awaiting another delivery.
That’s aircraft building in a nutshell. Make a little progress, find that something needs to be ordered, send for it, look for something else to do while waiting for that component to arrive, and repeat. Over and over again until, eventually, the project is finished. Someday.