Empennage, rudder, horizontal stabilizer, vertical stabilizer continued…

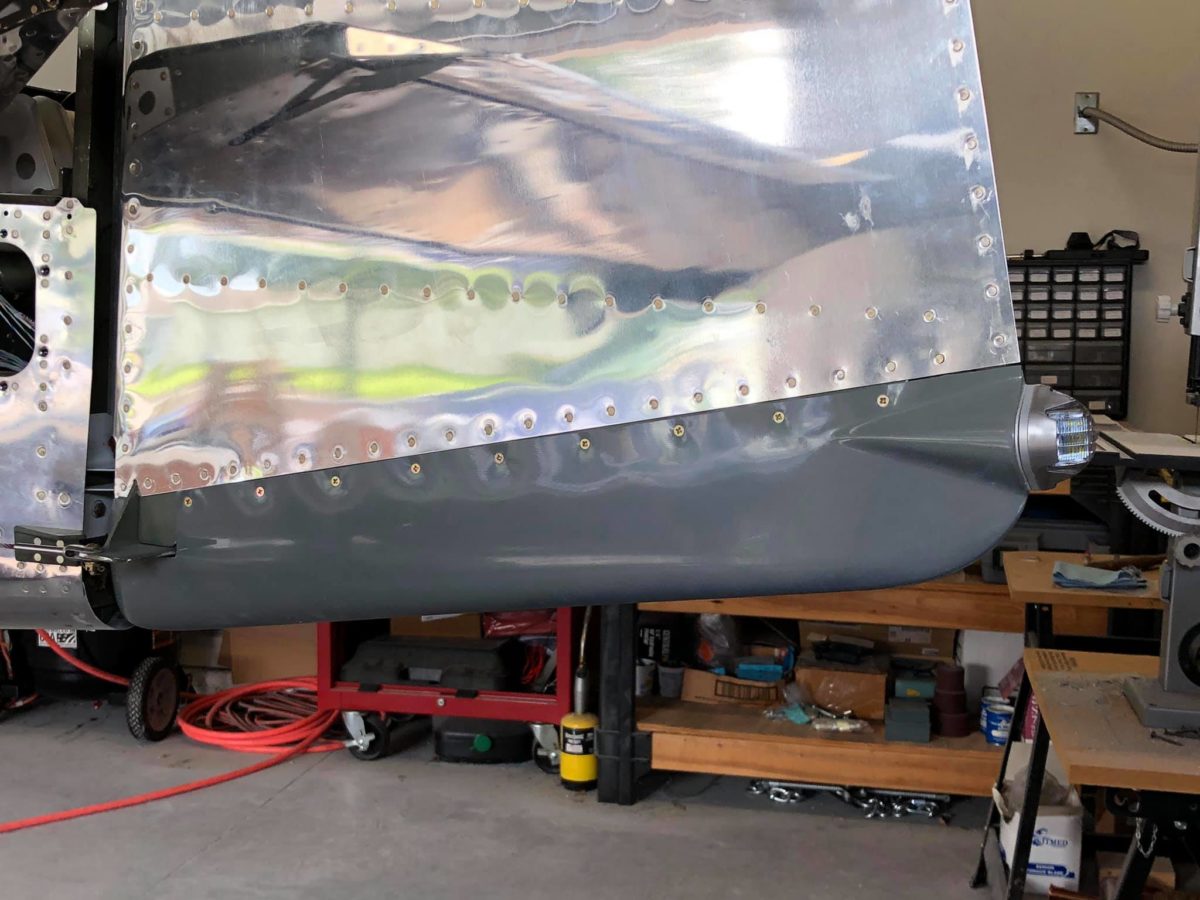
Rudder bottom fairing and taillight complete.

Spinner backing plates ready for installation.

Spinner screw holes drilled up to #19.

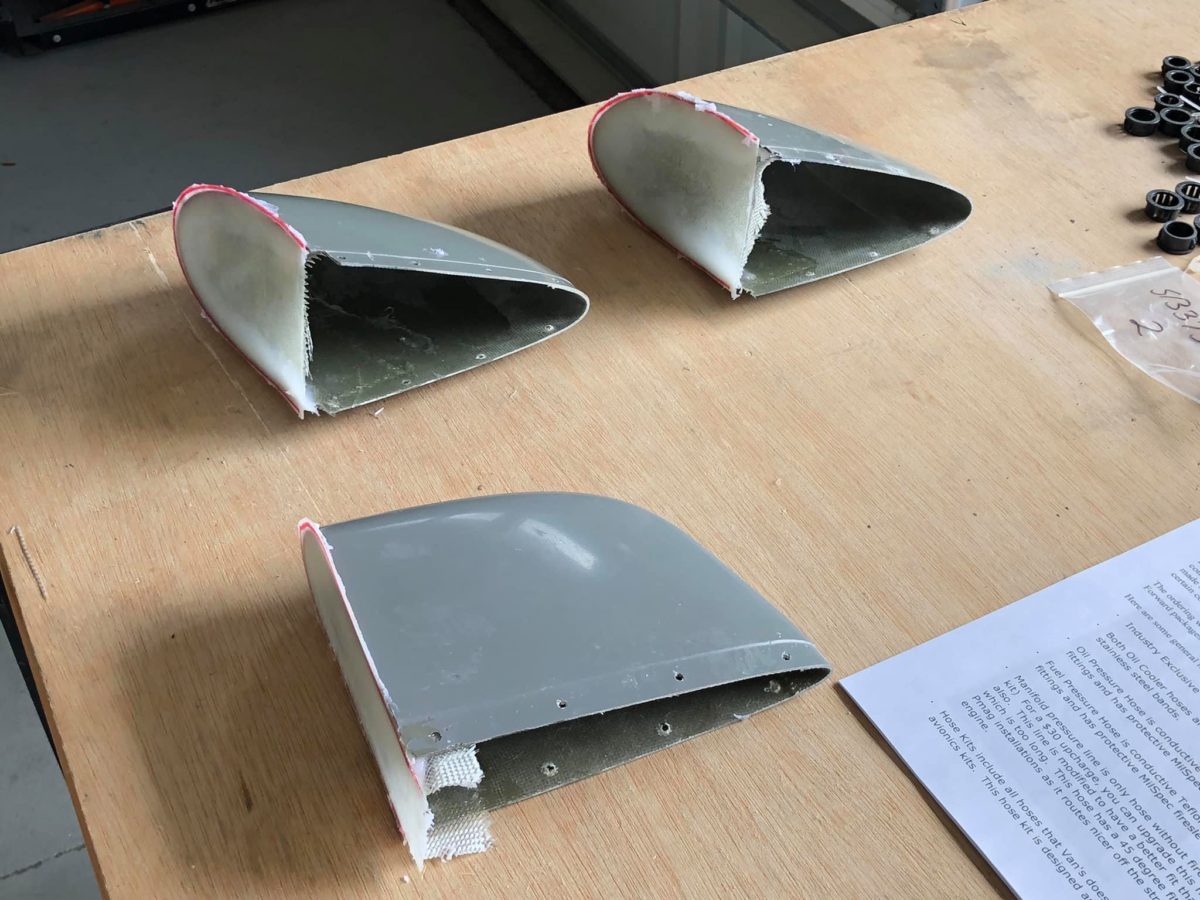
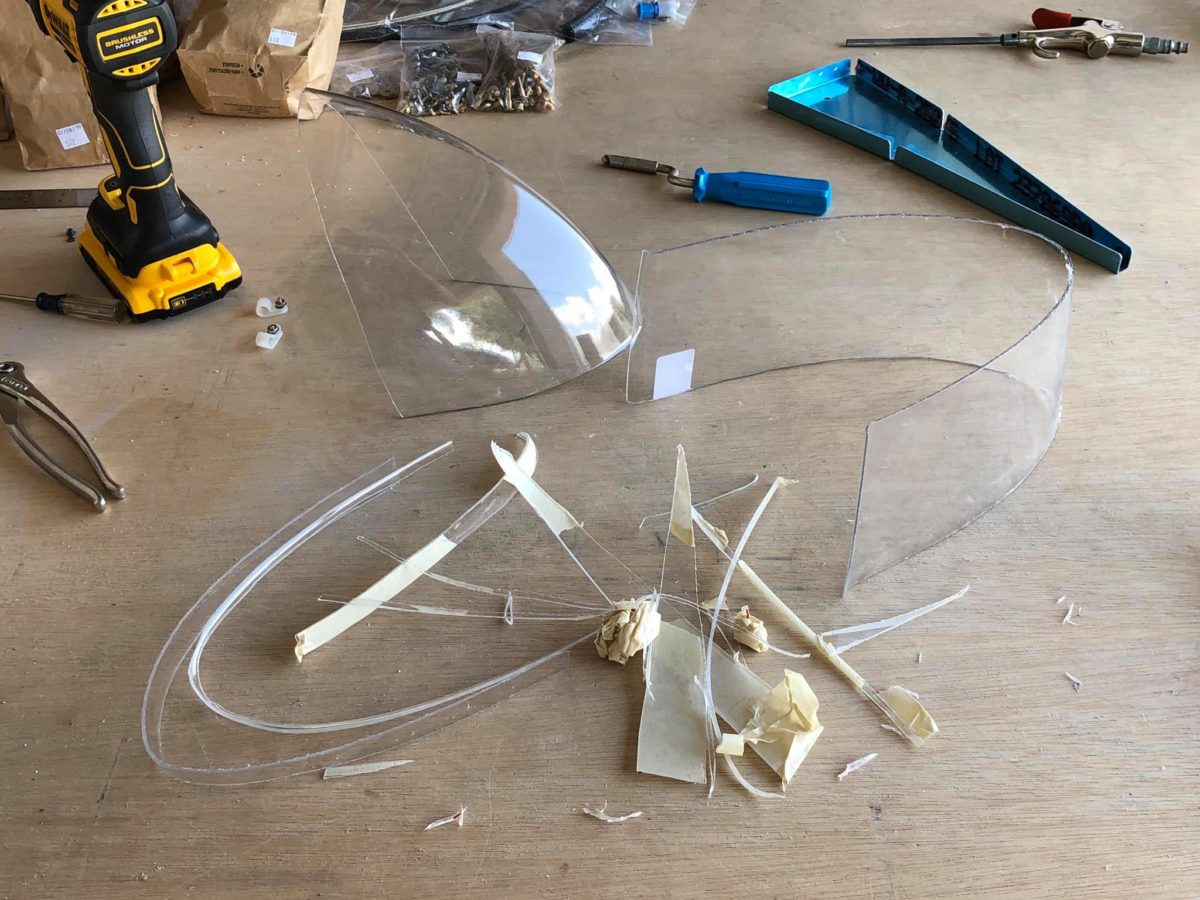
Empennage tip fairings and spinner gap fillers ready for installation.

The tip fairings are definitely not perfect, but they’re perfectly airworthy, so I’m fine with moving forward at this point. So far as I’m concerned, getting them perfect falls under paint shop surface prep – and they’ll be paid plenty for the work.

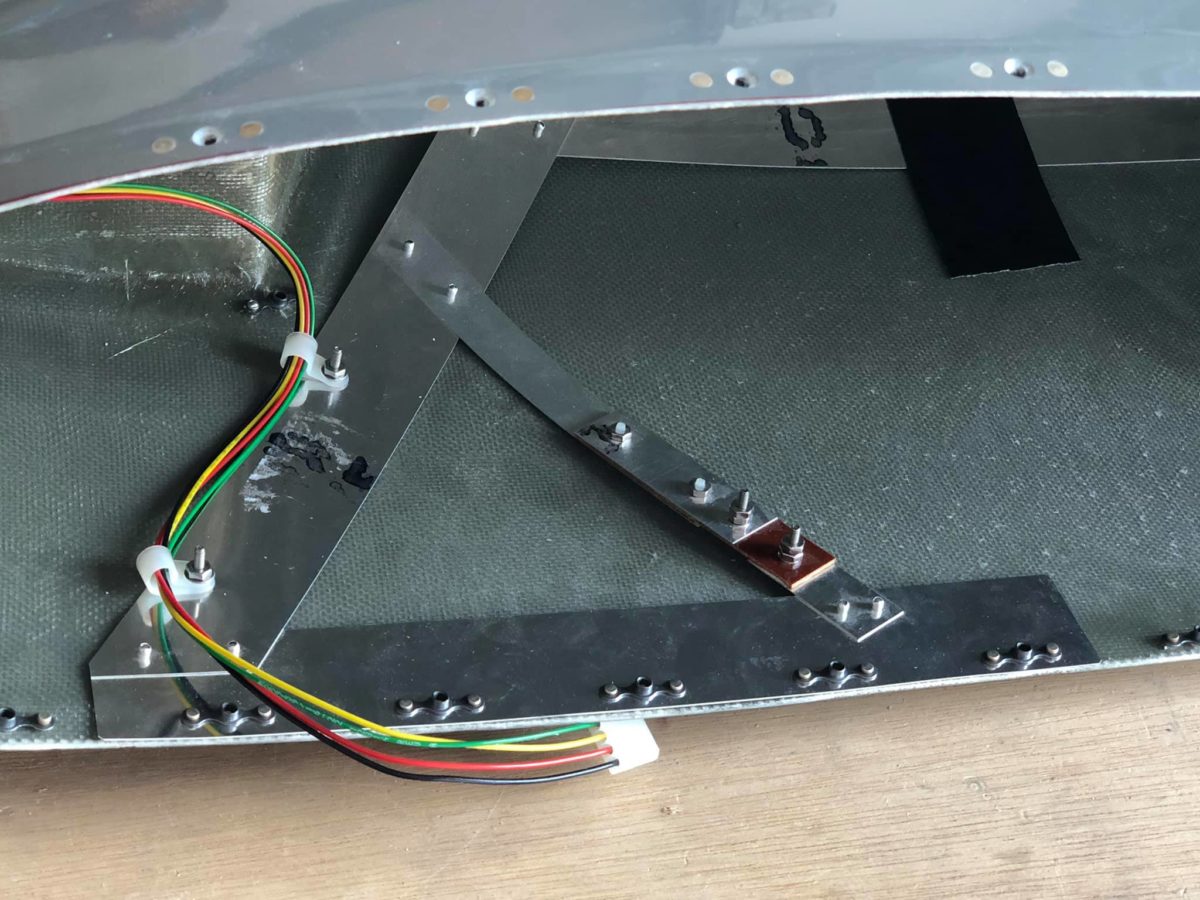
Left horizontal stabilizer tip fairing riveted in place.

Right horizontal stabilizer tip fairing riveted in place.

Vertical stabilizer tip fairing riveted in place.

Spinner plate assembly and front bulkhead drilled for nutplates and countersunk.

Empennage, rudder, horizontal stabilizer, vertical stabilizer underway

Waiting for epoxy to set up after each operation caused some delays this week (plus, my compressor died and had to be replaced), so there are several days of progress represented in today’s update.

All three empennage tip fairings are shown here having received their initial internal flox fillets and fiberglass layups.

One of the spinner gap fillers shown here with its flox fixes in place. They came out pretty nice and should look fine once they’re primed and painted.

The other spinner gap filler shown here with its flox fixes in place. They came out pretty nice and should look fine once they’re primed and painted.

First post-sanding pass at fitting the left horizontal stabilizer tip fairing to clear the elevator counterweight arm.

First post-sanding pass at fitting the right horizontal stabilizer tip fairing to clear the elevator counterweight arm.

First post-sanding pass at fitting the vertical stabilizer tip fairing to clear the rudder counterweight arm.

Taillight installed and Molex connector fitted to the wiring harness.

Lots of micro slathered on in this (hopefully final) step. Some sanding tomorrow and another coat of filler primer should see these puppies ready for riveting. Hopefully.

Wings, component installation

Archer antenna wired, secured, and ready for wingtip installation.

Nav light wires (with necessary extensions spliced in) and antenna cable ready for wingtip installation.

Right wingtip rib drilled and clecoed in place.

Right wingtip ready for installation.

Right wingtip wiring complete.

Right wingtip clecoed in place and ready for, ahem, screwing.

Right wingtip fully installed and ready for flight.

Wings, components underway

Right wingtip nav light lens – and all the cutoffs. There’s a lot of extra material as-received.

The good news is that it’s not hard to cut, as a set of right & left tinsnips will do the job. The bad news is that, no matter what you do, it’s still a crappy fit when you’re done. Once the plane is painted, it should look fine from 10 feet, but the 2 foot view won’t be pretty. I really hate these damn things.

If someone at the paint shop early next year thinks that he can do a better job (entirely possible and very welcome!), I’ll have them cut a new pair then.

Right wingtip nav light lens ready to be screwed down, as soon as my new nutplates get here later today. Same size as the ones I ordered for the wingtip, itself, so all is well since I always order extra.