Canopy wiring harness and red/white strip lights going in.
Here’s a hint: don’t even bother with the WH-00126; it’s a generic harness and isn’t likely to match anybody’s requirements exactly – or even very closely. Just use the supplied Molex shells and pins to quickly fab your own.
In my case, I needed to wire the defrost fans, the strip lights, and the canopy warning switch. Easy-peasy. Except, of course, for one task…
Canopy wiring harness and red/white strip lights going in.
This is the beginning of the ugly task/odyssey revolving around running the two wires aft through the left-side canopy frame to the warning switch.
Van’s suggests using a length of safety wire to “fish” the wires down the channel. I tried two thicknesses of safety wire and both got kinked/hung up.
This time around, the safety wire made it through, but got hung up when pulling the copper wires.
Harness and Molex connectors in work.
Another iteration of the effort. No luck.
I tried using old plastic cards (credit cards, driver’s licenses, etc.) to pry the canopy side skin away to make a little more room in the channel. No luck.
Eventually, I had to suck it up and drill the side skin mostly off in order to place the two wires. Then re-riveted and re-screwed. I managed to drill out something like 40 rivets without buggering a single one, so that’s good.
With Jean’s help this morning, I finally got the yaw damper bridle harness clamps properly adjusted and tightened onto the rudder cables. Thanks, hon!
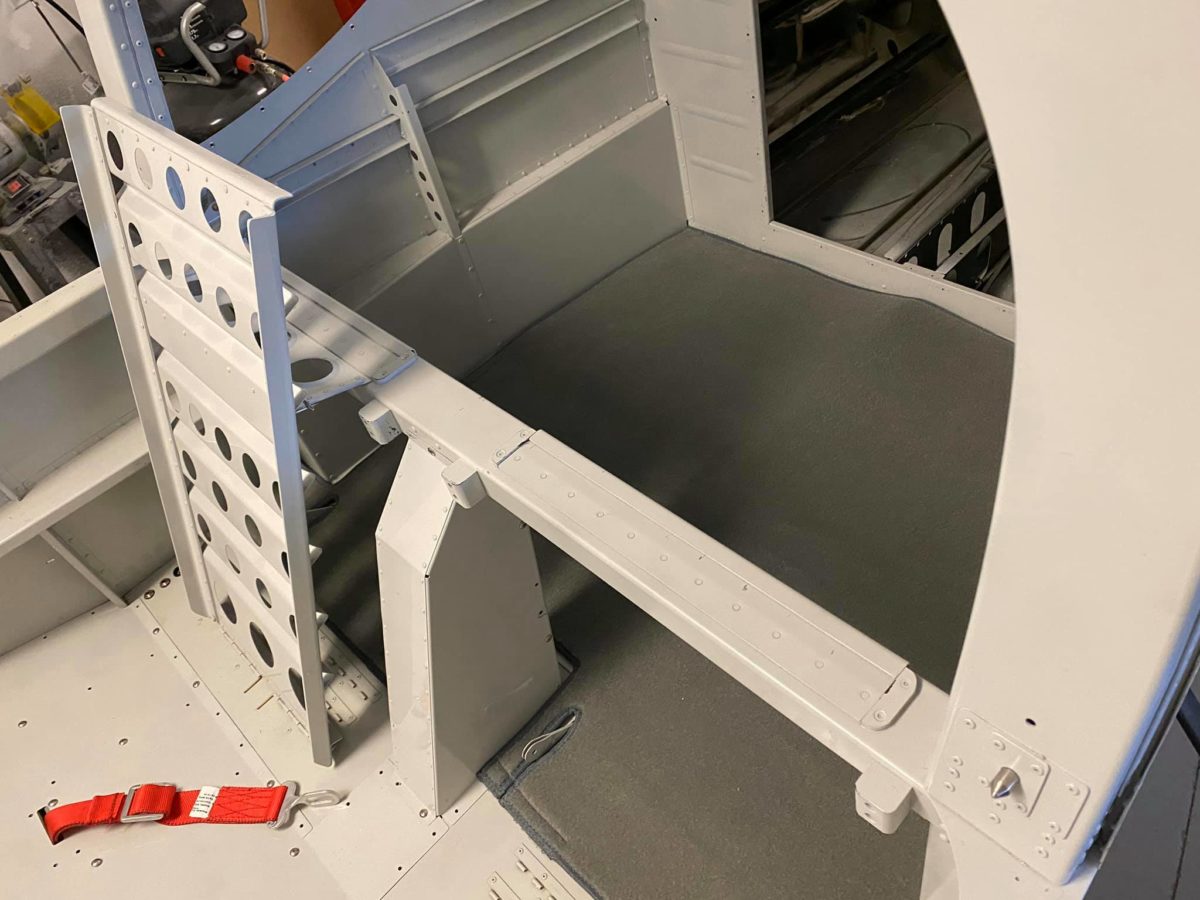
The corrugated baggage bulkhead cover has gained its ‘Experimental’ decal and been temporarily attached. It’ll come off for the inspection, of course, before being screwed down for keeps.
Passenger-side leather interior panels and armrest installed!
Pilot-side leather interior panels and armrest installed!
Rear carpet partially installed. I’ve left the pilot-side Velcro temporarily unglued to make it slightly easier to fold the carpet back and remove the baggage floor cover for the upcoming inspection.
Also for ease of pre-inspection assembly, all of the various floor panels have been installed with only a subset of their total screw complement.
Footwell carpets have been partially installed. The floppy bits at the aft ends will be Velcroed in place once the control column covers have been fully screwed down following inspection.
Passenger seatback and cushions temporarily in place. They’ll be coming out shortly to facilitate seat belt installation, but I needed them in there for tomorrow’s first task…