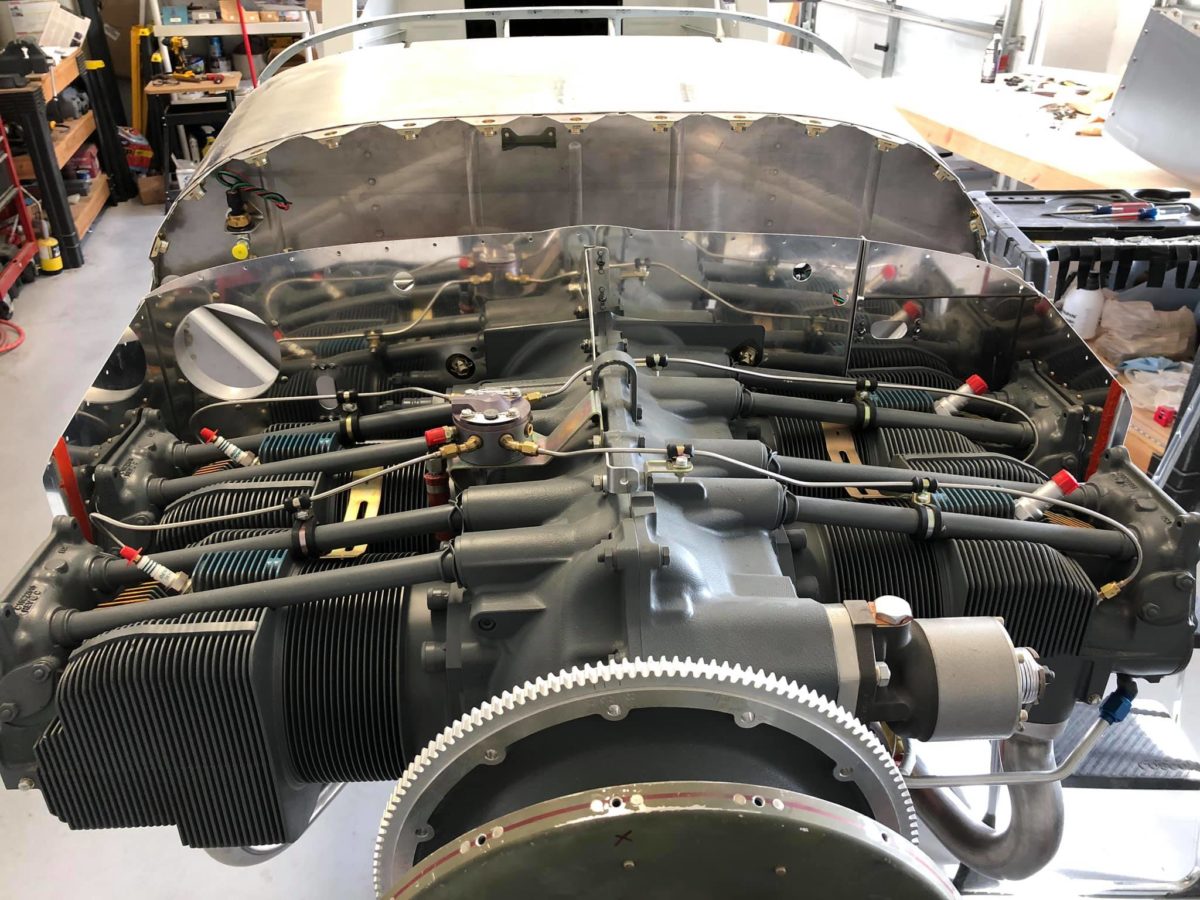
Aft baffle mounting underway. Most of the various screws and bolts have yet to be affixed in this photo, but they’re all done now. Those baffles aren’t going anywhere!
Left air ramp underway – shown here after initial drilling to the air filter frame.
Drilling for nutplates underway.
Nutplates riveted to air filter frame.
Air filter frame forward edge trimmed to match the left air ramp profile.
Left air ramp screwed to air filter frame and left forward baffle mount riveted in place.
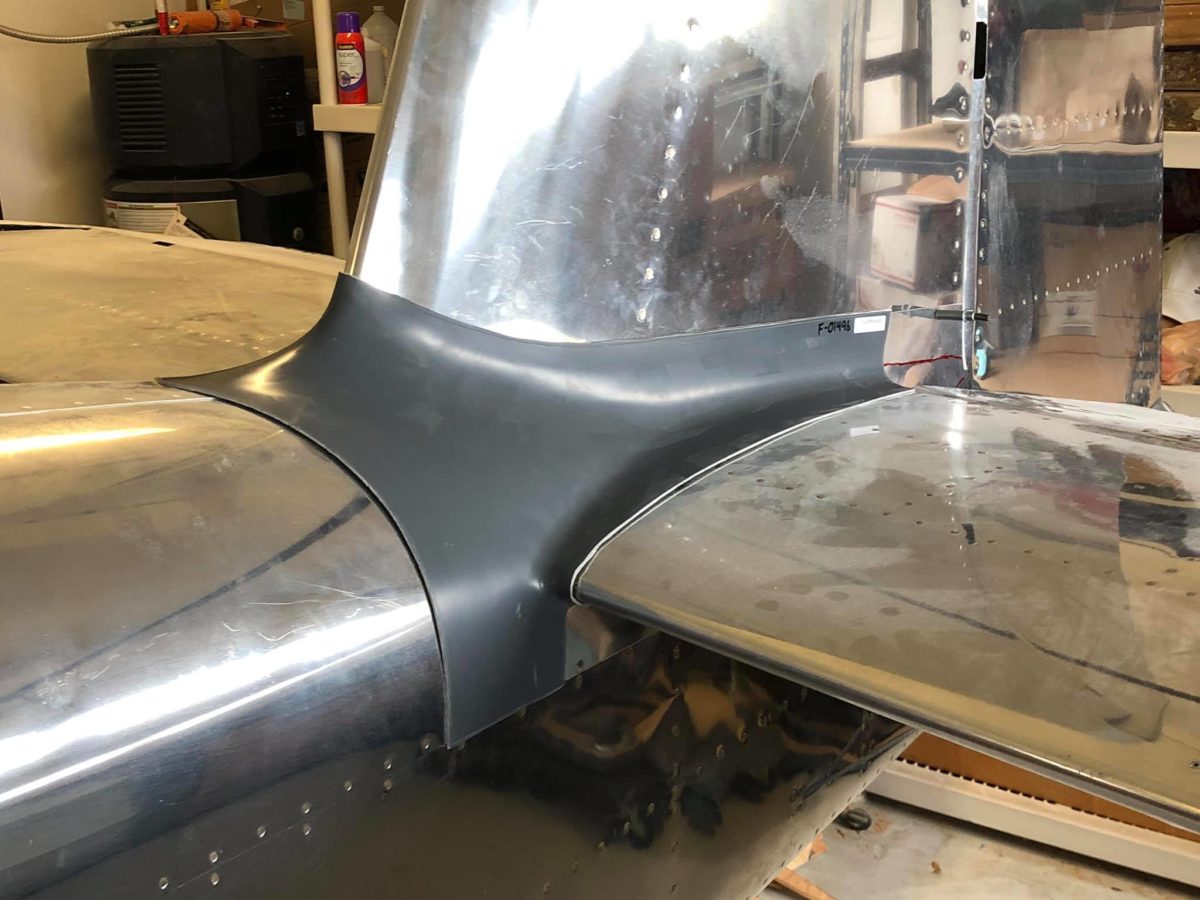
Empennage fairing drilled to stabilizers and aft fuselage. The Van’s-suggested method of placing a light under the fairing and trying to spot the holes is a Rube Goldberg solution, at best. Use the right tool for any job, in this case a strap duplicator. Easy-peasy.
Empennage fairing drilled to stabilizers and aft fuselage. The Van’s-suggested method of placing a light under the fairing and trying to spot the holes is a Rube Goldberg solution, at best. Use the right tool for any job, in this case a strap duplicator. Easy-peasy.
Empennage fairing countersunk and nutplate installation underway. Many of the nutplates will be VERY challenging to solid rivet without removing the vertical stabilizer as suggested by the manual. In my case, that’s simply not going to happen. I’m using MK-319-BS pop rivets to attach the nutplates.
Empennage fairing countersunk and nutplate installation underway. Many of the nutplates will be VERY challenging to solid rivet without removing the vertical stabilizer as suggested by the manual. In my case, that’s simply not going to happen. I’m using MK-319-BS pop rivets to attach the nutplates.
Cowl attach hinges and pins underway.
Cowl attach hinges and pins underway.
Cowl attach hinges and pins underway.
This is how far I got when attempting to insert the left-side upper pin. Yes, it was pre-curved and lubricated. Yes, I filed the hinge eyes, though more is probably necessary. The aluminum pin, though, has the integrity of overcooked spaghetti. It may very well get easier as time goes by, but the initial fit – and the pin’s unavoidable tendency to bend – is entirely unacceptable.
I initially intended to use Skybolt Camlocs (as I did with great satisfaction on my first RV), but they were out of stock when I riveted my fuselage-to-firewall skins way back when and I figured I’d try the stock hinges this time around. Yeah, the hinges are a no-go.
I’ll be ordering the Camlocs this week and drilling out the firewall-mounted hinges. I suppose it could be worse, but I’m definitely annoyed. Ugh.
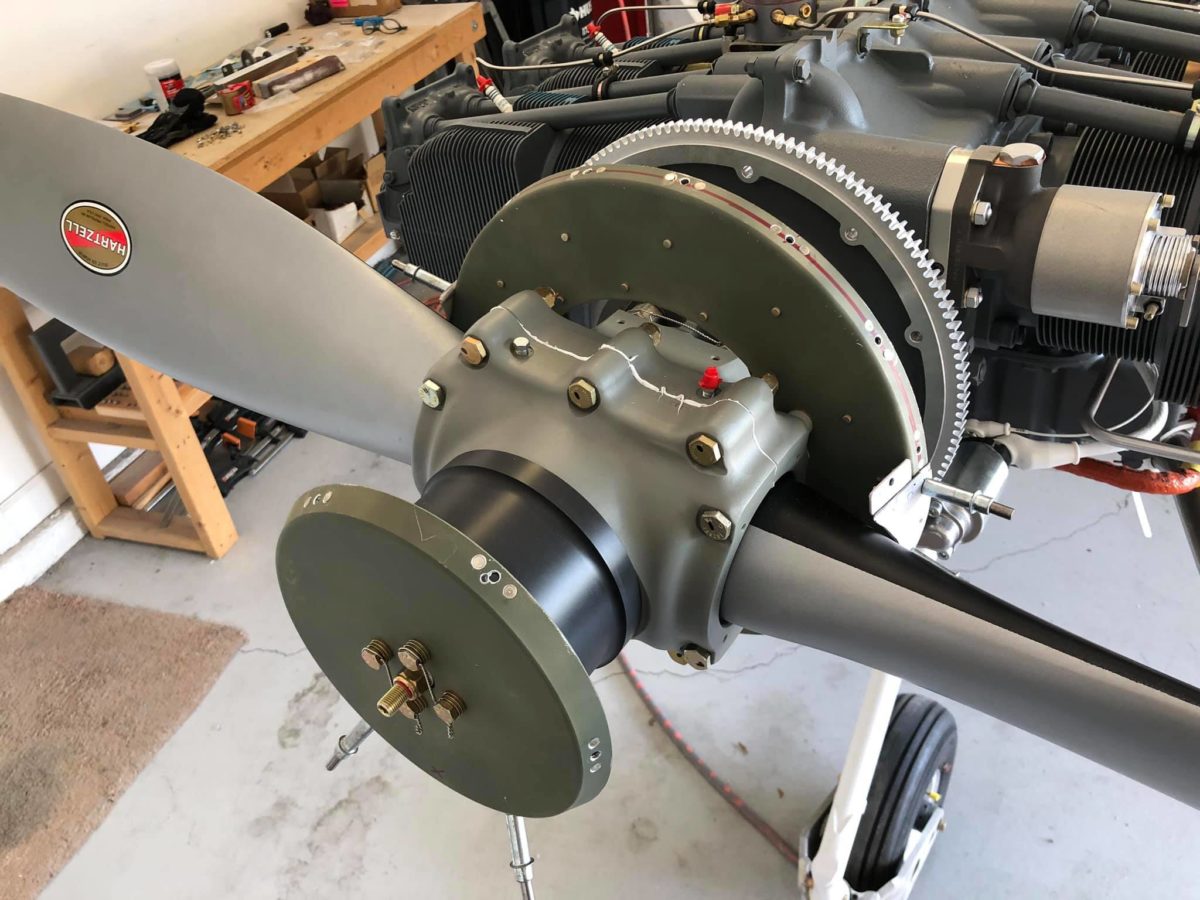
Spinner front bulkhead bolts torqued and safety-wired.
Spinner plate assembly and front spinner bulkhead nutplates riveted.
Yes, there’s a little oopsie on one of those holes (a locating magnet failure to accurately locate that pre-drilled hole), but the nutplate isn’t compromised, so I’m not concerned. Onward!
Spinner is done and clecoed in place for the moment. The manual says to install it now with the permanent screws, but a few pages later (in the cowling instructions) it has to come off again, so best to leave the screwing until later. So to speak.
Left empennage gap cover bent and clecoed in place.
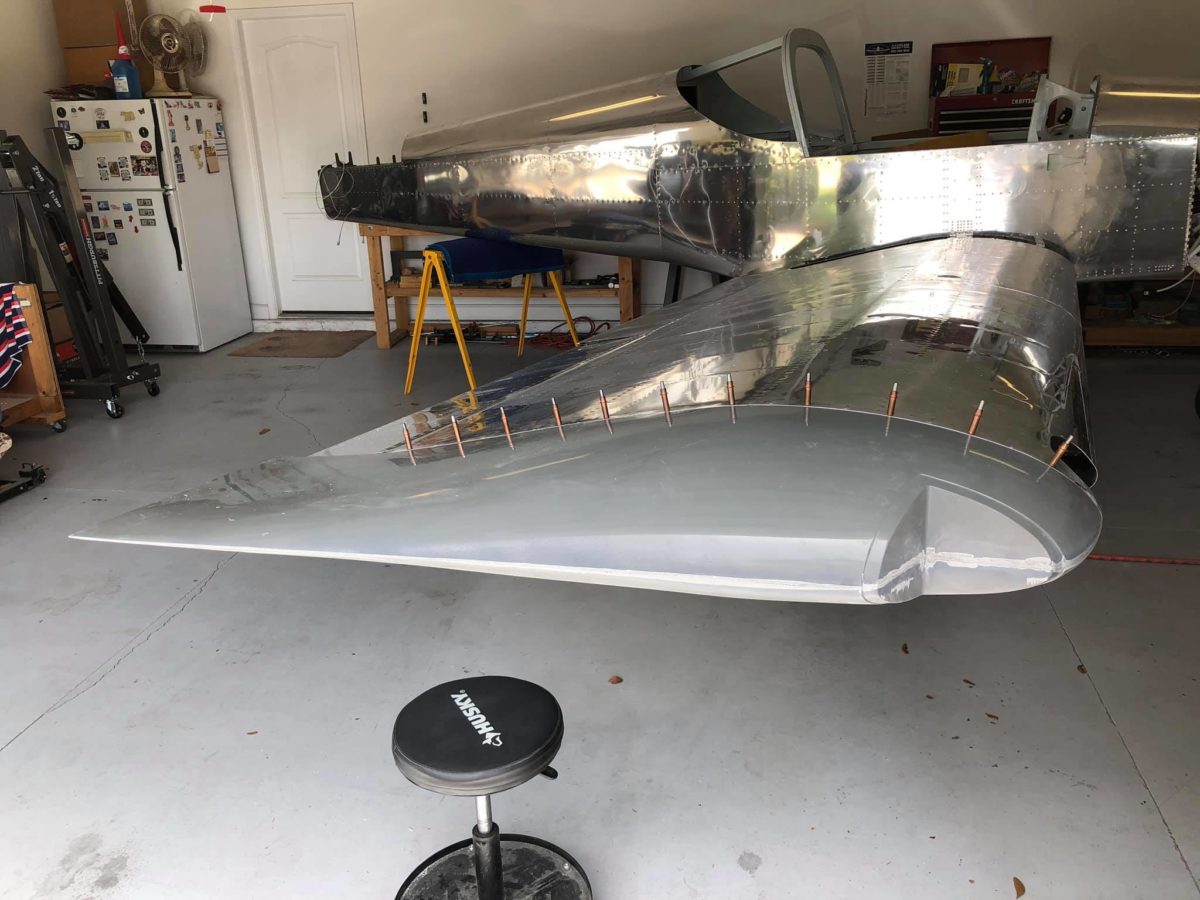
Right wingtip drilled to wing, outboard edge sanded smooth, and trailing edge trimmed to match the aileron.
Right wingtip drilled for nutplates.
Archer antenna mounting underway.
Archer antenna drilled to right wingtip in preparation for nutplates.
Right wingtip nutplates clecoed in place. As can be readily seen in this view, I’m seven nutplates short. Thanks, Van’s! I’m now awaiting yet another delivery from Aircraft Spruce.
On the bright side, I took advantage of this shipment to order the steel fittings for the engine. Van’s ships aluminum fittings with their FWF kit and I’m a great believer in steel, especially for the larger fittings used in the engine case for the oil lines and, of course, in the oil cooler.