The interior has arrived!! It’ll be months before all these bits are installed, but there may be a sneak peak at one of the seats shortly…
The panel is done and ready to ship!
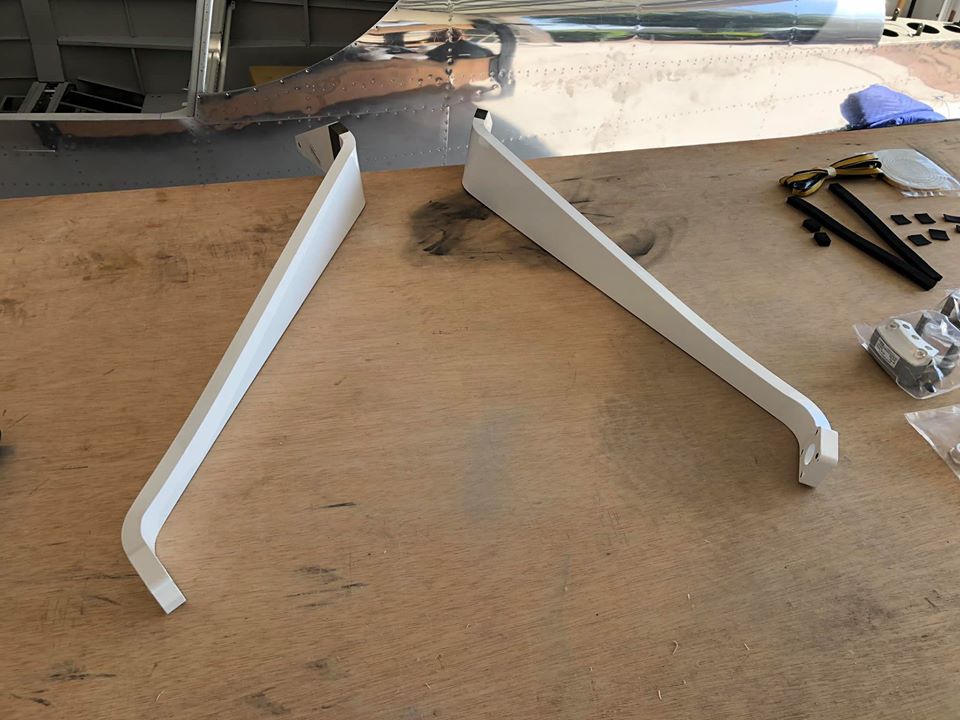
Main landing gear legs awaiting their date with the fuselage. That’ll be 6/4, hopefully…
The interior components arrived yesterday, so I popped the pilot’s seat back in place, set the floor panel loosely in place, and…
…Voila!
It’ll be a few months before all the bits are permanently installed, but there’ll be matching carpet, side panels, armrests, stick boots, etc. I think it turned out great; it’s easy to see why Abby at Flightline has her sterling reputation!
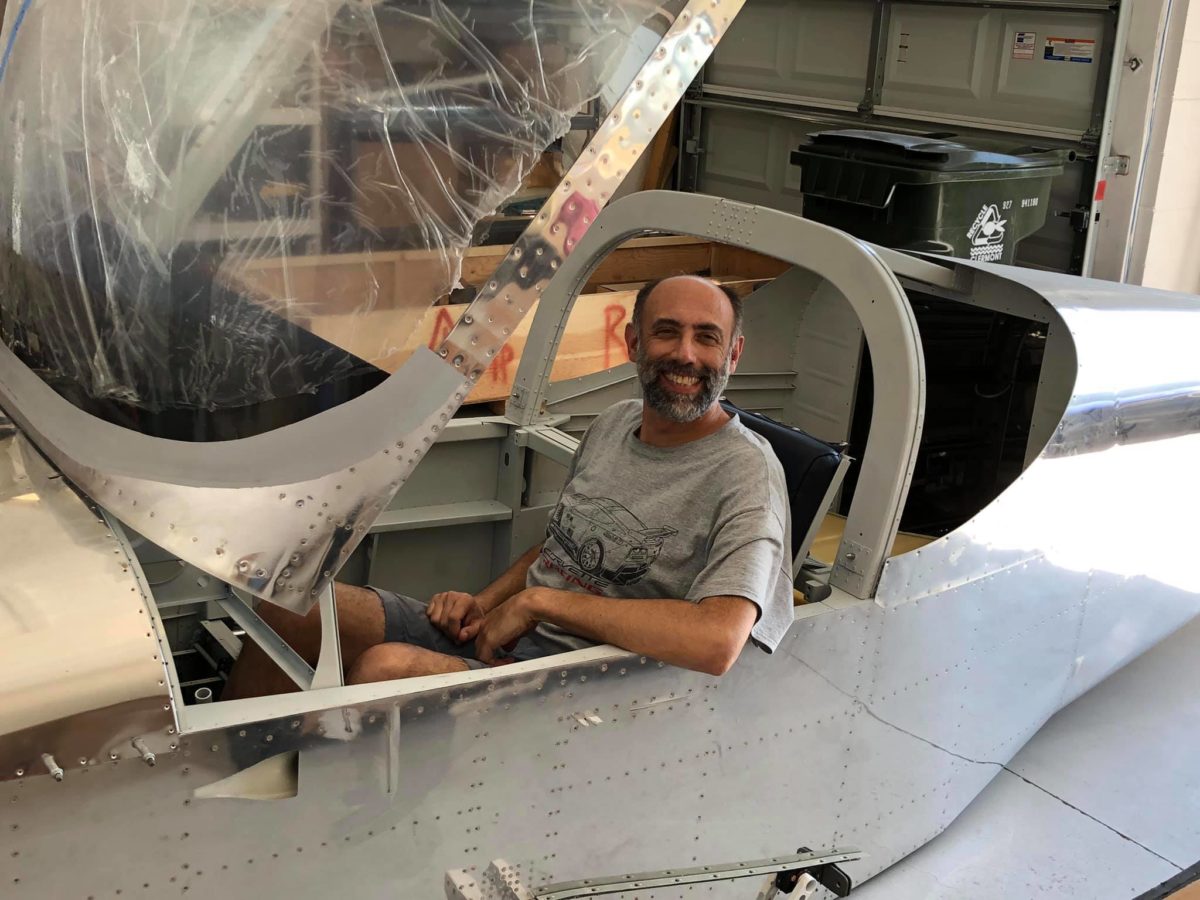
My sweaty mug aside, the real point of my sitting in there this morning was to check the position of the rudder pedals. I was concerned that, with my selected middle position for the pedals (possible to change now, but it would be a titanic PITA), none of the possible seat back positions would be a fit.
I’ve been hoping that the middle seat back position would be just right and, in fact, that’s exactly how it turned out. For other -14A builders keeping score, I’m 6′ tall with a 33/34″ inseam.
Glad to be this far along, but not thrilled with having to face the remaining 6-8 months of the project. Oh, well – there’s nothing to do but soldier on!
OK, closing the canopy for the first time with the actual seat installed was cool, even for me.
Yet another shot of yours truly. Thanks, Jean!
Canopy now removed for installation of remaining seals. Also, I needed it out of the way of upcoming fuselage work. Wiring, etc. It’ll be going into the house in the next few days.
The whole garage will have to be reconfigured – probably with the fuselage on the diagonal – to make room for all the FWF work. Before that, though, each wing will have to be mounted (temporarily, of course) to facilitate a few remaining tasks. Plus the tail, too.
Yep, that’s the canopy again.
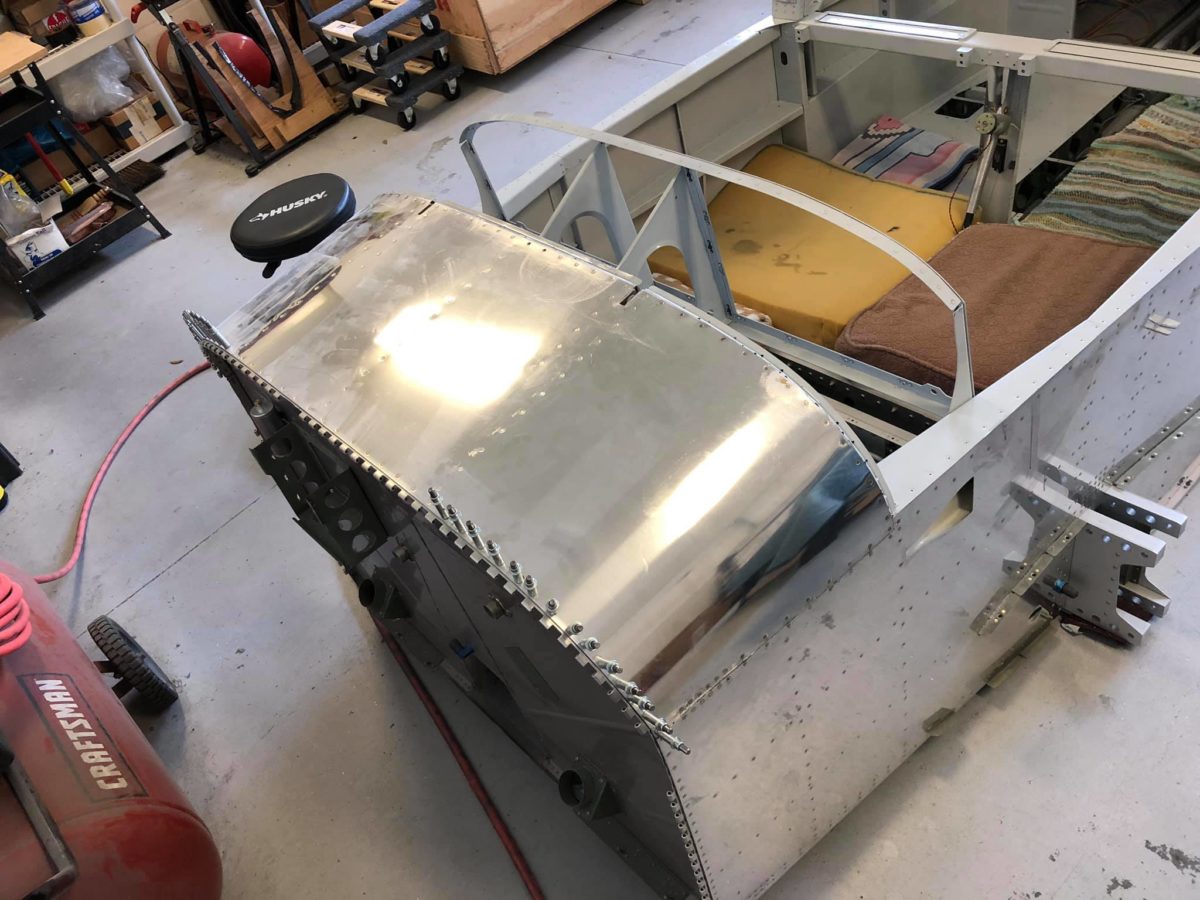
Forward top skin finally going on for good. It’s attached with Proseal and rivets for the complete, belt & braces anti-leak solution. It’s done in three stages and today’s sealing session was the first. Tomorrow morning we’ll complete the riveting, followed by the second sealing stage. Fun times…
The forward top skin’s other side…
Getting ready for the gear mounting party next Tuesday by locating all of the necessary hardware. I’m dreading having to remove all of those labels, but that’s probably another project for tomorrow.
Van’s Aircraft Inc. – Why, oh why, do you persist in using those horrific white stickers on powdercoated parts?!? They’re a freaking nightmare to remove. If part numbers are really necessary (not too many of the powdercoated parts could possibly be mistaken for anything else), write them on with Sharpie. At least that would come off with a swipe of acetone.
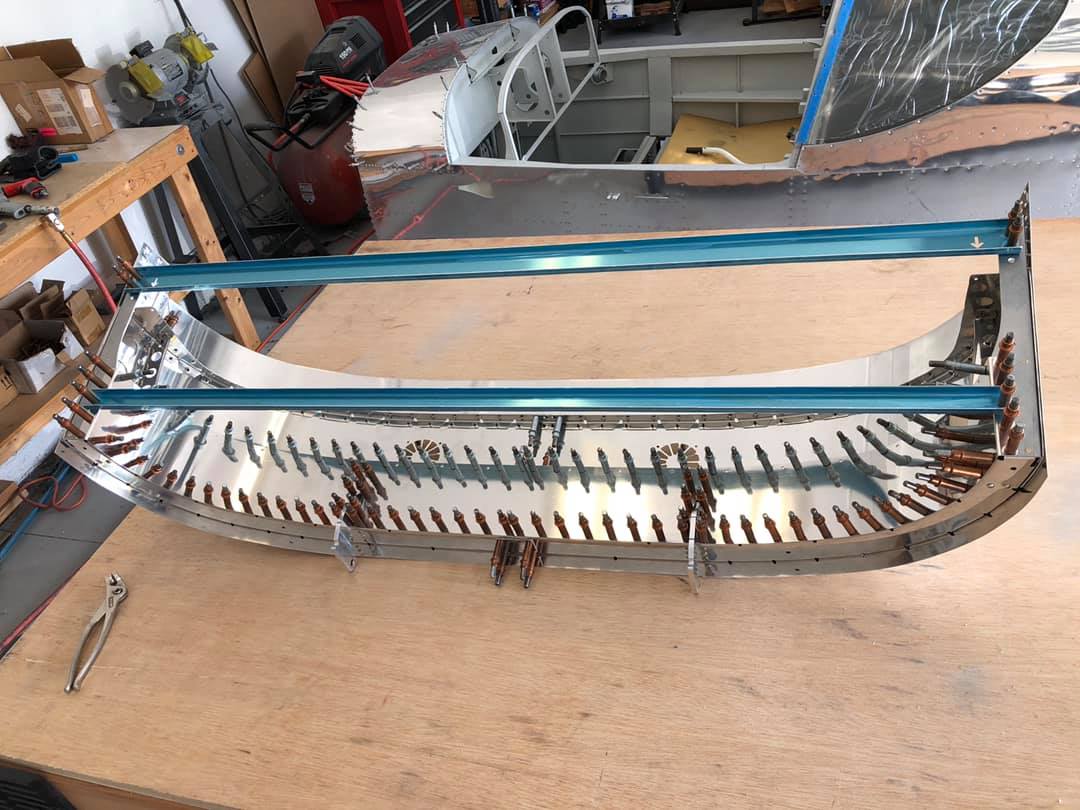
Canopy assembly close out riveting in progress. Stopping to check for twist every four rivets was a PITA, but better that than the alternative…
Canopy assembly close out riveting in progress.
Canopy assembly close out riveting complete.
Canopy rails clecoed for riveting.
Canopy rail riveting complete.
Aft canopy frame clecoed for riveting. Those three little AN426AD3 rivets on the lower outboard flanges of the frame were a BEAR to line up. I eventually got clecos into two holes per side and will just drill the third to fit.