Panel, firewall forward progress

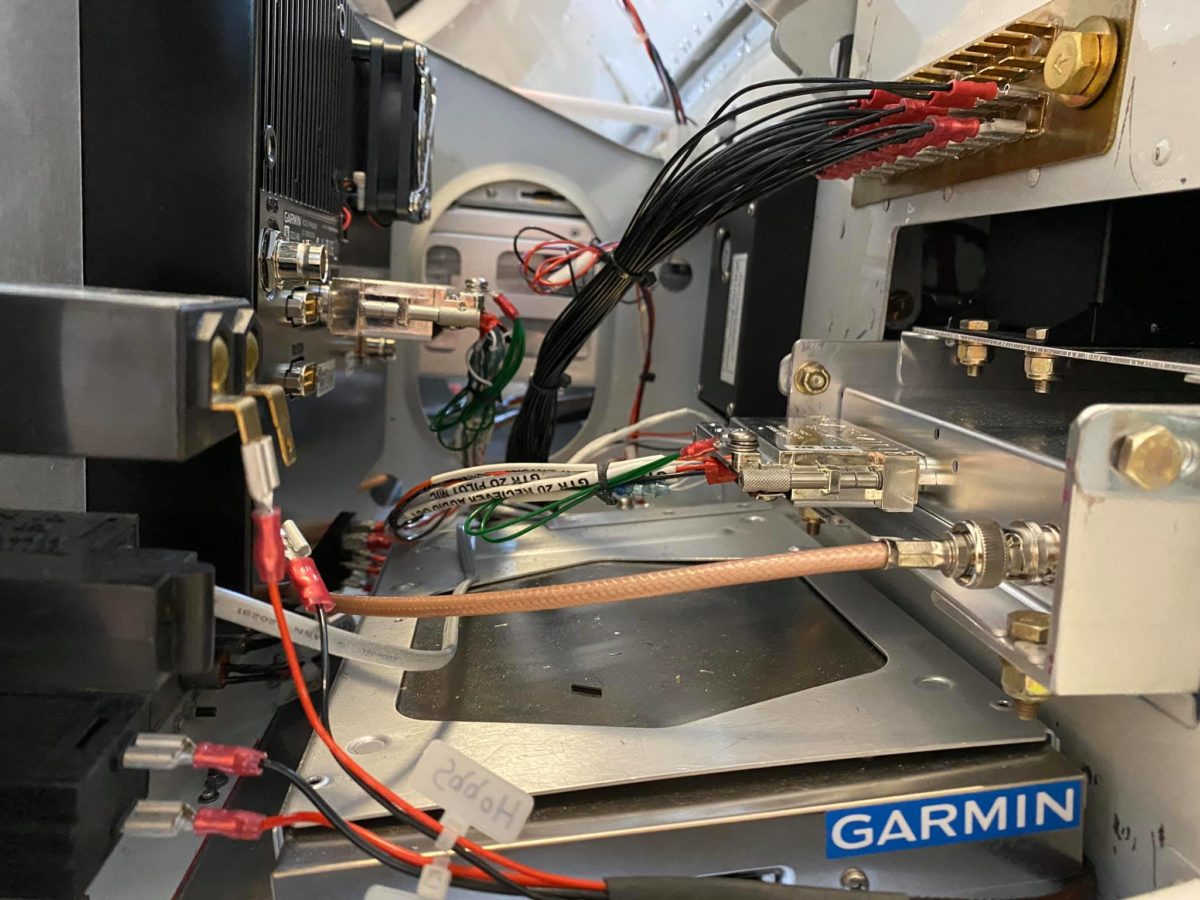
Right-side area between the panel (left) and sub-panel (right) all zip-tied and buttoned-up for inspection/flight.

The sharp-eyed amongst you will notice a ground wire hanging loose on the left. That’s for the electric Hobbs meter, which will be connected prior to the first engine start.

Left-side area between the panel (right) and sub-panel (left) all zip-tied and buttoned-up for inspection/flight.

The static line is in place, although the pitot and AOA lines will, of obvious necessity, have to wait until after the wings are mounted in the hangar toward month’s end. I’ve also yet to connect the GPS antenna to the G3X PFD.

Canopy wiring harness all zip-tied and buttoned-up for inspection/flight.

I wish I’d kept another segment of the red/white strip lights (thanks, Van’s, for the too-short length callout!!), but it’s plenty bright as-is. In fact, I’ll never have the rheostat turned up past halfway (at most!) in flight.

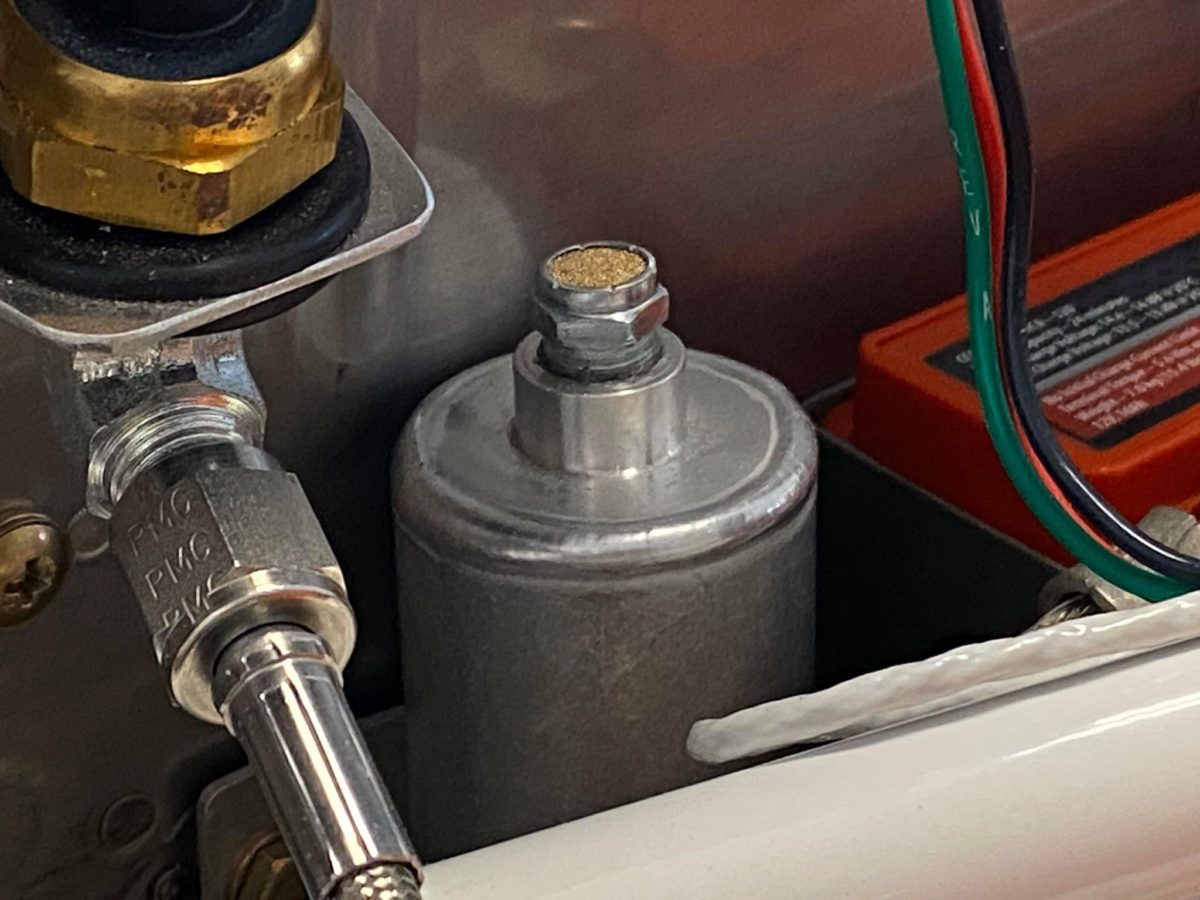
Oil quick-drain valve installed and safetied.

The first oil fill is done; very exciting!

Fuselage continued…

Seat belts going in. I love Hookers!!

Seat belts installed.

Seat belts installed.

Canopy wiring harness and red/white strip lights going in.

Here’s a hint: don’t even bother with the WH-00126; it’s a generic harness and isn’t likely to match anybody’s requirements exactly – or even very closely. Just use the supplied Molex shells and pins to quickly fab your own.

In my case, I needed to wire the defrost fans, the strip lights, and the canopy warning switch. Easy-peasy. Except, of course, for one task…

Canopy wiring harness and red/white strip lights going in.

This is the beginning of the ugly task/odyssey revolving around running the two wires aft through the left-side canopy frame to the warning switch.

Van’s suggests using a length of safety wire to “fish” the wires down the channel. I tried two thicknesses of safety wire and both got kinked/hung up.

This time around, the safety wire made it through, but got hung up when pulling the copper wires.

Harness and Molex connectors in work.

Another iteration of the effort. No luck.

I tried using old plastic cards (credit cards, driver’s licenses, etc.) to pry the canopy side skin away to make a little more room in the channel. No luck.

Eventually, I had to suck it up and drill the side skin mostly off in order to place the two wires. Then re-riveted and re-screwed. I managed to drill out something like 40 rivets without buggering a single one, so that’s good.

Connectors connected.

Re-riveting underway…

Re-riveting underway…

Job done!

Firewall forward, canopy continued…

When I removed the plug from Van’s supplied brake reservoir, it was galled and stripped. It had been threaded in way too tight and without lubricant. Never a good thing.

I ordered a stainless replacement, applied a little Fuel Lube (actually EZ Turn, these days), and it went right in.

Since the brakes have already been bled, I REALLY didn’t want to remove the reservoir or tap it in place. Happily, neither was necessary.

Canopy guide pins receiving a little paint.

Pilot-side canopy guide pin riveted in place.

Modeling clay (way too much, as it turned out) applied per the instructions.

Also too much modeling clay…

One of the canopy guide plates riveted in place.

And the other one…

Fuselage, canopy installation

Shoulder harness cables installed.

Infinity grip installation underway. Here, the passenger stick has been cut down, the powdercoat stripped off the end, and the spacer fitted.

The guts of the passenger’s Infinity grip. Some fiddly little parts in there. I’d forgotten how much fun it was from the last time…

The canopy has been installed – hopefully for good! Thanks, Alex, for all of your help today. — with Alex Cole.

Canopy installed!

Canopy installed!

Canopy installed!

Canopy installed!