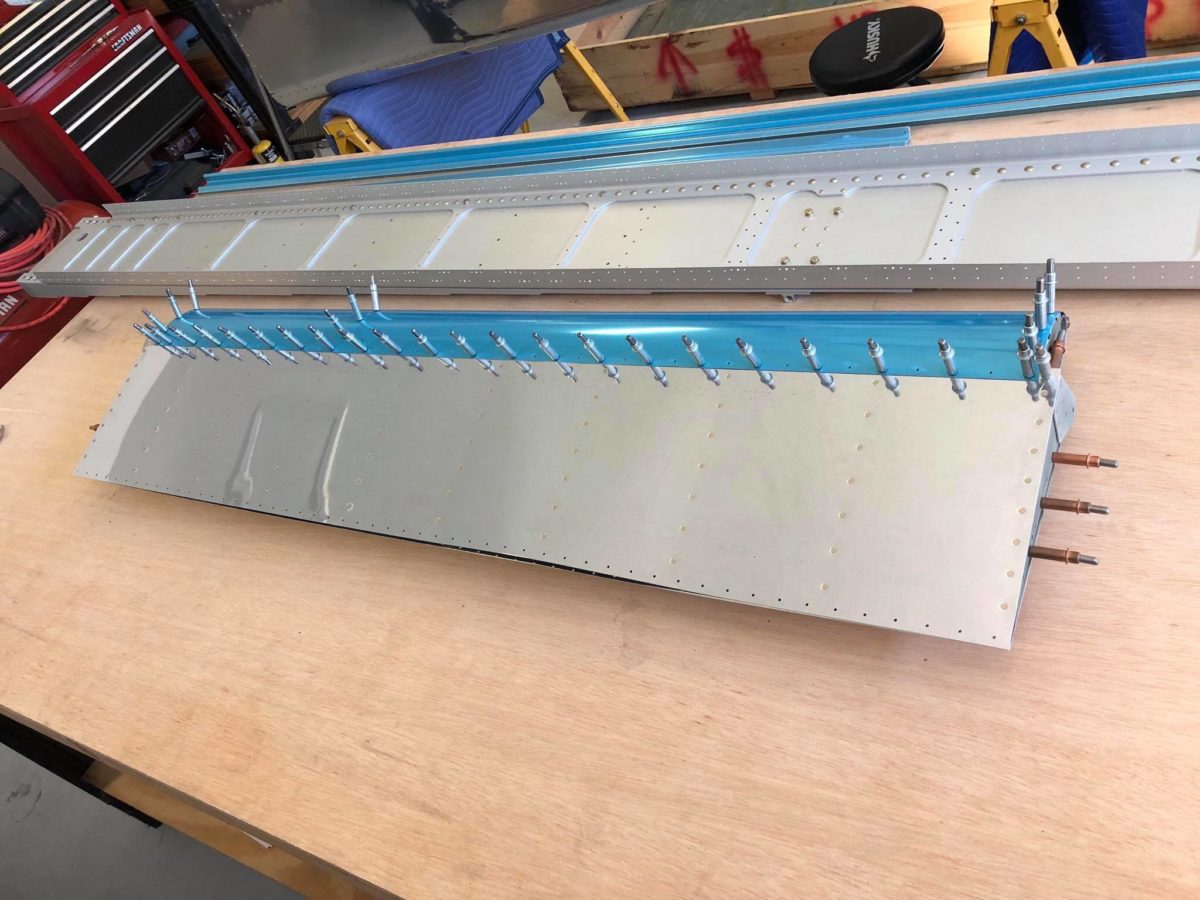
Right aileron ready for final disassembly prior to riveting.

Right aileron components ready for assembly.

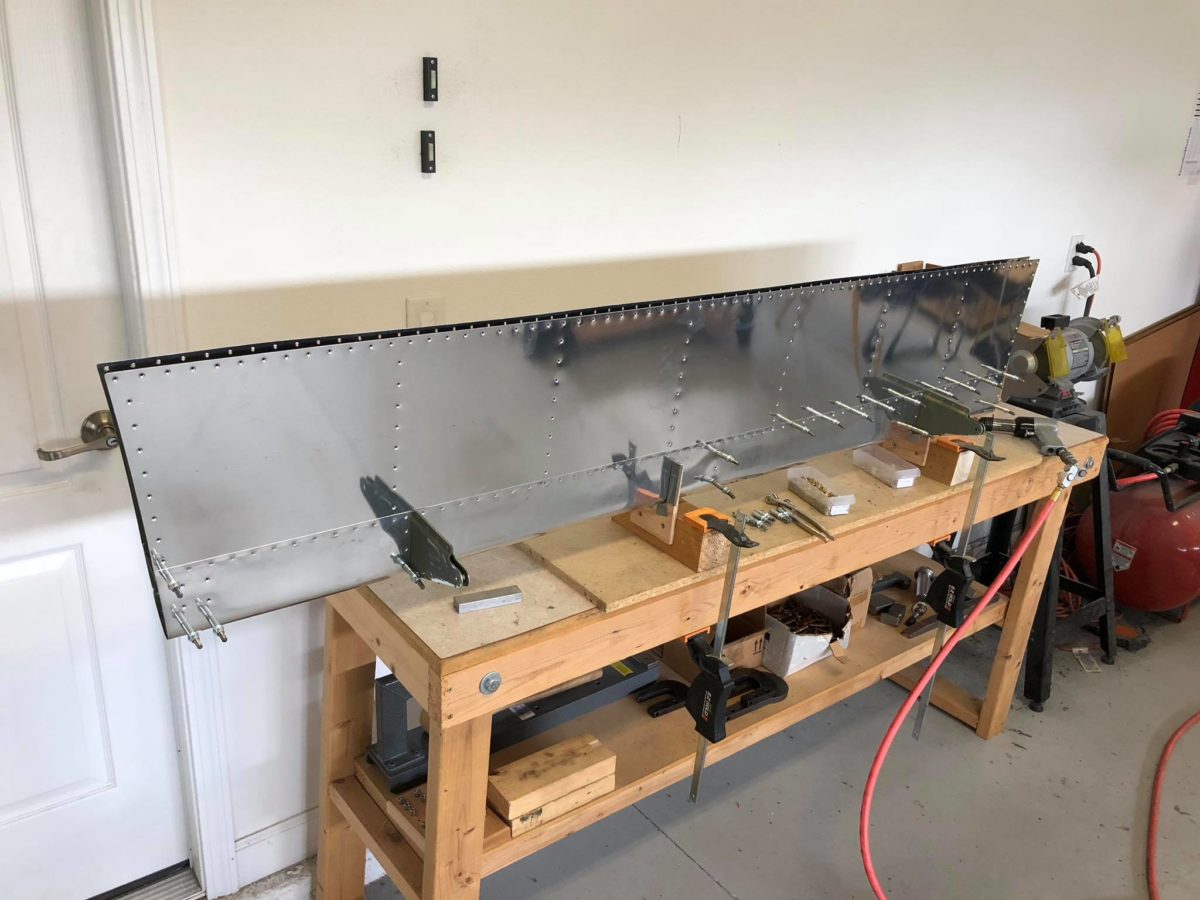
Right aileron nose skin, nose ribs, and counterweight assembly in place.

Right aileron top skin clecoed in place for riveting.

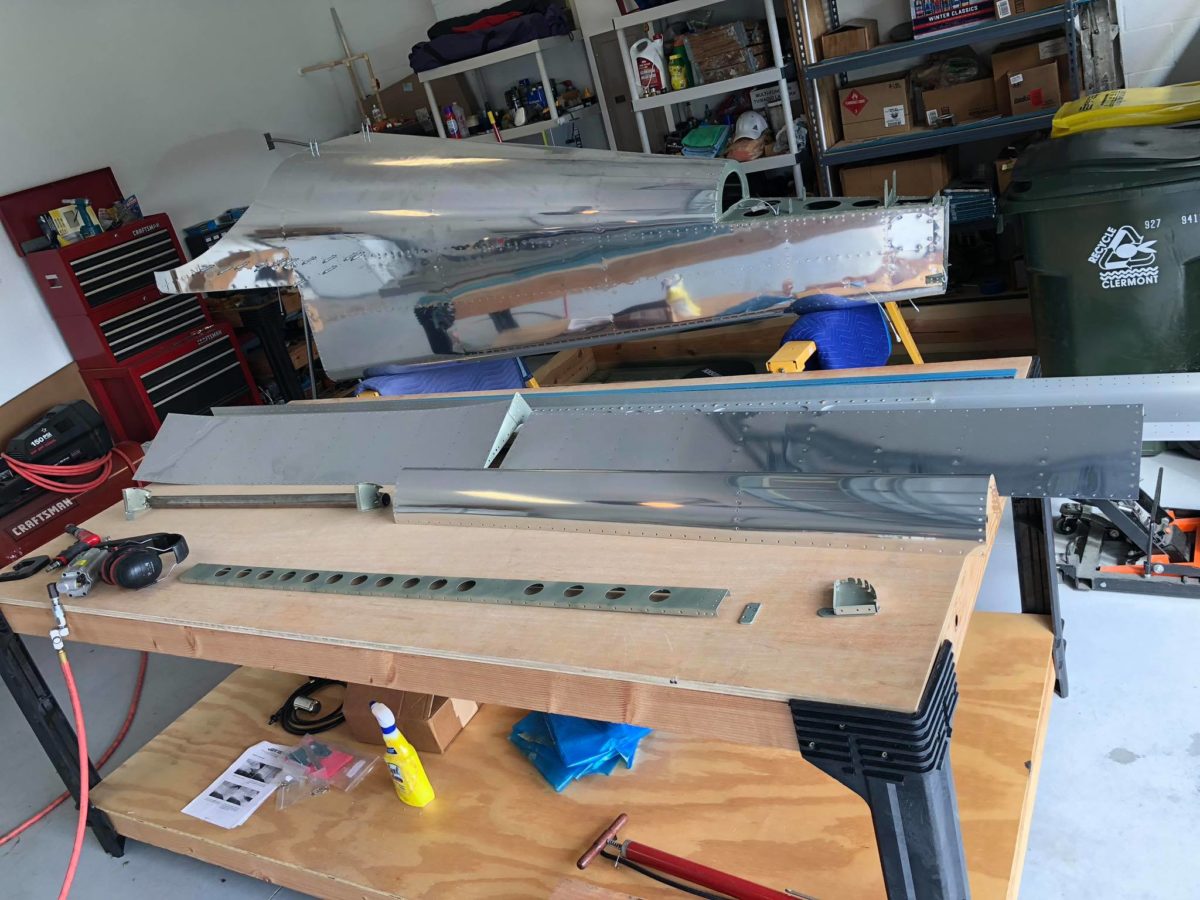
Right aileron main (end) ribs ready for riveting.

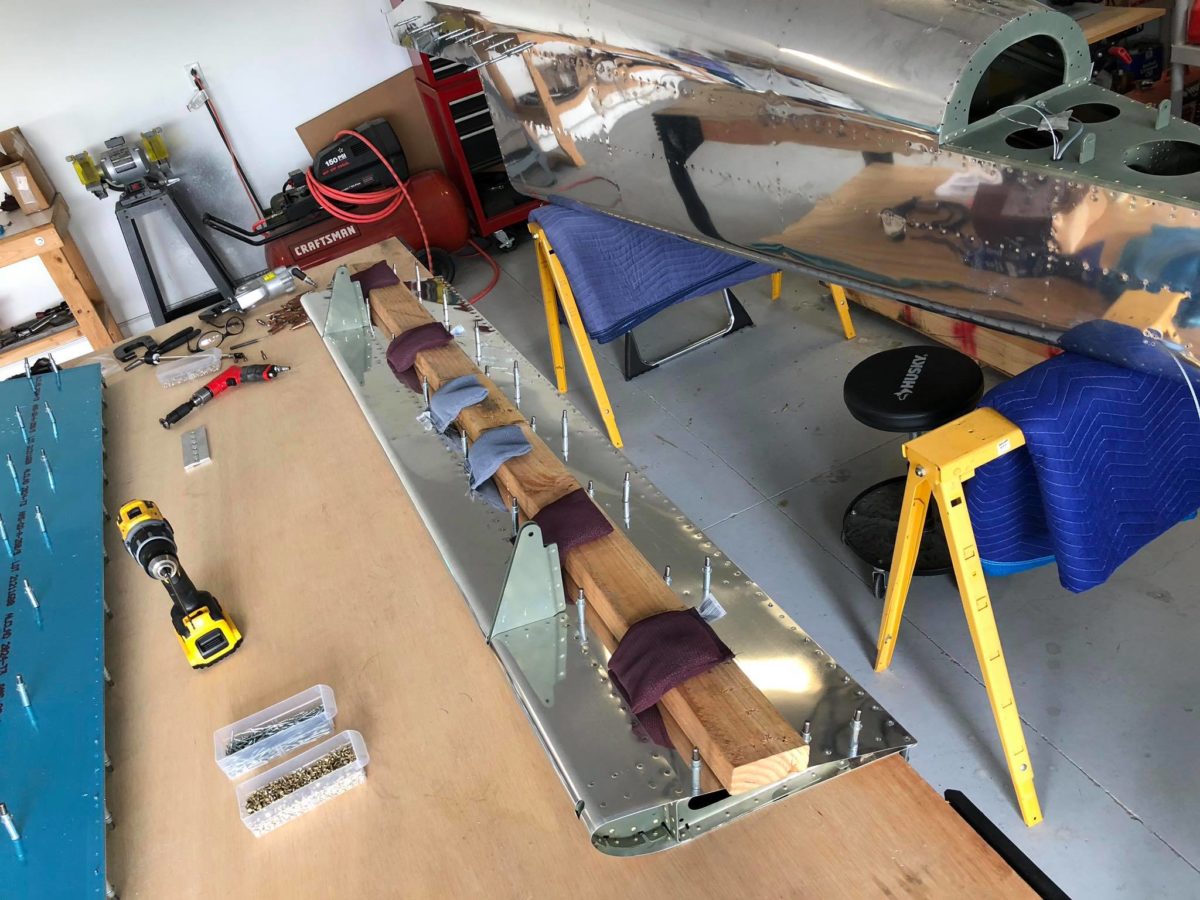
Right aileron bottom skin clecoed in place for riveting.

Right aileron trailing edge clecoed in place for riveting.

Right aileron complete and headed into the house for the duration…