Finish components continued…

Right-side aft fuselage side skin cover plate in place.

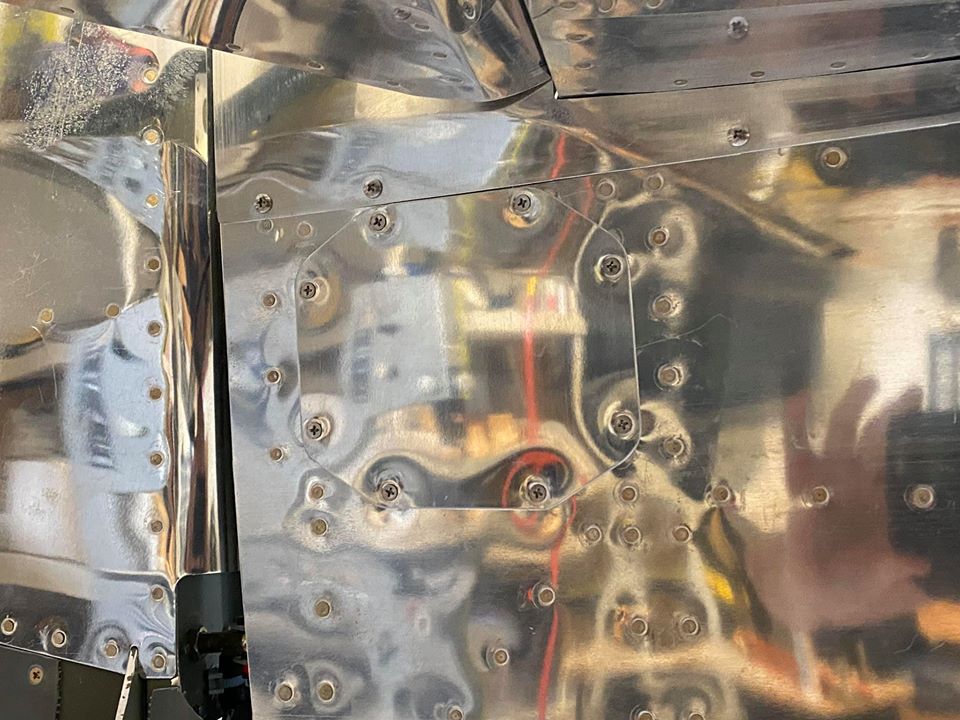
Left-side aft fuselage side skin cover plate in place.

One of the elevator bolts shown as an example of torque seal application. A bit blobby here, but effective.

Forward tunnel cover clecoed in place. I was sure that it would have to be cut down at the aft end to allow all of the wires/tubes/cables/et al. to clear, but it actually fit. Amazing!!

Inlet baffles mostly secured (3 of 4 screws each) in place. The outboard screws must be extra-length due to the flox thickness, so they’re on order.

Finish, cowling underway

Close-tolerance wing bolts in the freezer…

Yours truly ready to sand the lower cowl inlet flox. No particulates in my lungs! Hopefully…

Left-side flox ready to go.

Right-side flox ready to go.

Cowling halves joined to measure inlet offsets between the top and bottom. Unbelievably, there was effectively zero offset on both sides. So, that’s one additional floxing & sanding step avoided.

It’s a little difficult to tell here, but the outside corner of each inlet is a very acceptable match, top & bottom.

Top cowling installed for the first time since the baffles have been in place. I knew that it would be challenging to compress the rubber seals enough to set the Camlocs, but I didn’t expect the battle that ensued. They’ll need to take a set over time and engine cycles before it gets much easier to install the top cowl.

Finish progress

The last tube of “Proseal” on the project!

Rear window sealing in process…

The last little Indian…

Masking removed and it turned out OK! The few little blobs of escaped sealant will rub right off tomorrow.

Heat shield applied to lower cowling. It’s not gorgeous, but should be effective.

Lower cowling back on the airplane (for the first time in a LONG while) to measure the inlet to air ramp gaps.

My trusty assistant waits beneath… — with Jean Balch.

Clamping strips clamped to lower cowling and floxed.