Finish, cowling underway

Close-tolerance wing bolts in the freezer…

Yours truly ready to sand the lower cowl inlet flox. No particulates in my lungs! Hopefully…

Left-side flox ready to go.

Right-side flox ready to go.

Cowling halves joined to measure inlet offsets between the top and bottom. Unbelievably, there was effectively zero offset on both sides. So, that’s one additional floxing & sanding step avoided.

It’s a little difficult to tell here, but the outside corner of each inlet is a very acceptable match, top & bottom.

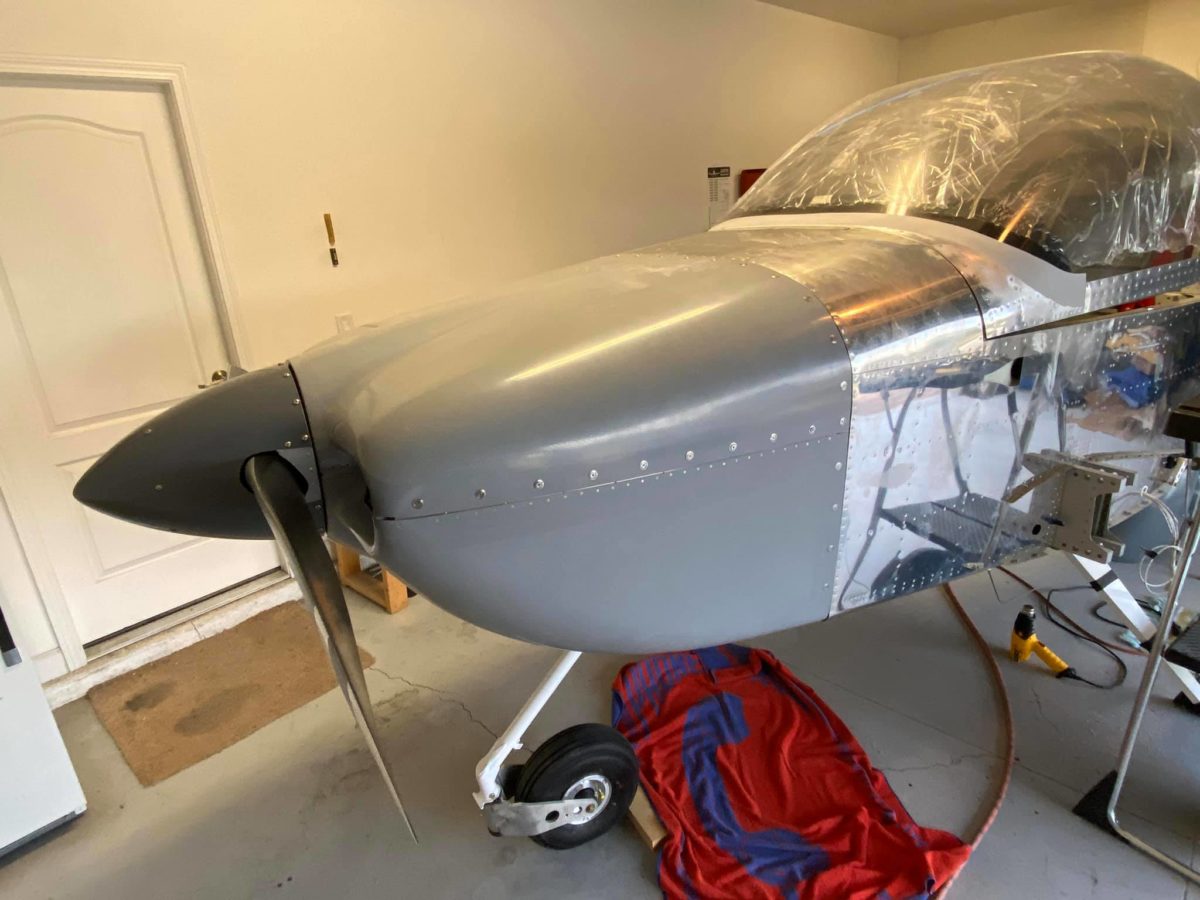
Top cowling installed for the first time since the baffles have been in place. I knew that it would be challenging to compress the rubber seals enough to set the Camlocs, but I didn’t expect the battle that ensued. They’ll need to take a set over time and engine cycles before it gets much easier to install the top cowl.

Panel, finish, cowling continued…

My Stein Air panel in as-received condition – just removed from the crate for the first time since it arrived about four months ago. What a rat’s nest!!

A slightly wider view of the panel showing all of the radios and other miscellany. Lots to do.

Oil door drilled to the hinge gooseneck and the hinge door lugs drilled to the cowling.

Oil door and all components riveted and ready to fly.

A little gently relieving was necessary along the upper edge of the recess in order for the door to hinge properly.

Oil door and all components riveted and ready to fly.

A little gently relieving was necessary along the upper edge of the recess in order for the door to hinge properly.

One of my pending tasks finally checked off:

Empennage fairing and gap covers screwed down for keeps – or until the airworthiness inspection!

One of my pending tasks finally checked off:

Empennage fairing and gap covers screwed down for keeps – or until the airworthiness inspection!

Firewall forward, finish, cowling progress

Oil door fitting underway. It was actually not bad right out of the box – even the curve was a good match for the cowling.

Taped in place for drilling.

Camloc receptacles installed.

The upper edge will have to be trimmed/sanded/massaged a bit to accommodate the gooseneck’s horizontal flange. As it is right now, the edge of that piece butts against the edge of the cutout and won’t permit the door to sit down properly in its recess.

So, a bit more fiddling to do tomorrow.

Firewall forward, finish, cowling components in process

Swapped the upper Adel clamp (mounted on the firewall in the center of the photo) for a slightly larger one to accommodate the firesleeved oil pressure hose.

Cover removed from vacuum pump pad to make room for the B&C backup alternator. Holding it in place today made it clear to see that the lower left nut and washers will be nigh on impossible to get started, nevermind torqued. More fun stuff…

Left side EGT probes installed. Wiring to come once the panel and its many boxes have been mounted.

Right side EGT probes installed. Wiring to come once the panel and its many boxes have been mounted.

Back to fiberglass: upper cowl micro sanded and cleaned prior to epoxying.

Upper cowl micro epoxied.