Pitot and AOA lines installed. Ready for flight.

Pitot and AOA lines installed. Ready for flight.

Left-side stick to torque tube pushrod connection finger tight for testing.

All right-side wing root connections torqued and sealed. Ready for flight.

All left-side wing root connections torqued and sealed. Ready for flight.

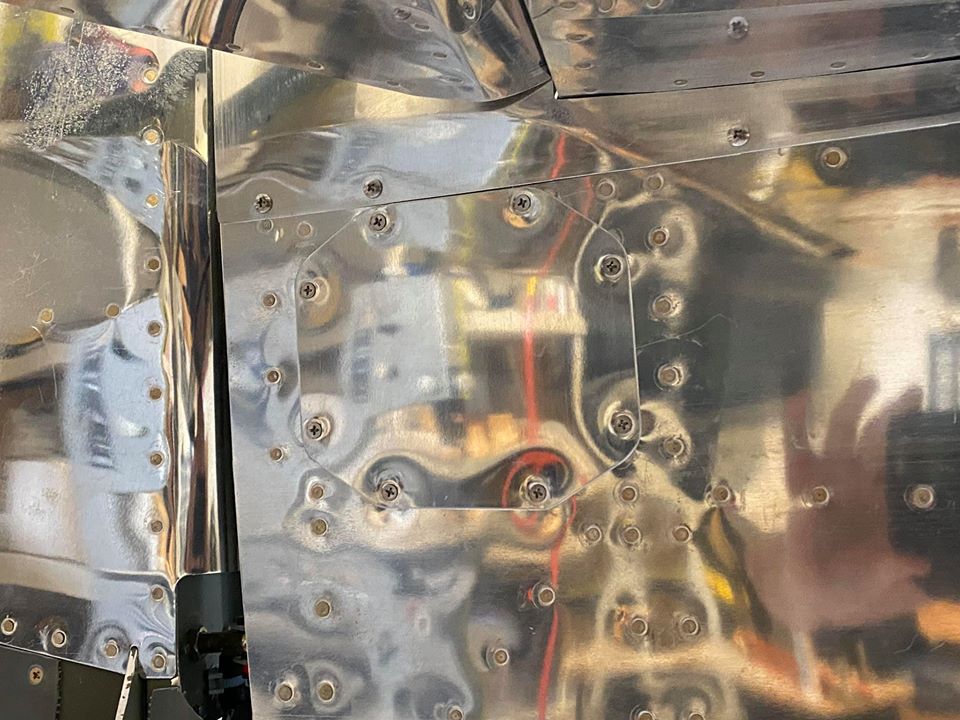
Right-side lower wing root fairing clecoed in place.

Right-side lower wing root fairing clecoed in place.

Left-side lower wing root fairing clecoed in place.

Left-side lower wing root fairing clecoed in place.

Right-side fuel tank vent in place

Left-side fuel tank vent in place.

Right-side engraved fuel tank cap installed and adjusted. Ready for flight.

Left-side engraved fuel tank cap installed and adjusted. Ready for flight.

Seat ramps, seat ramp cover, and aft tunnel cover clecoed back in place.

Baggage bulkhead corrugation removed for inspection. Various elevator bellcrank connections torque-sealed.

The neat pile of interior components that Jean is maintaining in the back of the hangar. Thanks, hon!!

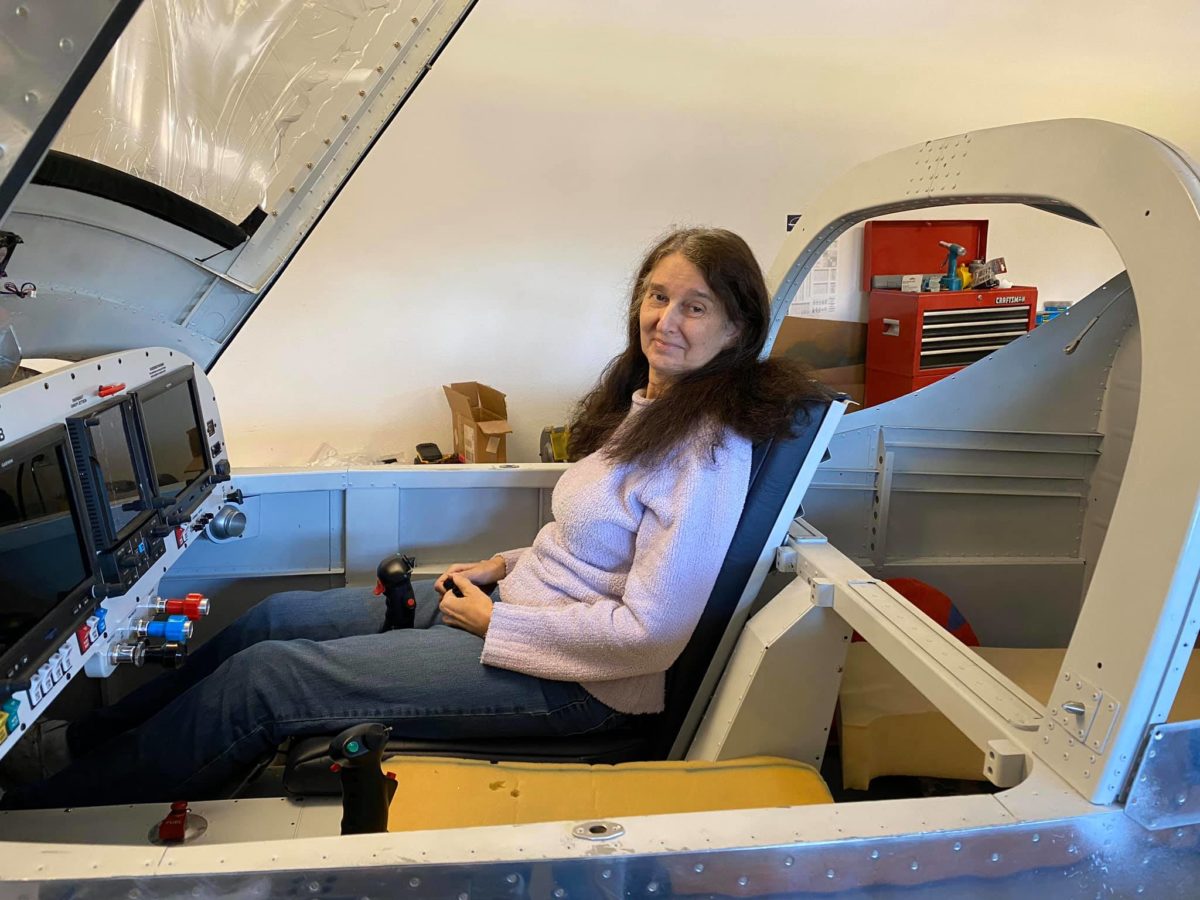
Now that the ailerons are connected, the sticks no longer flop to one side or the other. They look ready to go!!

Left-side upper wing root fairing clecoed in place.

Right-side upper wing root fairing clecoed in place.

Overall view at the end of today’s session. It’s definitely looking purposeful and RV-like. Can’t wait to go flying in another few weeks.