Firewall forward, finish, cowling installation

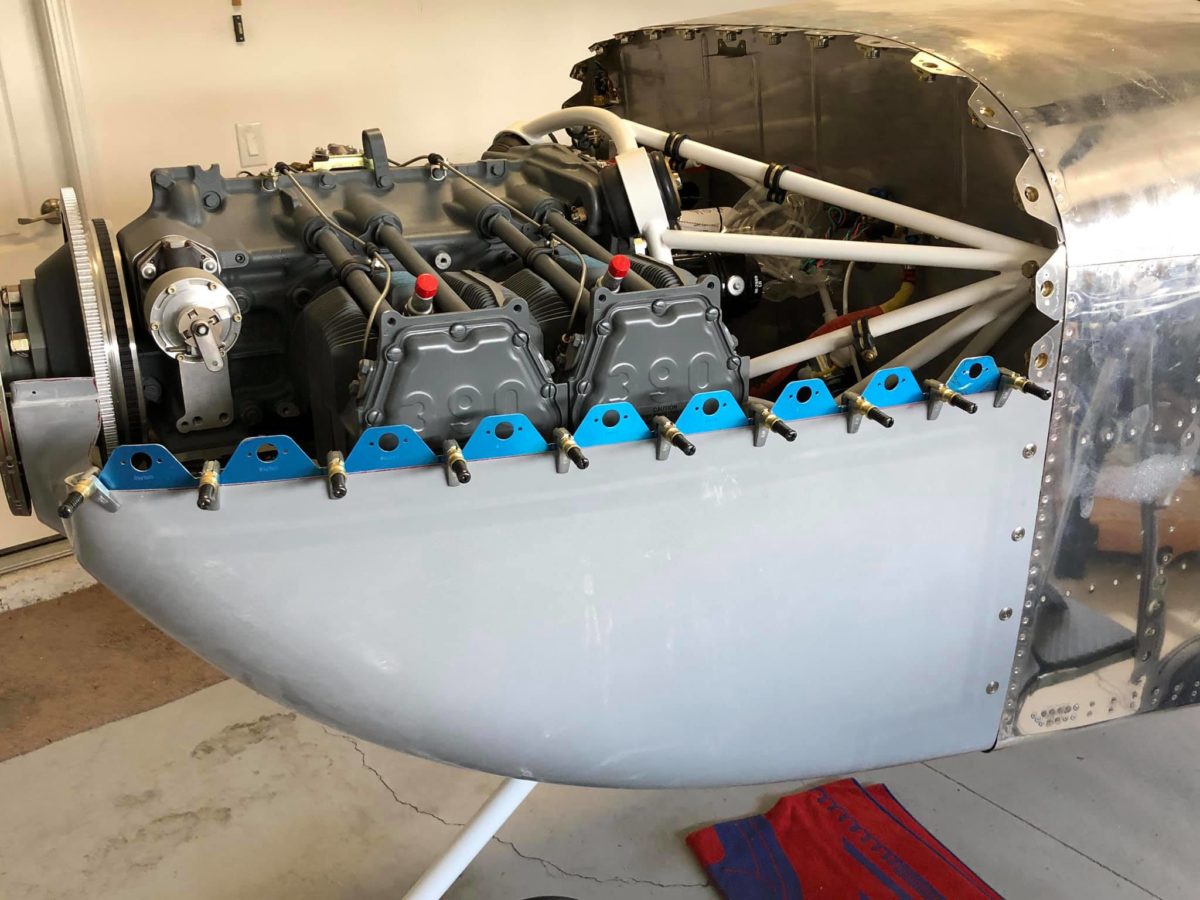
Top cowl right side Camloc grommets and studs installed.

Camloc receptacle riveting in progress.

Camloc receptacle riveted completed.

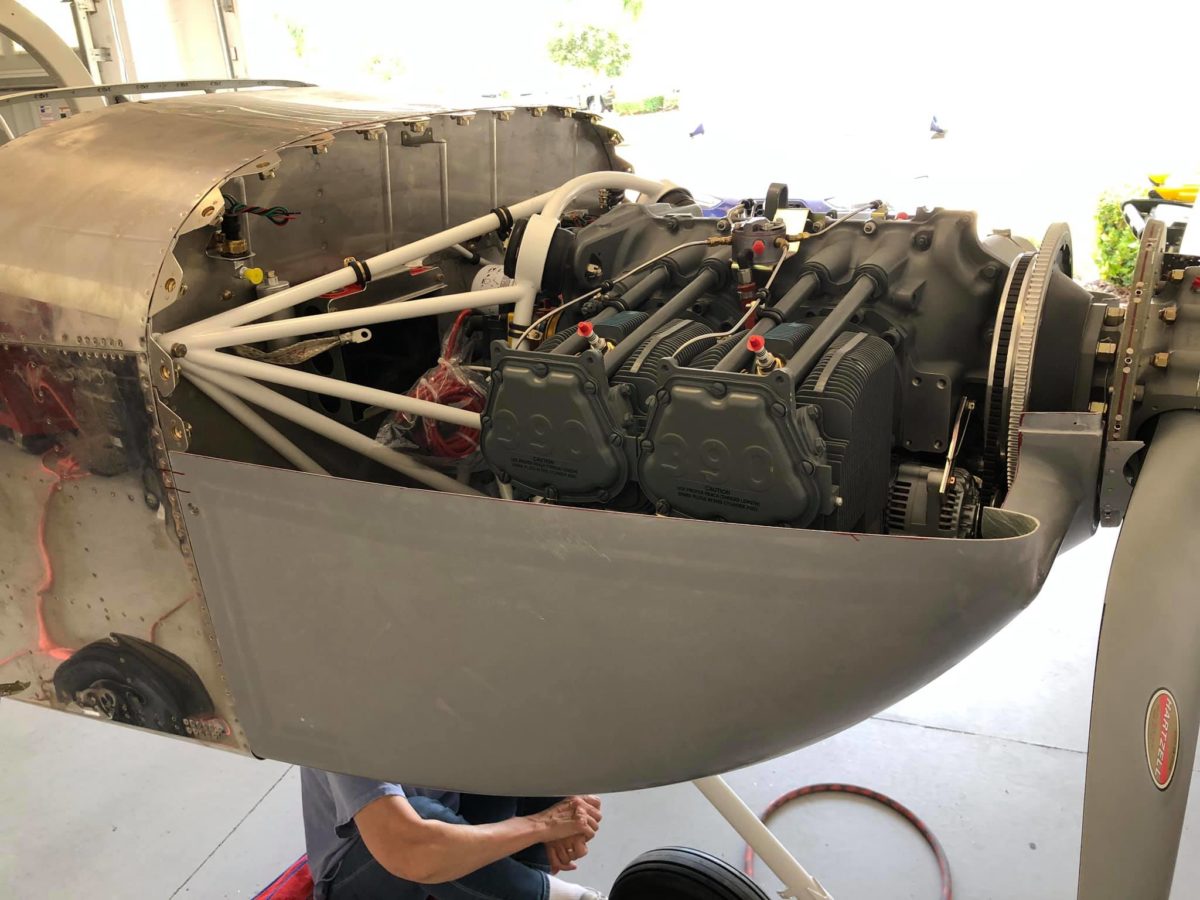
Well, all but one came out nicely. For whatever reason, the marked (and unsecured) Camloc just wouldn’t engage with its receptacle. Either it’s defective or the its hole was slightly off target, which is much more likely. I’m going to acquire one of Skybolt’s floating receptacles and replace the standard one in that location. Hopefully, that’ll solve the problem.

I’m not thrilled with the gap between the top and bottom cowlings (on either side), though I’m optimistic that paint will fill some of that gap along the split and that a little fiberglass work will reduce the gap at the front.

Oh, well; onward! 

Left side marked for drilling.

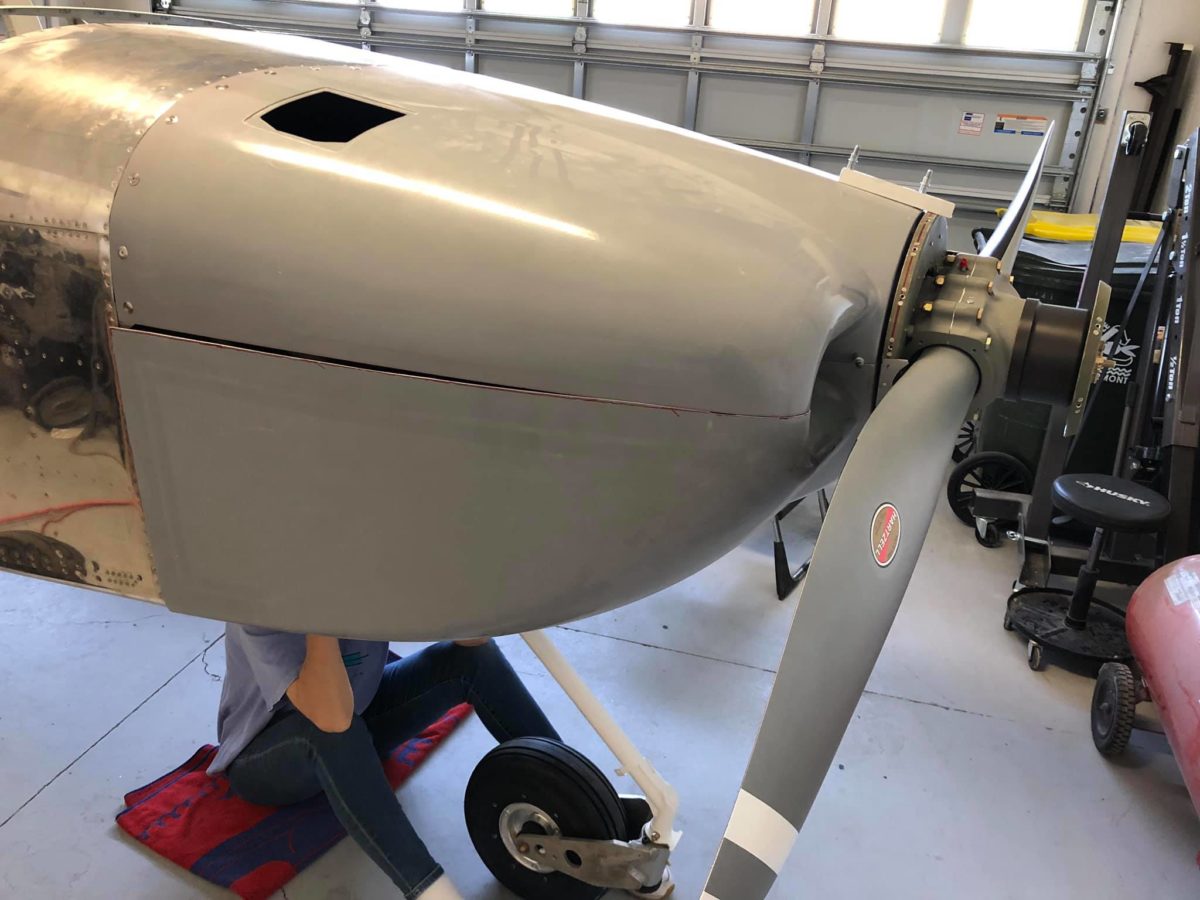
Top cowl left side Camloc grommets and studs installed.

The left side came out better, though there’s still a slight gap present, both at the front and along the length of the side.

As with the other side, paint and glass work will cover all sins.

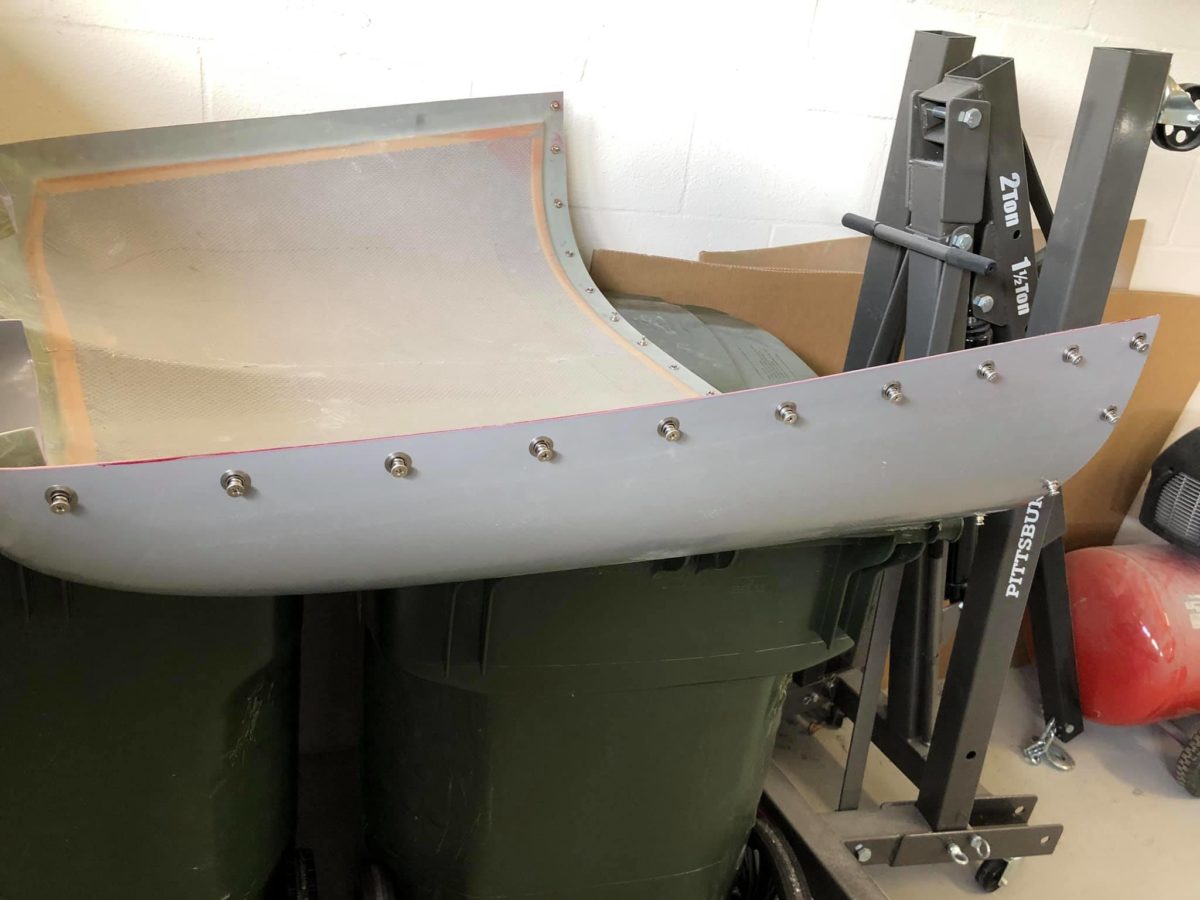
I still need to do the nutplates behind the spinner, the interior epoxy coating, and the top cowl air ramps. The cowling is rock solid as-is, though, and completely airworthy. Overall, I’m satisfied with the effort and glad to be free of hinge hell.

Firewall forward, finish, cowling progress

Left side Camloc flanges clecoed in place for fit.

Drill line drawn ¼” down from cowling edge.

Right side Camloc flanges clecoed in place for fit.

Left side rivet hole locations marked.

Right side rivet holes drilled.

Left side flanges drilling to cowling in progress.

Right side flanges drilling to cowling in progress.

Left side flanges fully drilled to cowling.

Right side flanges fully drilled to cowling.

Right side rivet holes countersunk.

Right side flanges deburred and clecoed for riveting.

Right side flanges riveted.

Left side rivet holes countersunk.

Left side flanges deburred and clecoed for riveting.

Left side flanges riveted.

Firewall forward, finish, cowling continued…

Bottom cowl held in position by one Camloc on each side. My alignment marks (for vertical orientation) can be readily seen on each side. These were made prior to removing the upper cowling.

Bottom cowl held in position by one Camloc on each side. My alignment marks (for vertical orientation) can be readily seen on each side. These were made prior to removing the upper cowling.

Upper cowling replaced to double-check alignment of the sides.

Upper cowling replaced to double-check alignment of the sides.

Bottom cowl Camloc receptacles riveted in place around the firewall.

Bottom cowl Camloc receptacles riveted in place around the firewall.

Bottom cowl Camloc grommets, retainers, and studs in place.

Bottom cowl Camloc grommets, retainers, and studs in place.

Bottom cowl in place and Camlocs adjusted for depth. Alignment marks still aligned, so that was good.

Bottom cowl in place and Camlocs adjusted for depth. Alignment marks still aligned, so that was good.

Complete cowling in place with all firewall Camlocs locked down. I’m fairly pleased thus far.

Complete cowling in place with all firewall Camlocs locked down. I’m fairly pleased thus far.

I couldn’t resist setting the spinner in place for a quick photo or two. Looks good!

I couldn’t resist setting the spinner in place for a quick photo or two. Looks good!

Firewall forward, finish, cowling underway

Initial fitting of bottom cowl. The aft edge will need between ⅛” and 3/16″ taken off at various points. I’ll start with 1/16″ and go from there. Getting the sides trimmed to match the upper cowl will follow.

Initial fitting of bottom cowl. The aft edge will need between ⅛” and 3/16″ taken off at various points. I’ll start with 1/16″ and go from there. Getting the sides trimmed to match the upper cowl will follow.