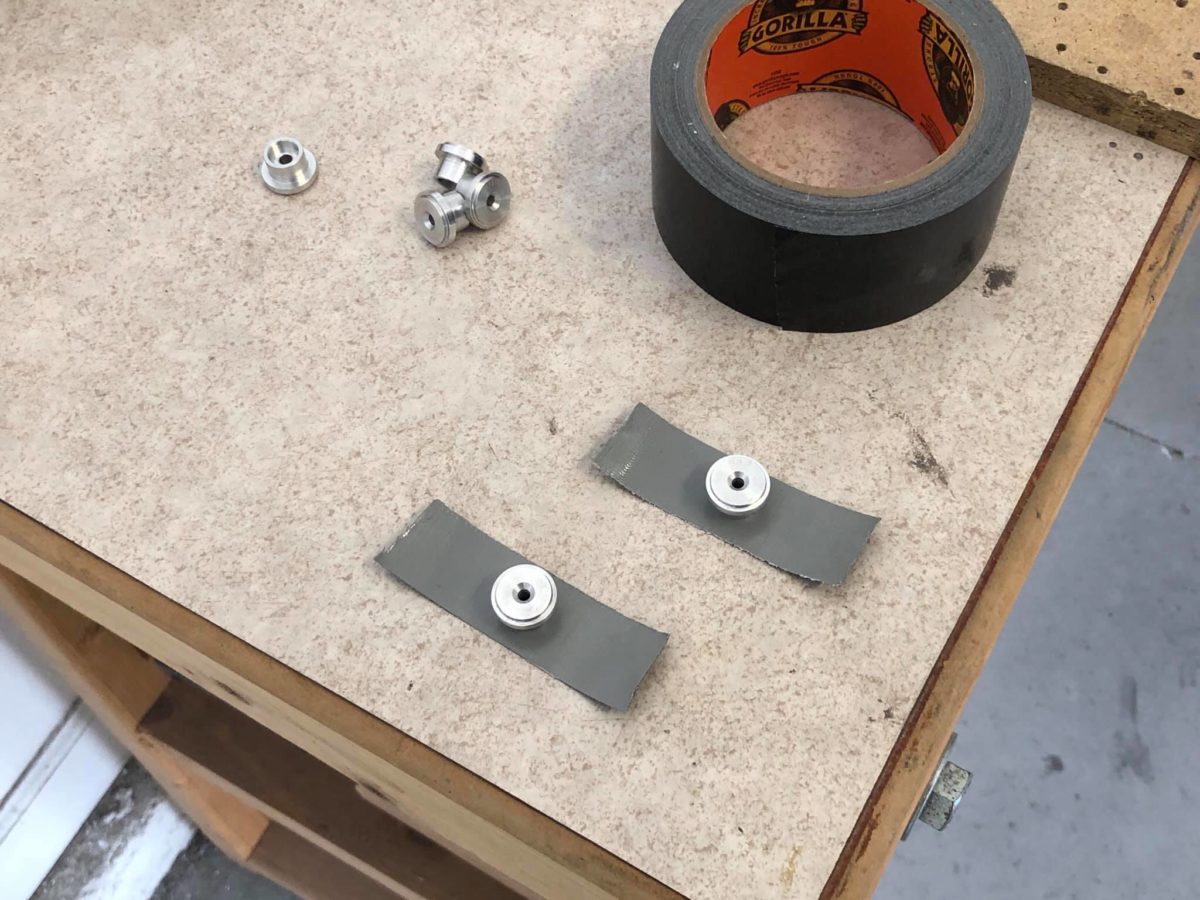
Skybolt’s cleco retainers stuck to strips of masking tape and ready to be set in place for drilling.
The first few cleco retainers taped in place.
I set one little neodymium magnet on the underside of the cleco retainer, dropped the another on top of the cowling, let it find its center, then drew rough crosshairs alignment marks around it, removed the magnets, and drilled.
I was able to immediately cleco perhaps 90% of them. The rest need to be walked a little, but no big deal; they’re all going to get opened up considerable for the Camlocs.
Camloc flanges deburred, countersunk, and clecoed for riveting.
Camloc flange riveting underway.
Camloc flange riveting complete – along the firewall top and sides, anyway.
Upper cowling set in place again, now resting its aft edge largely on the Camloc flanges. A little sanding tomorrow, then mark and cut an ⅛” strip from the aft edge, then some more sanding (are you seeing a theme here?), and the upper cowl should be ready tape in place and drill for the Camloc grommets.
Upper cowling set in place again, now resting its aft edge largely on the Camloc flanges. A little sanding tomorrow, then mark and cut an ⅛” strip from the aft edge, then some more sanding (are you seeing a theme here?), and the upper cowl should be ready tape in place and drill for the Camloc grommets.
Upper central Camloc flanges drilled in place. I only had to fudge the spacing on one of them (both sides of the middle flange) and I’m fine with the results.
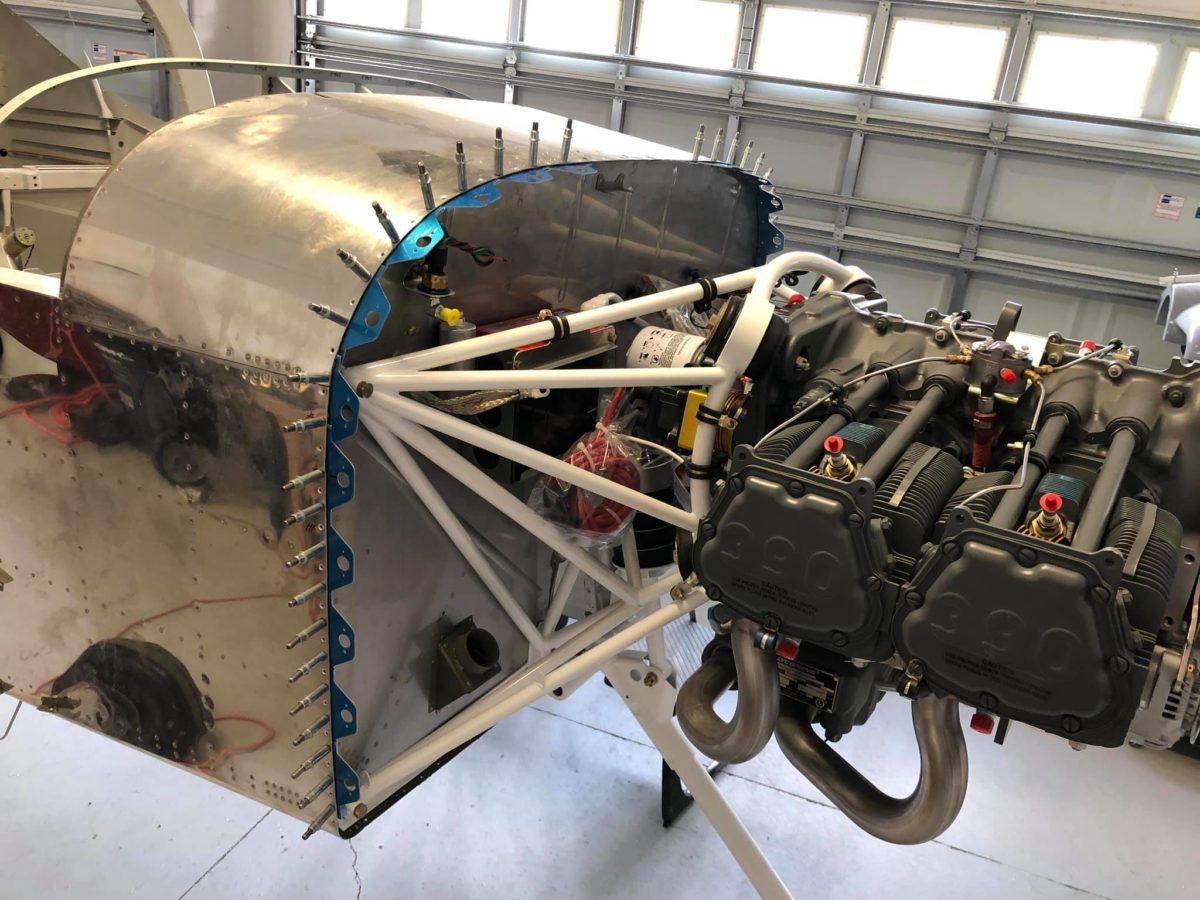
All upper and side firewall Camloc flanges drilled in place.
All upper and side firewall Camloc flanges drilled in place.
Right side Camloc flanges deburred, countersunk, and clecoed in place for riveting.
First pass at fitting the two halves together. A little more work needed on the left side (right in the photo, of course), but that’s been done now.
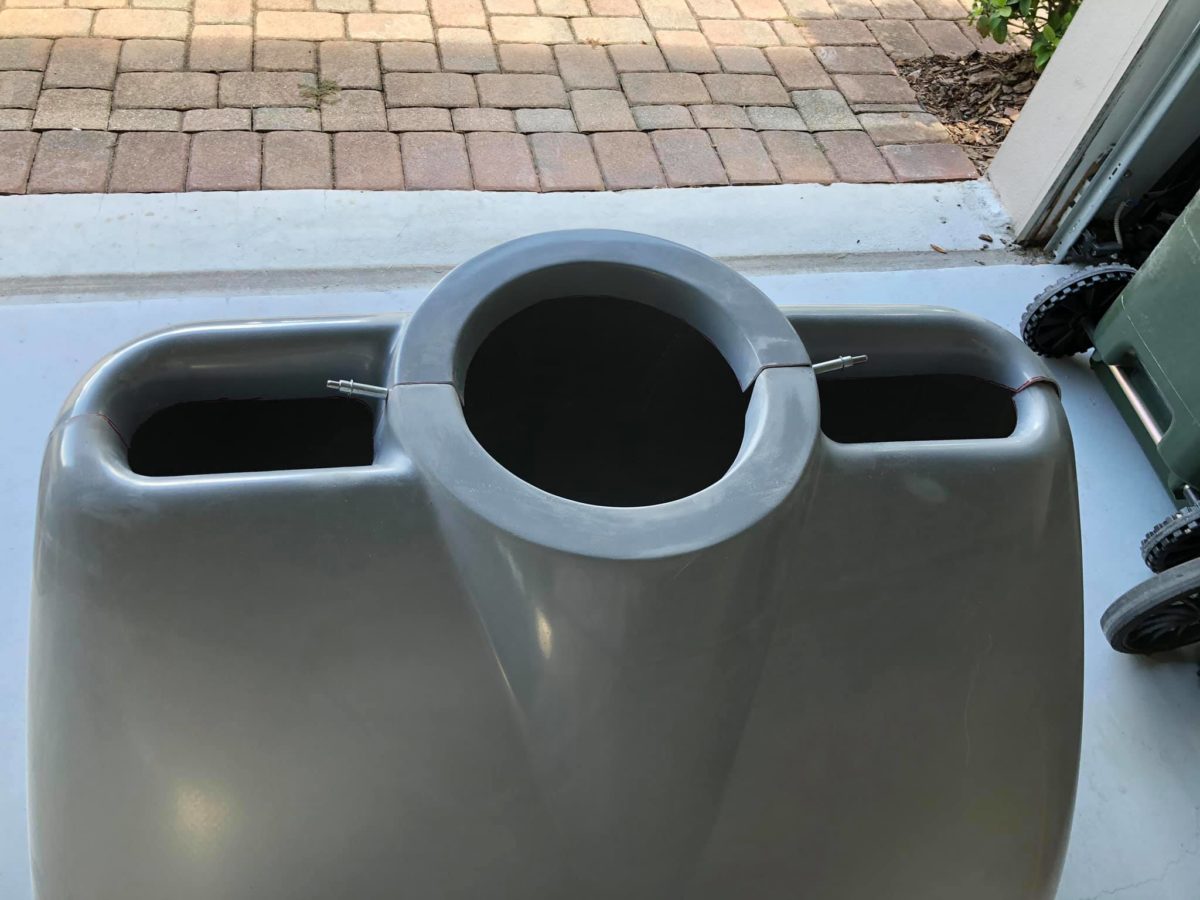
Initial set in place for the top cowl. It’s resting on the spinner here, not in the proper 3/16″ position aft.
Top cowl approaching its proper position.
Top cowl in pretty much its proper position here. Aft end still needs to be final-sanded once the Camloc flanges have been installed.
MF’ing hinges have all been removed with the bottom support plates to follow. Good riddance!!
Lower cowl Camloc flanges drilled in place. The uppermost one shown here is in line with the cowl side hinges (along the top/bottom split line) and defines the starting position for the remaining flanges.
Camloc flanges going up around the curve. Sharp-eyed viewers will note a slightly reduced spacing between the previously noted side flange in line with the cowl split line and the flange immediately above it.
Sticking with the recommended 3.5″ hole center spacing would’ve created a conflict between the Camloc receptacle and the engine mount bolt. So, a little adjustment was necessary – the eventual spacing that worked turned out to be 2-11/16″.
I’ll do the equivalent right side flanges tomorrow, adjust the spacing on the last two top center flanges to make them fit, then deburr, countersink, and rivet the flanges to the firewall. Once that’s all done, it should be relatively short work to finish fitting the cowling.