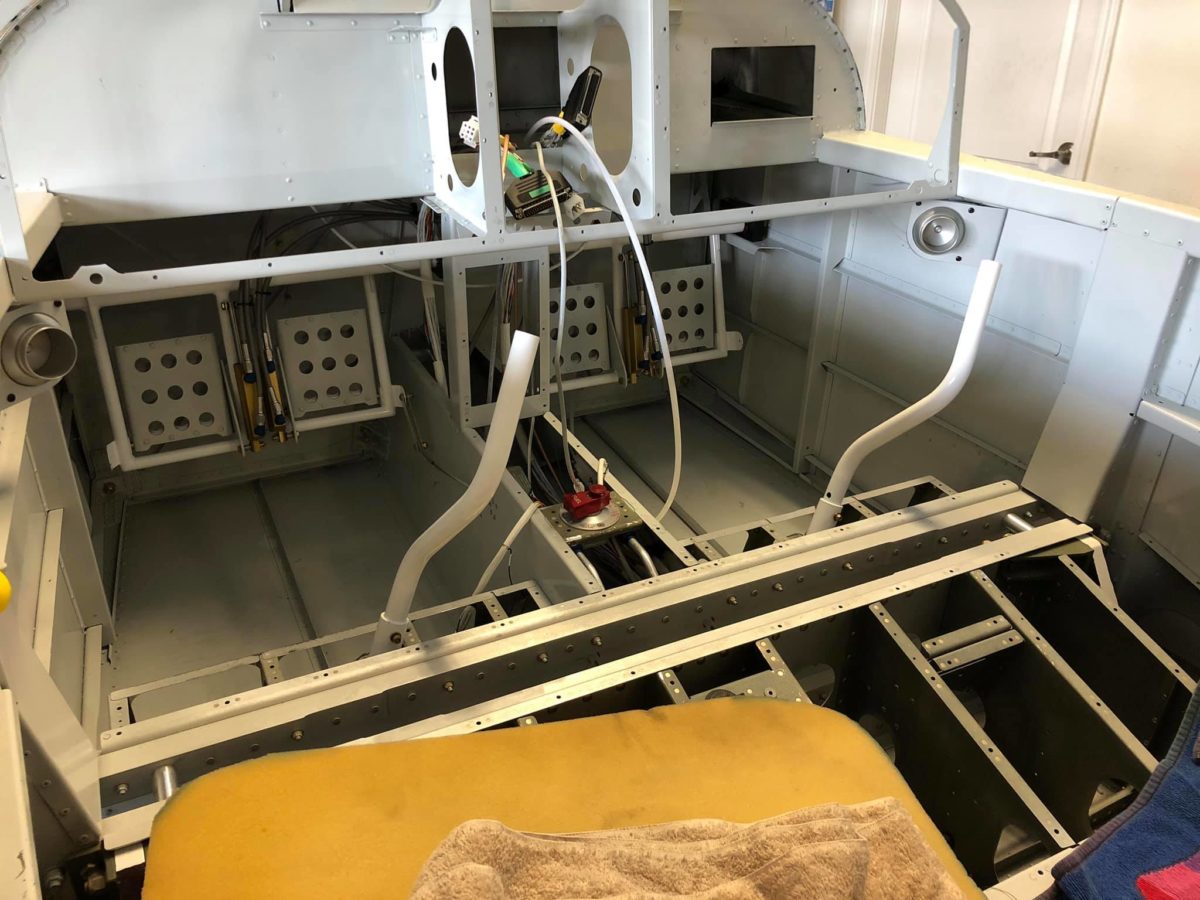
Aft wiring harness run through the vertical stabilizer rear spar, heat shrink applied (though not yet shrunk), and ground terminal installed.
Vertical stabilizer final-mounted with forward spar nut torqued and safetied.
ELT installation complete. Both twisted pair wires have been connected to the audio alert, the antenna coax has been connected to the ELT, and the DIN connector has been fabricated & connected to the ELT.
The only remaining ELT connection to be made is the forward end of the gray twisted pair to the remote on the panel. Once the panel has been installed, that’s probably the easiest connection to make!
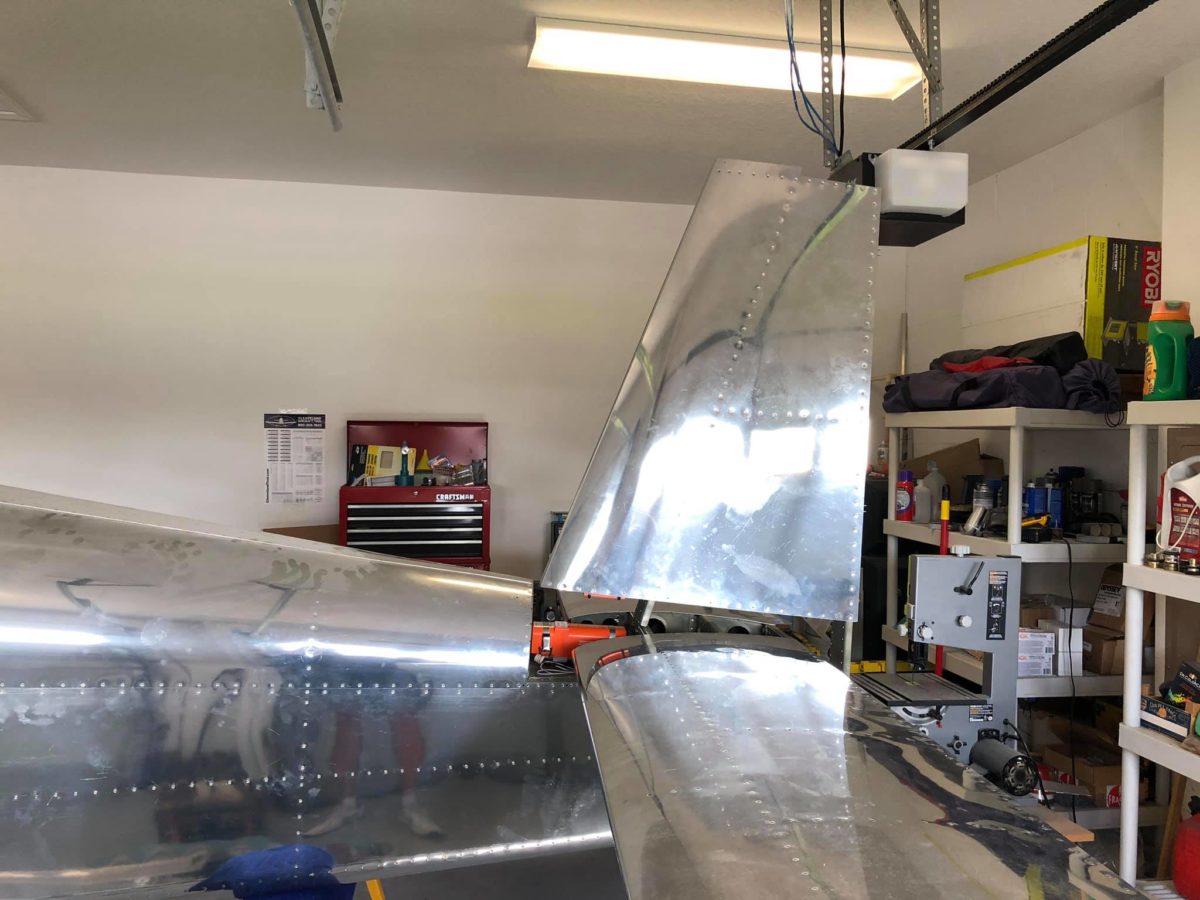
Elevators installed!
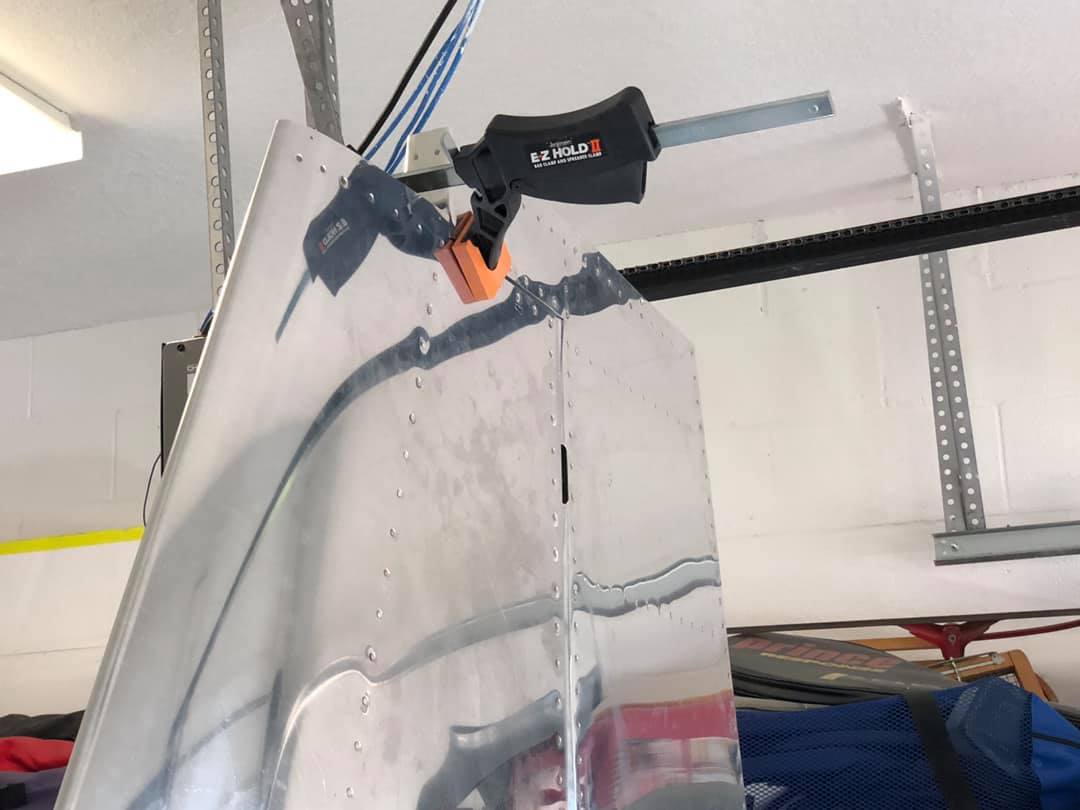
Rudder installed. For the first time, the aft end has that distinctly RV look. The deflection was perfect – no adjustment to the rudder stops or side skins required, thankfully.
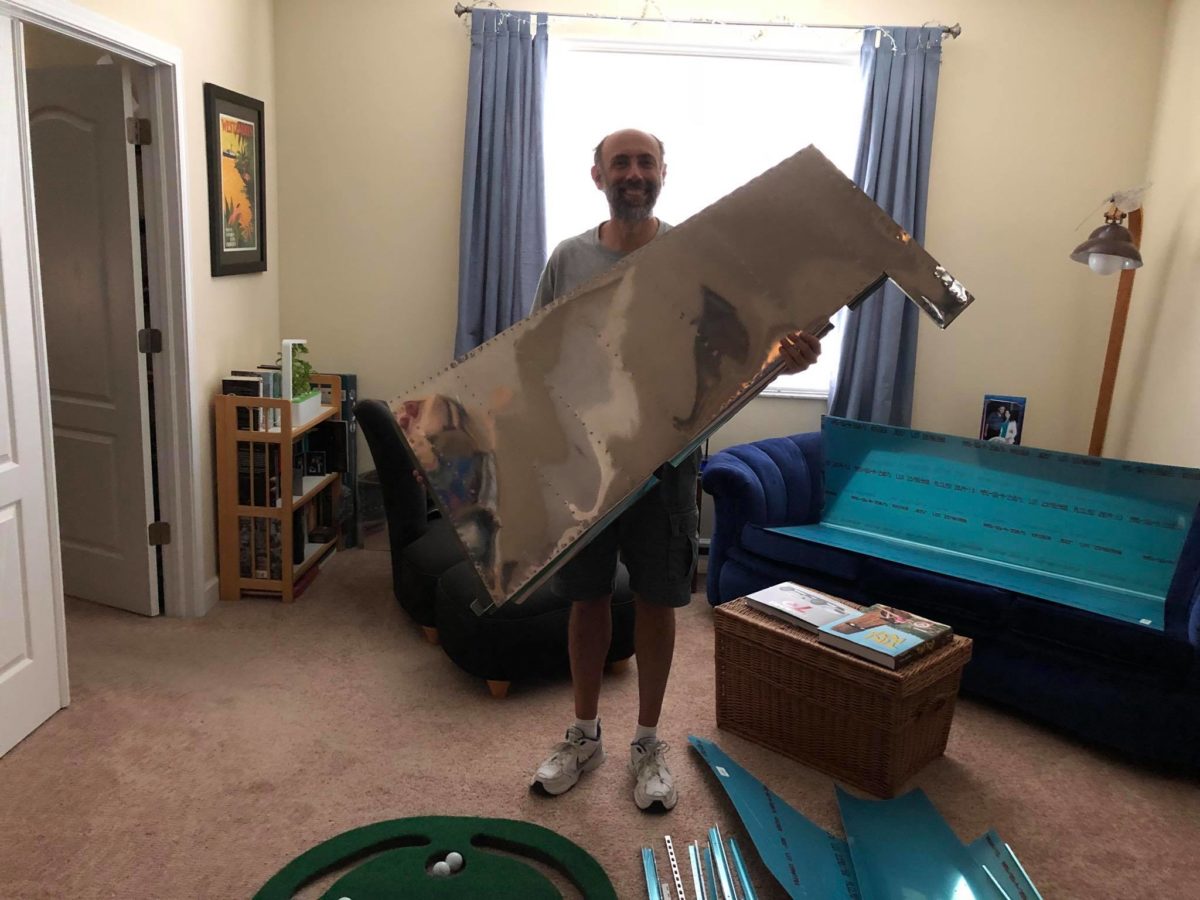
Throughout this project, I’ve been marveling at how much larger various pieces of the -14A are vs. their -8 versions. The tail just looks huge. Maybe ⅓ again larger, but I could be misremembering. In any case, it’s big.
Rudder installed. For the first time, the aft end has that distinctly RV look. The deflection was perfect – no adjustment to the rudder stops or side skins required, thankfully.