Empennage, rudder, horizontal stabilizer, vertical stabilizer underway

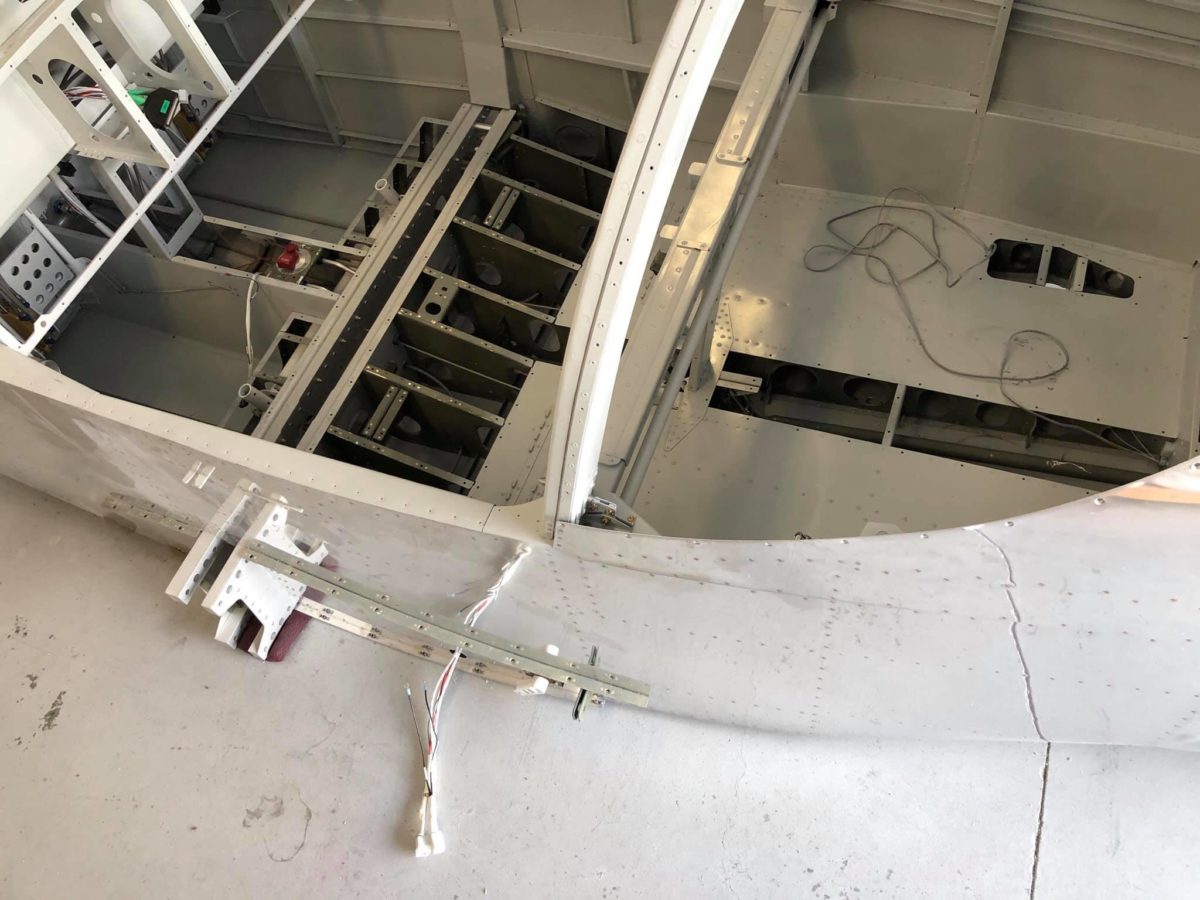
Waiting for epoxy to set up after each operation caused some delays this week (plus, my compressor died and had to be replaced), so there are several days of progress represented in today’s update.

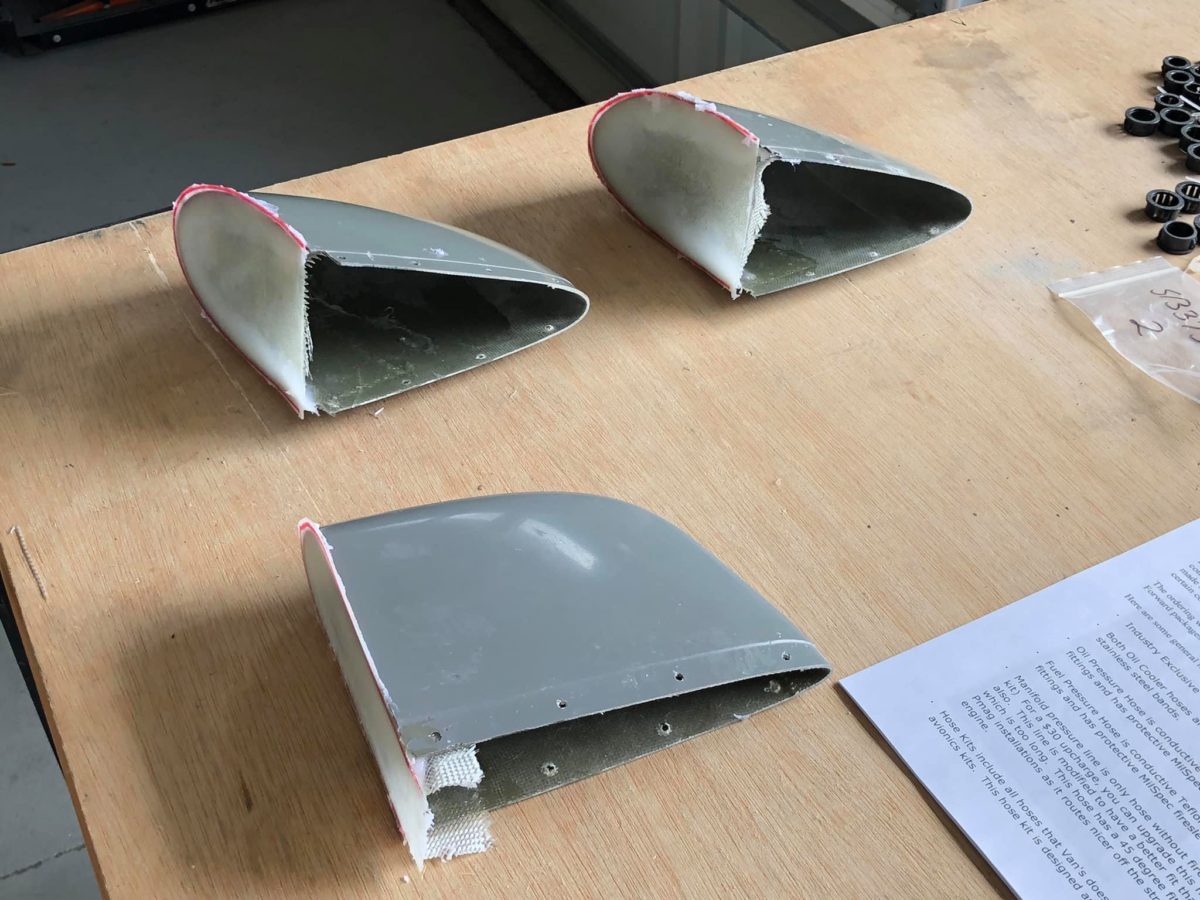
All three empennage tip fairings are shown here having received their initial internal flox fillets and fiberglass layups.

One of the spinner gap fillers shown here with its flox fixes in place. They came out pretty nice and should look fine once they’re primed and painted.

The other spinner gap filler shown here with its flox fixes in place. They came out pretty nice and should look fine once they’re primed and painted.

First post-sanding pass at fitting the left horizontal stabilizer tip fairing to clear the elevator counterweight arm.

First post-sanding pass at fitting the right horizontal stabilizer tip fairing to clear the elevator counterweight arm.

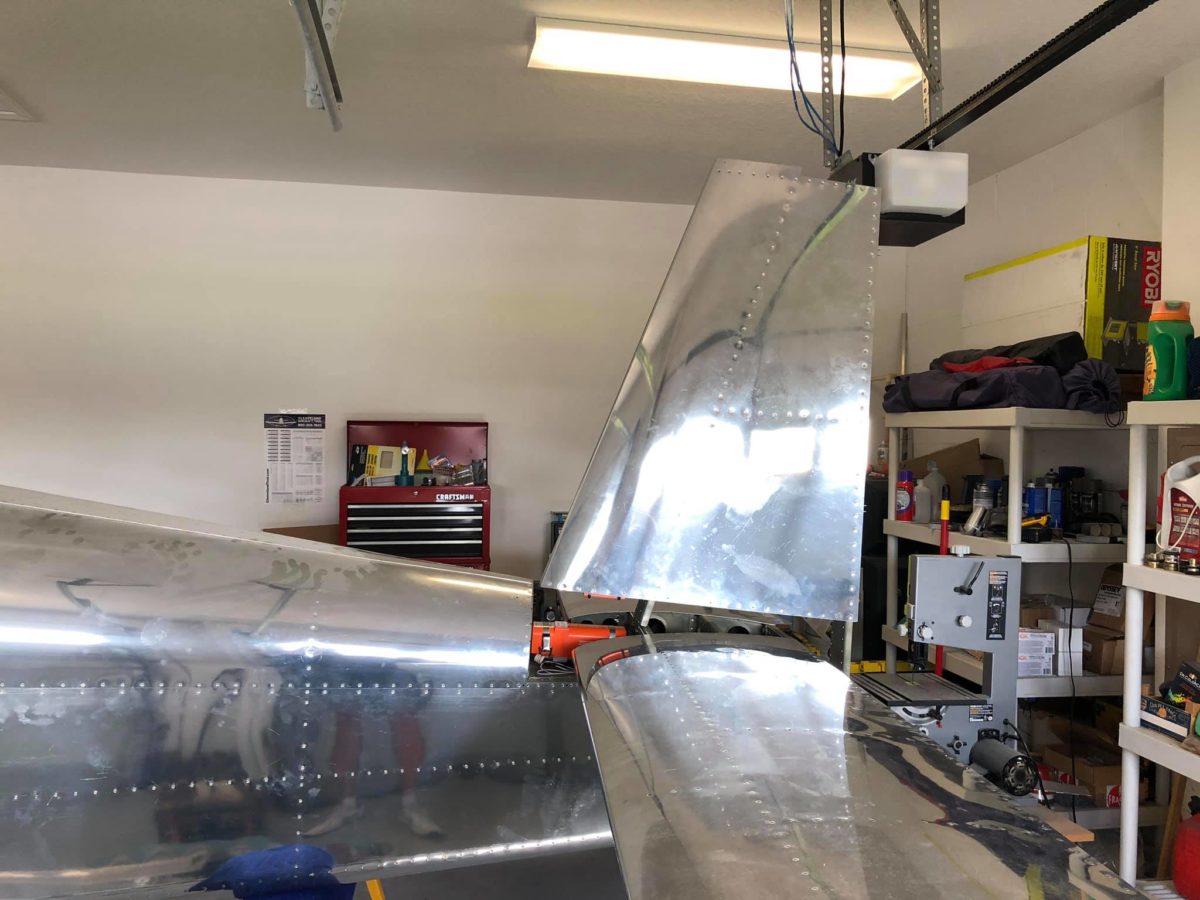
First post-sanding pass at fitting the vertical stabilizer tip fairing to clear the rudder counterweight arm.

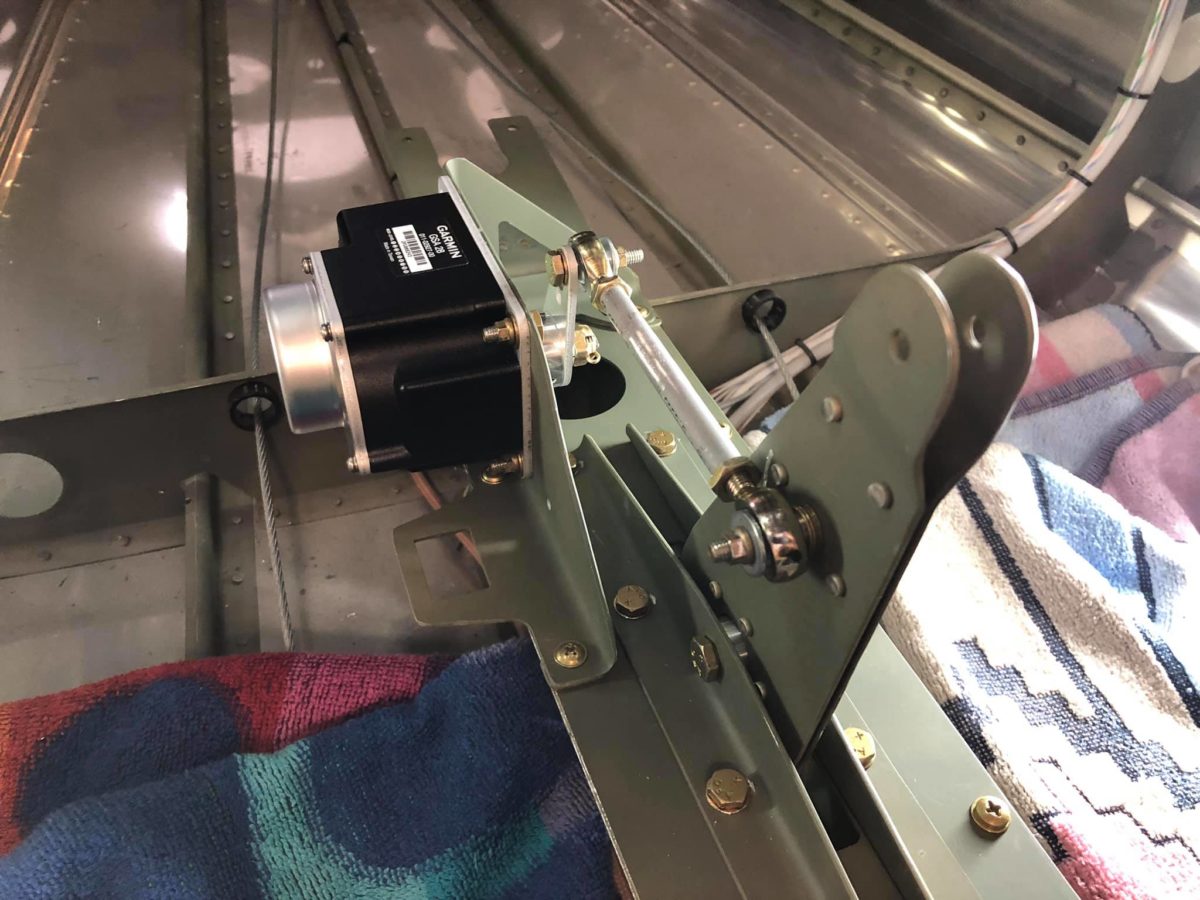
Taillight installed and Molex connector fitted to the wiring harness.

Lots of micro slathered on in this (hopefully final) step. Some sanding tomorrow and another coat of filler primer should see these puppies ready for riveting. Hopefully.

Fuselage, empennage, elevator, vertical stabilizer, rudder component installation

Vertical stabilizer mounted.

Aft wiring harness run through the vertical stabilizer rear spar, heat shrink applied (though not yet shrunk), and ground terminal installed.

Vertical stabilizer final-mounted with forward spar nut torqued and safetied.

ELT installation complete. Both twisted pair wires have been connected to the audio alert, the antenna coax has been connected to the ELT, and the DIN connector has been fabricated & connected to the ELT.

The only remaining ELT connection to be made is the forward end of the gray twisted pair to the remote on the panel. Once the panel has been installed, that’s probably the easiest connection to make!

Elevators installed!

Rudder installed. For the first time, the aft end has that distinctly RV look. The deflection was perfect – no adjustment to the rudder stops or side skins required, thankfully.

Throughout this project, I’ve been marveling at how much larger various pieces of the -14A are vs. their -8 versions. The tail just looks huge. Maybe ⅓ again larger, but I could be misremembering. In any case, it’s big.

Rudder installed. For the first time, the aft end has that distinctly RV look. The deflection was perfect – no adjustment to the rudder stops or side skins required, thankfully.

Right rudder cable installed.

Left rudder cable installed.

Fuselage, components under assembly

Elevator bellcrank assembly installation in progress, also known as ‘fun in the tailcone’…NOT!!

Yaw servo mount riveted to aft face of #7 bulkhead. That’s RV-14A for “nearly inaccessible”.

Main fuselage harnesses laid out for the first time. That’s a lotta wires…

Autopilot pitch servo installed.

Autopilot pitch & yaw servo wiring harness installed.

The single loose wire is the ground for both servos and is now installed. The other connector is for the autopilot yaw servo and will be connected this weekend when I get the other servo mounted.