Fuselage, empennage, rudder, elevator progress

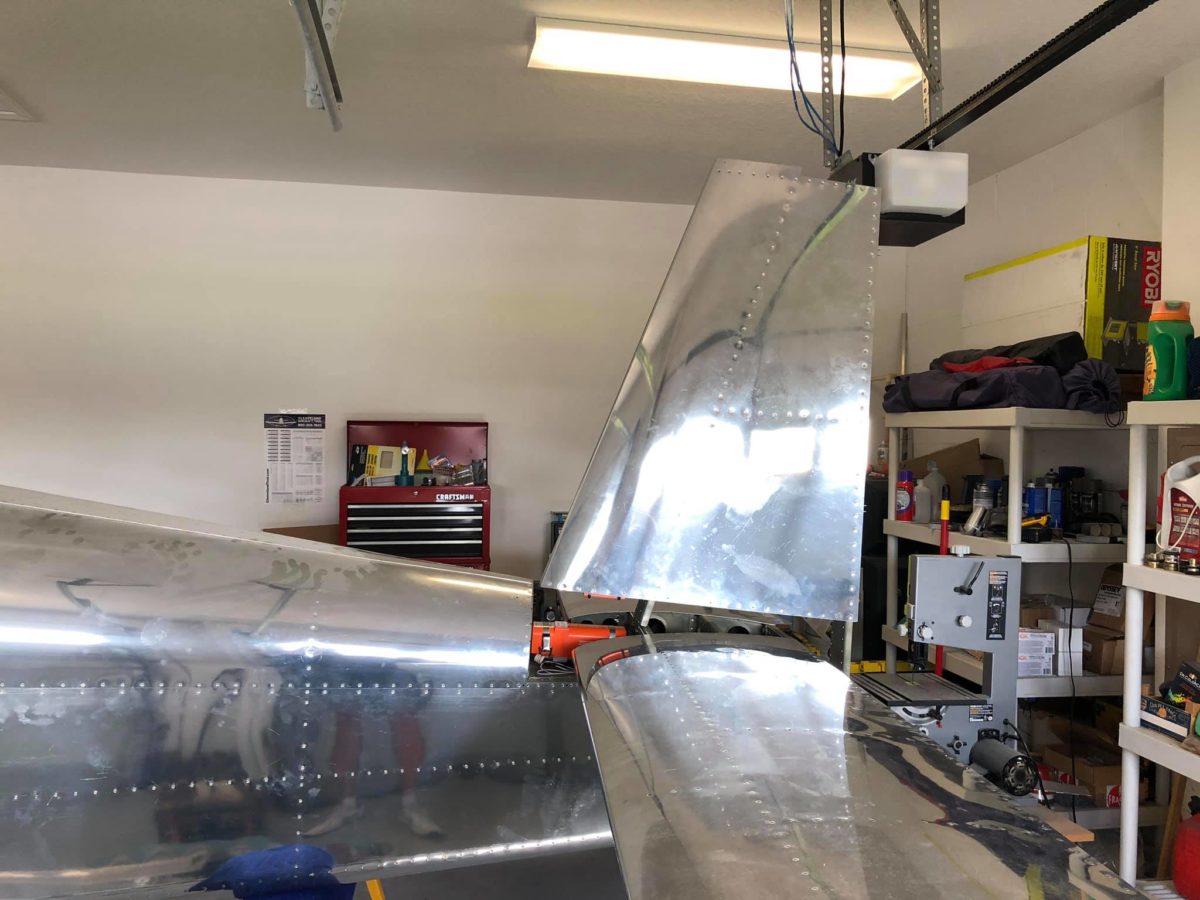
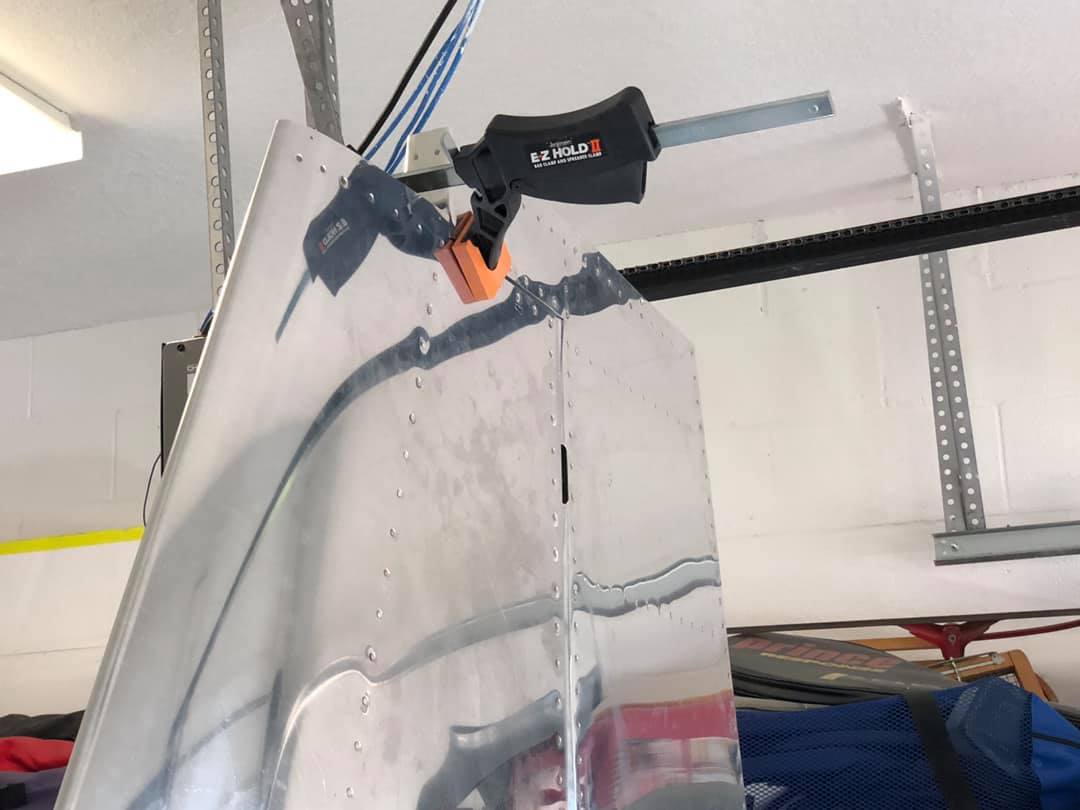
Rudder secured in trail for yaw servo bridle and rudder pedal adjustments.

Seat back temporarily installed to facilitate rudder pedal adjustments.

Seat cushions temporarily installed to facilitate rudder pedal adjustments.

Your truly – first time in the plane on its gear. The tallest RV I’ve ever been in.

Your truly – first time in the plane on its gear. The tallest RV I’ve ever been in.

Elevators secured in trail to facilitate aft elevator pushrod installation.

Elevators secured in trail to facilitate aft elevator pushrod installation.

Aft elevator pushrod secured to the elevator horns.

Aft elevator pushrod secured to the elevator horns.

Yaw servo hoop adjusted and rudder cable bridles secured.

Aft elevator pushrod in place.

Forward end of the ELT secure in its mount bracket.

Aft elevator pushrod heading for the elevator horns.

Aft elevator pushrod secured to the elevator bellcrank.

Aft tailcone closeout overview. I sincerely hope to never have to be back in there.

Fuselage, empennage, elevator, vertical stabilizer, rudder component installation

Vertical stabilizer mounted.

Aft wiring harness run through the vertical stabilizer rear spar, heat shrink applied (though not yet shrunk), and ground terminal installed.

Vertical stabilizer final-mounted with forward spar nut torqued and safetied.

ELT installation complete. Both twisted pair wires have been connected to the audio alert, the antenna coax has been connected to the ELT, and the DIN connector has been fabricated & connected to the ELT.

The only remaining ELT connection to be made is the forward end of the gray twisted pair to the remote on the panel. Once the panel has been installed, that’s probably the easiest connection to make!

Elevators installed!

Rudder installed. For the first time, the aft end has that distinctly RV look. The deflection was perfect – no adjustment to the rudder stops or side skins required, thankfully.

Throughout this project, I’ve been marveling at how much larger various pieces of the -14A are vs. their -8 versions. The tail just looks huge. Maybe ⅓ again larger, but I could be misremembering. In any case, it’s big.

Rudder installed. For the first time, the aft end has that distinctly RV look. The deflection was perfect – no adjustment to the rudder stops or side skins required, thankfully.

Right rudder cable installed.

Left rudder cable installed.

Fuselage, flap system progress

Extended rudder cable links installed. I only cotter-pinned the forward connections, as they won’t be changing. I’ll do the aft connections during final assembly once the rudder is on the plane and I can confirm full control movement.

Right-side rudder cable guides in place.

Left-side rudder cable guides in place.

Flap actuation system in process – torque arms being drilled to the flap crank.

Fuselage, brakes assembly

I’ve been sick as a dog for the last week and am only just starting to feel more like myself. Sorry for the lack of updates. Now back to our regularly scheduled build!

Rudder & brake pedal assemblies mounted to fuselage. I choose the middle of three positions and am hopeful that, in combination with the three possible seatback positions, I won’t have to move them. Ever.  

Sets of longer-than-standard rudder cable links which I had waterjet from .050 4130. I only needed one set of four, but the shop managed to cut 11 sets from the sheet of steel I supplied, so I’ve listed the other ten sets for sale. Five have already sold.

Brake lines going in. These are the slave lines from the firewall-mounted reservoir to the right-side master cylinders.

These are the crossover brake lines connecting the left and right sides.

The main brake lines running from the left-side master cylinders out to each gear leg. From there (on each side, of course), the gear leg lines will run down to each main wheel brake.

The left-side rudder cable sleeve securely Adel-clamped to the tunnel side. Securing those clamps with their severely access-restricted nuts was a bear!!!!

Right-side rudder cable sleeve secured in position.

The final version of my panel. I expect to give the go-ahead to the avionics shop very shortly. Currently tracking a late March delivery.