Empennage, horizontal stabilizer, firewall forward continued…

Spinner gap fillers trimmed to fit.

A little more needs to come off (marked in red) and I’m going to have to add some material back between the edges of the gap filler and the spinner. Must have gotten a little carried away with the sander.

Back to fiberglass work. Yay. Not.

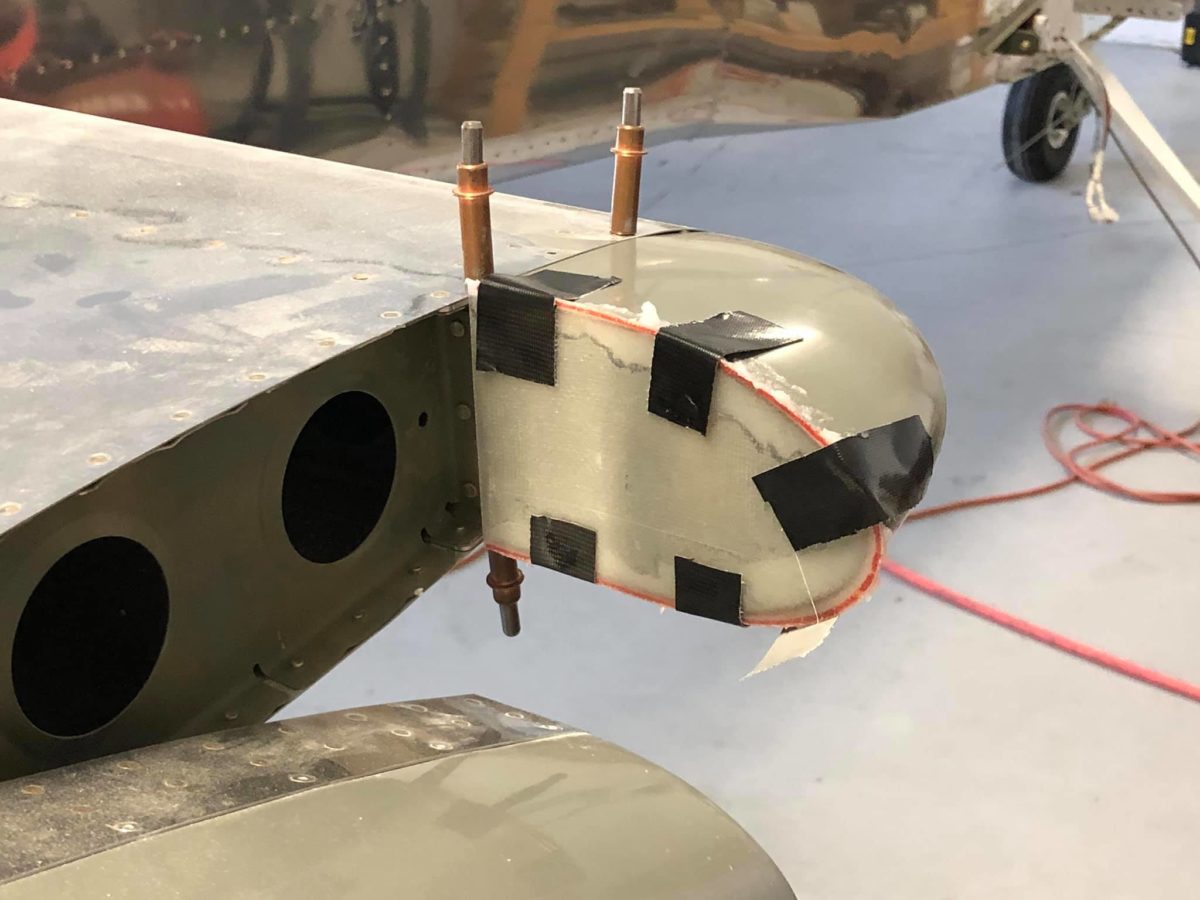
Right horizontal stabilizer tip fairing closure in progress.

Left horizontal stabilizer tip fairing closure in progress.

Vertical stabilizer tip fairing closure in progress.

Firewall forward in process

Spinner prop blade cutouts underway.

Spinner prop blade cutouts first pass complete.

Spinner first fitting. Not too bad…

A little more trimming required, though.

Super-slick use of neodymium magnets to locate the front bulkhead holes under the opaque spinner.

Super-slick use of neodymium magnets to locate the front bulkhead holes under the opaque spinner.

Inner magnets taped in place.

Spinner centered over prop blades and clecoed in place.

Magnets doing their thing to locate the front bulkhead holes.

Plastic washers taped in place.

Voila! It actually worked. So cool even Jean thought it was neat.

The clamped board arrangement makes it possible to rotate the prop blades through their range of motion to check for interference/clearance with the spinner.

Spinner plate assembly drilled and clecoed to spinner. That puppy is well and truly on there now.

Gap filler template has been cut out and awaits its date with the spinner remnants tomorrow.

Firewall forward progress

First attempt at supporting prop for installation of spinner plate assembly. I didn’t like it – way too precarious.

We wound up setting the prop on the hub with the rear face extended off the table’s edge. With two people holding it in place, that was sufficient to get the spinner plate bolted in place and torqued. Afterward, we just set it on its bolts.

Ring gear and alternator belt loosely in place. Yes, the paper towel was removed from the crank.

Lift strap wrapped around the prop hub and awaiting the engine hoist.

This worked even better than anticipated. Only a little manipulation of the hoist was required to get the bolts started. After that, it’s just a matter of doing a little on each one and continuing around the circle as the bolts draw the prop onto the crank and ring gear.

All snugged up and awaiting the arrival of the special prop wrench for final torquing and safety-wiring of the prop bolts.

All snugged up and awaiting the arrival of the special prop wrench for final torquing and safety-wiring of the prop bolts.

Front spinner bulkhead temporarily in place and, though it’s impossible to see here, the alternator has been positioned (tensioning the belt) and its bolts torqued and safety-wired as appropriate.

Conehead Ken. My wife was amused and it’s not for me to argue!

Spinner fitting tomorrow…

Firewall forward components

Alternator mount bracket installed and safety-wired.

Alternator installed. Several of the bolts are yet to be final-torqued, as the alternator’s final position is determined after mounting the prop.

Best to drape the alternator belt roughly in place now, lest one forget it until after the prop bolts have been torqued.

Alternator power wire installed and secured.

The new prop emerging from its nest.

Ta-da! Seventy-four inches of Hartzell goodness…

Spinner plate and doubler ring in process…

Spinner plate rough cut accomplished.

Spinner plate, doubler ring, and front spinner bulkhead ready for priming.

Spinner plate, doubler ring, and front spinner bulkhead primed.

Spinner plate and doubler ring riveted.

Prop has been placed in the workshop to come up to temperature overnight.

It’ll be mounted tomorrow and torqued later in the week after the special extension crowfoot wrench arrives.