Firewall forward, fuselage continued…

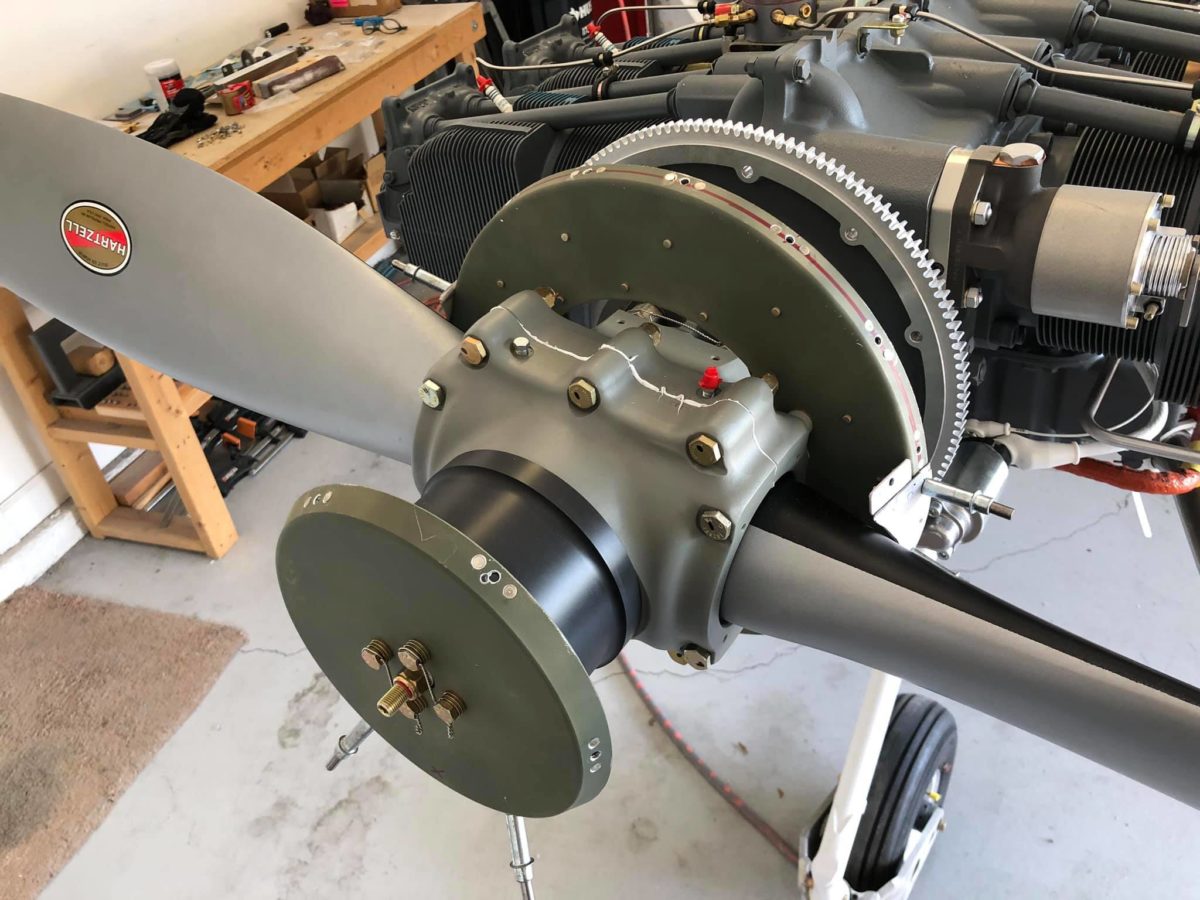
Spinner clecoed on prior to being screwed in place.

GTN 750 tray adjusted very slightly aft, now enabling full seating of all connectors and Comm 1 activation (no longer X’ed out)!!.

Both Comm radios have now been successfully tested for reception and transmission. Each was crystal clear.

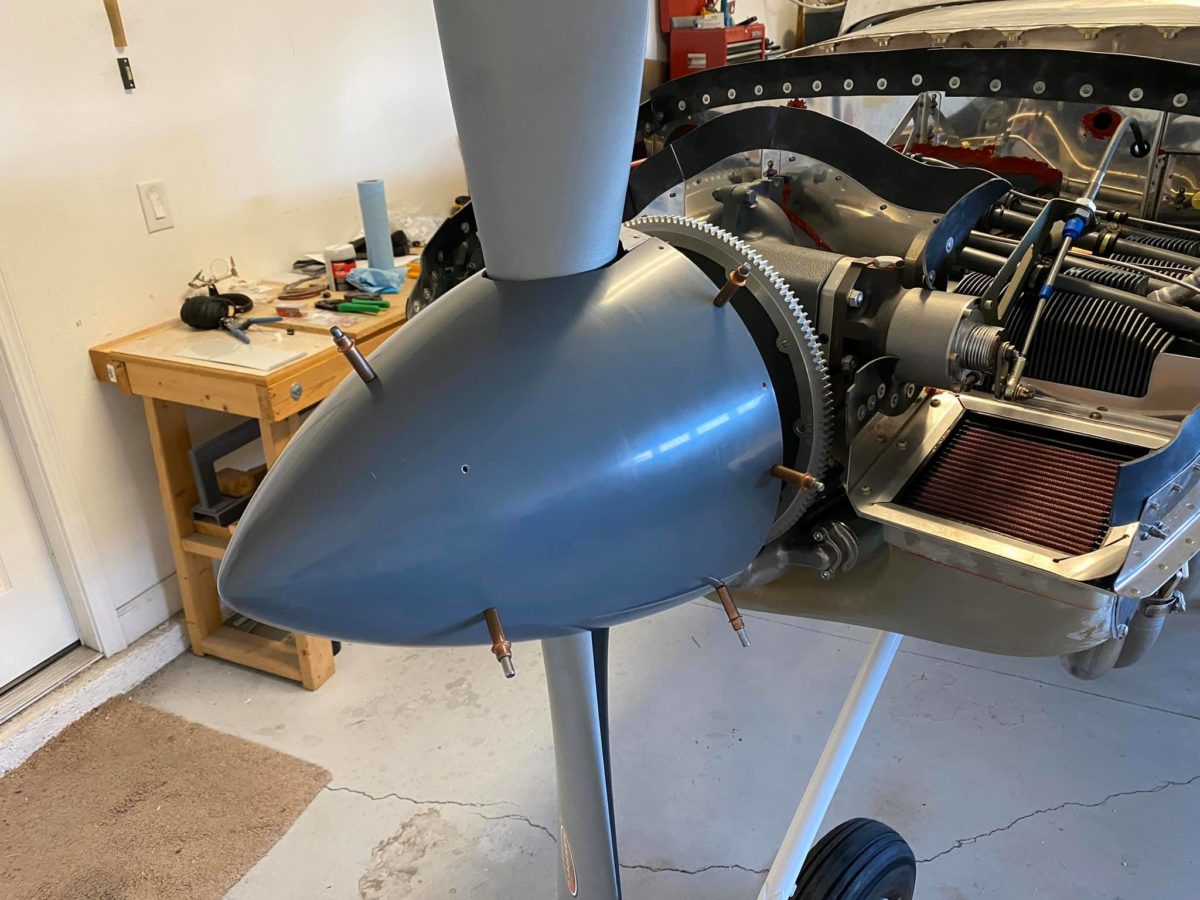
Spinner screwed in place. If not for good, at least until painting – unless Vic wants it off for inspection, of course.

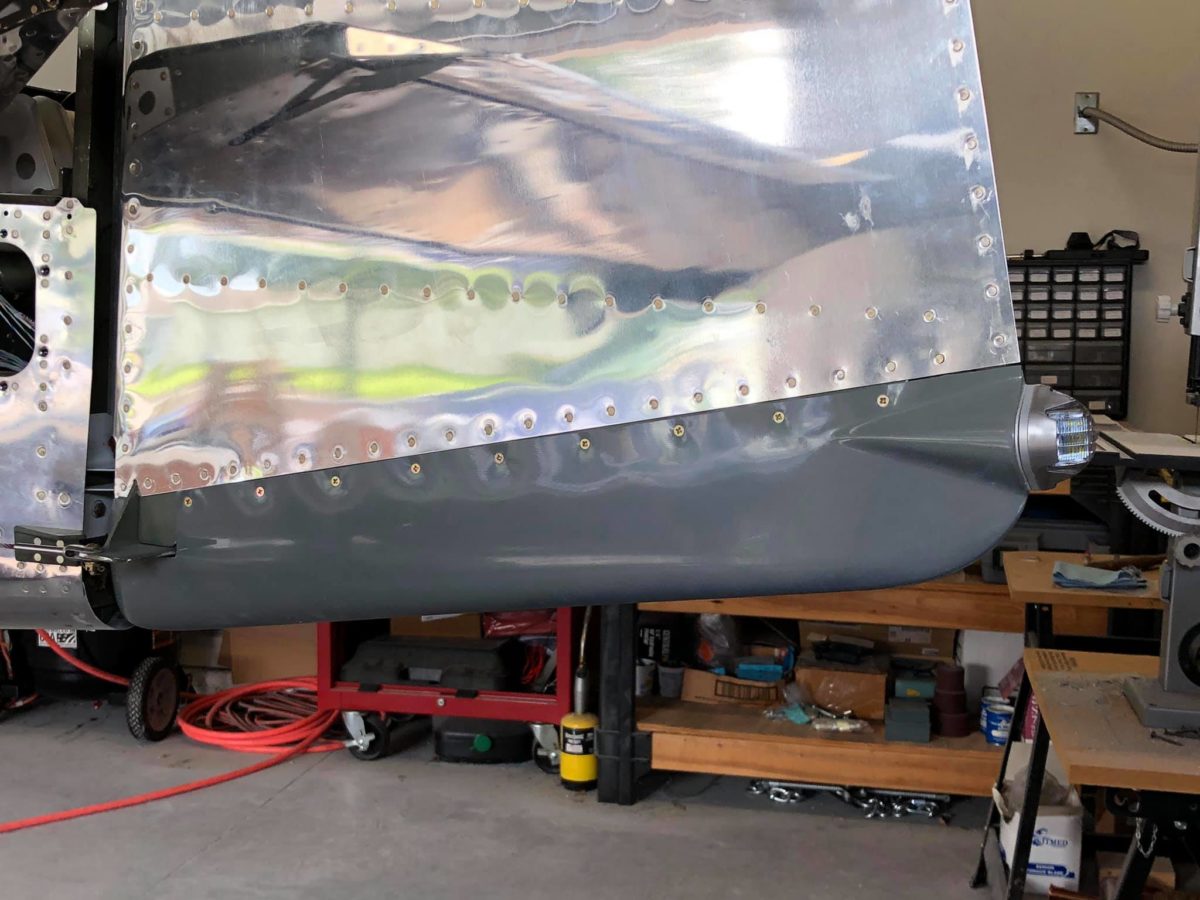
Hinge cover assembly seals in process…

Temporary N-numbers in process..

Temporary N-numbers (left-side)…

Temporary N-numbers in process…

Temporary N-numbers (right-side)…

Data plate in process…

Data plate riveted in place for good!

Firewall forward, empennage in process

Spinner front bulkhead bolts torqued and safety-wired.

Spinner plate assembly and front spinner bulkhead nutplates riveted.

Yes, there’s a little oopsie on one of those holes (a locating magnet failure to accurately locate that pre-drilled hole), but the nutplate isn’t compromised, so I’m not concerned. Onward!

Spinner is done and clecoed in place for the moment. The manual says to install it now with the permanent screws, but a few pages later (in the cowling instructions) it has to come off again, so best to leave the screwing until later. So to speak.

Left empennage gap cover bent and clecoed in place.

Empennage, rudder, horizontal stabilizer, vertical stabilizer continued…

Rudder bottom fairing and taillight complete.

Spinner backing plates ready for installation.

Spinner screw holes drilled up to #19.

Empennage tip fairings and spinner gap fillers ready for installation.

The tip fairings are definitely not perfect, but they’re perfectly airworthy, so I’m fine with moving forward at this point. So far as I’m concerned, getting them perfect falls under paint shop surface prep – and they’ll be paid plenty for the work.

Left horizontal stabilizer tip fairing riveted in place.

Right horizontal stabilizer tip fairing riveted in place.

Vertical stabilizer tip fairing riveted in place.

Spinner plate assembly and front bulkhead drilled for nutplates and countersunk.

Empennage, rudder, horizontal stabilizer, vertical stabilizer underway

Waiting for epoxy to set up after each operation caused some delays this week (plus, my compressor died and had to be replaced), so there are several days of progress represented in today’s update.

All three empennage tip fairings are shown here having received their initial internal flox fillets and fiberglass layups.

One of the spinner gap fillers shown here with its flox fixes in place. They came out pretty nice and should look fine once they’re primed and painted.

The other spinner gap filler shown here with its flox fixes in place. They came out pretty nice and should look fine once they’re primed and painted.

First post-sanding pass at fitting the left horizontal stabilizer tip fairing to clear the elevator counterweight arm.

First post-sanding pass at fitting the right horizontal stabilizer tip fairing to clear the elevator counterweight arm.

First post-sanding pass at fitting the vertical stabilizer tip fairing to clear the rudder counterweight arm.

Taillight installed and Molex connector fitted to the wiring harness.

Lots of micro slathered on in this (hopefully final) step. Some sanding tomorrow and another coat of filler primer should see these puppies ready for riveting. Hopefully.