Backup alternator to fuse wire version 2. Much better.
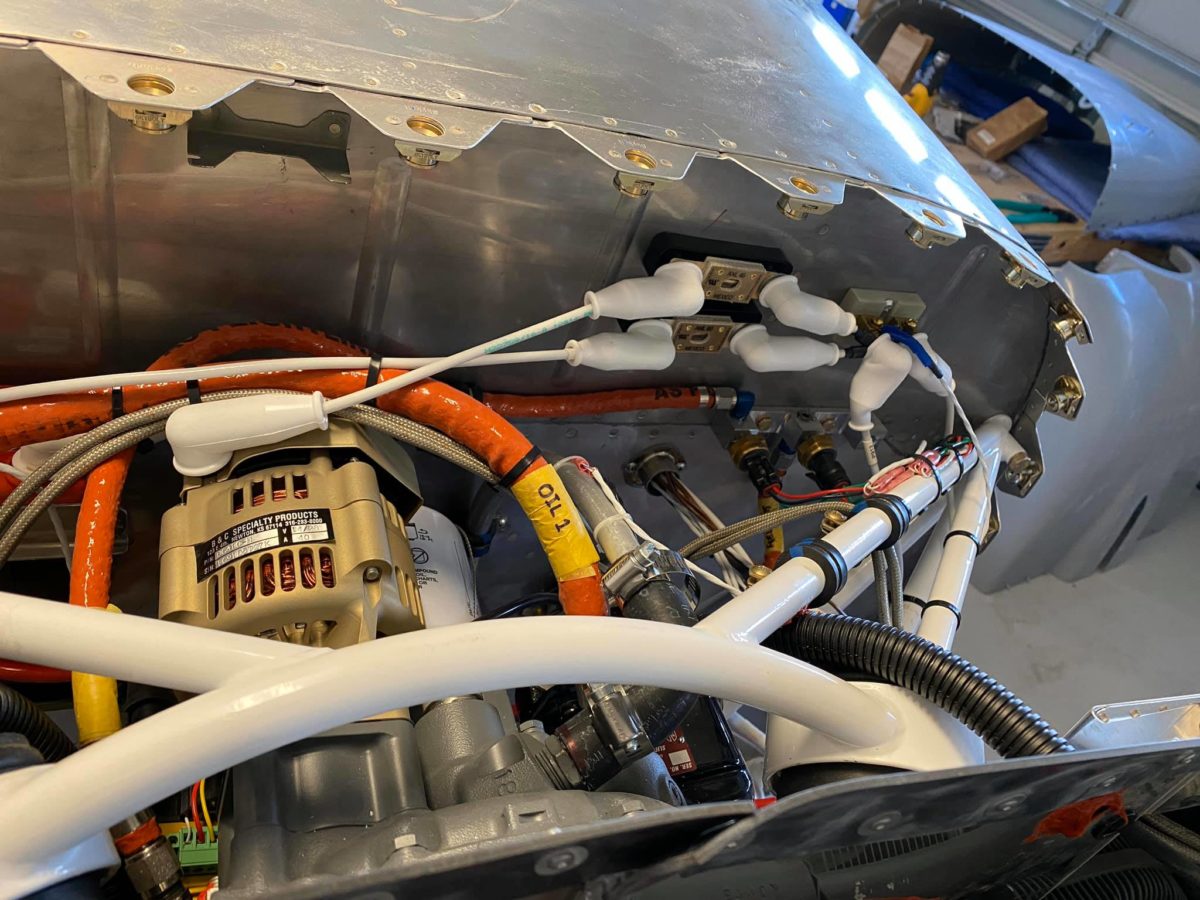
Starter solenoid and master relay wires in place. These were pretty tough to do, as my big hands aren’t overly compatible with this nearly inaccessible location on the firewall. Not much space between all of the engine mount tubes and lots of wires & fuel/oil lines in the way.
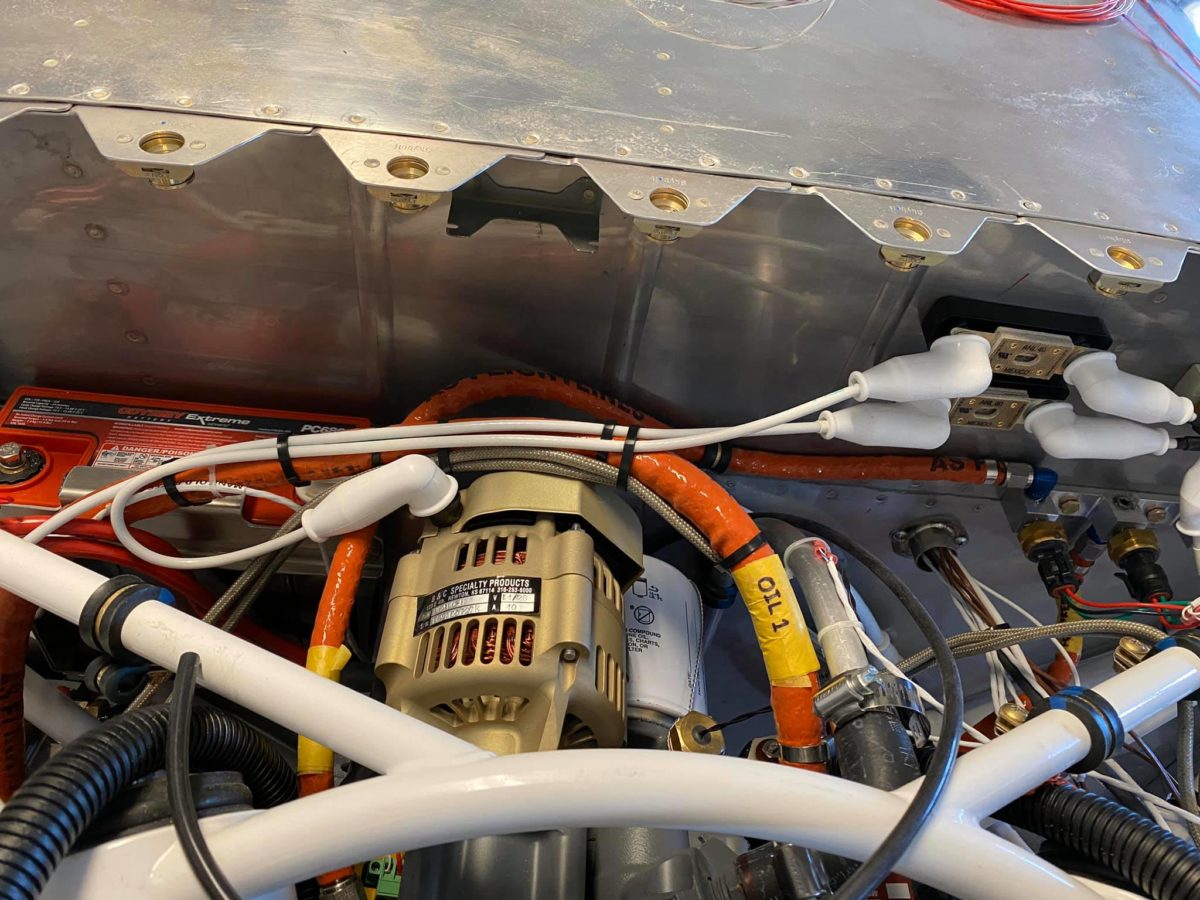
Backup alternator connected to its 40-amp fuse. The wire isn’t as tight as it looks, but I may redo it anyway with a little more slack. The engine does move around a bit, of course.
I figured that it might be a good idea to practice separating the braid/ground from the center conductor on the magneto p-lead. Good thing Stein included at least ten extra feet of the stuff. This is the practice one.
Backup alternator installed to the engine’s accessory pad. This is where, in ages past, our forebears (and me, too!) used to install a vacuum pump. Tight quarters, but everything fit eventually.
Backup alternator installed to the engine’s accessory pad. This is where, in ages past, our forebears (and me, too!) used to install a vacuum pump. Tight quarters, but everything fit eventually.
The time to install the backup alternator finally arrived this afternoon and, as expected, starting and torquing three of the four nuts was easy. Getting the fourth one started was a bear, but was eventually accomplished with a suggestion from Vic Syracuse (thanks!!) and some creative work by my wife with monofilament (don’t ask).
The question is how to properly torque that tough nut. This is the nut on the lower left, of course. What’s the secret?
I have the pictured wrench, but am not having any success with it. Is there another tool more suited to this particular situation?
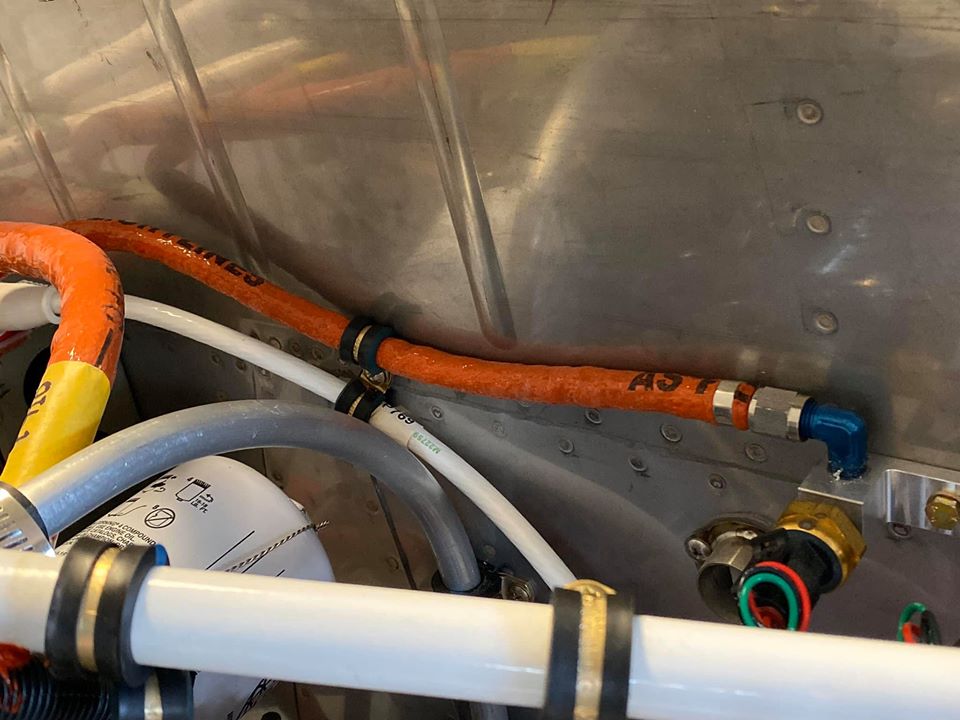
Swapped the upper Adel clamp (mounted on the firewall in the center of the photo) for a slightly larger one to accommodate the firesleeved oil pressure hose.
Cover removed from vacuum pump pad to make room for the B&C backup alternator. Holding it in place today made it clear to see that the lower left nut and washers will be nigh on impossible to get started, nevermind torqued. More fun stuff…
Left side EGT probes installed. Wiring to come once the panel and its many boxes have been mounted.
Right side EGT probes installed. Wiring to come once the panel and its many boxes have been mounted.
Back to fiberglass: upper cowl micro sanded and cleaned prior to epoxying.