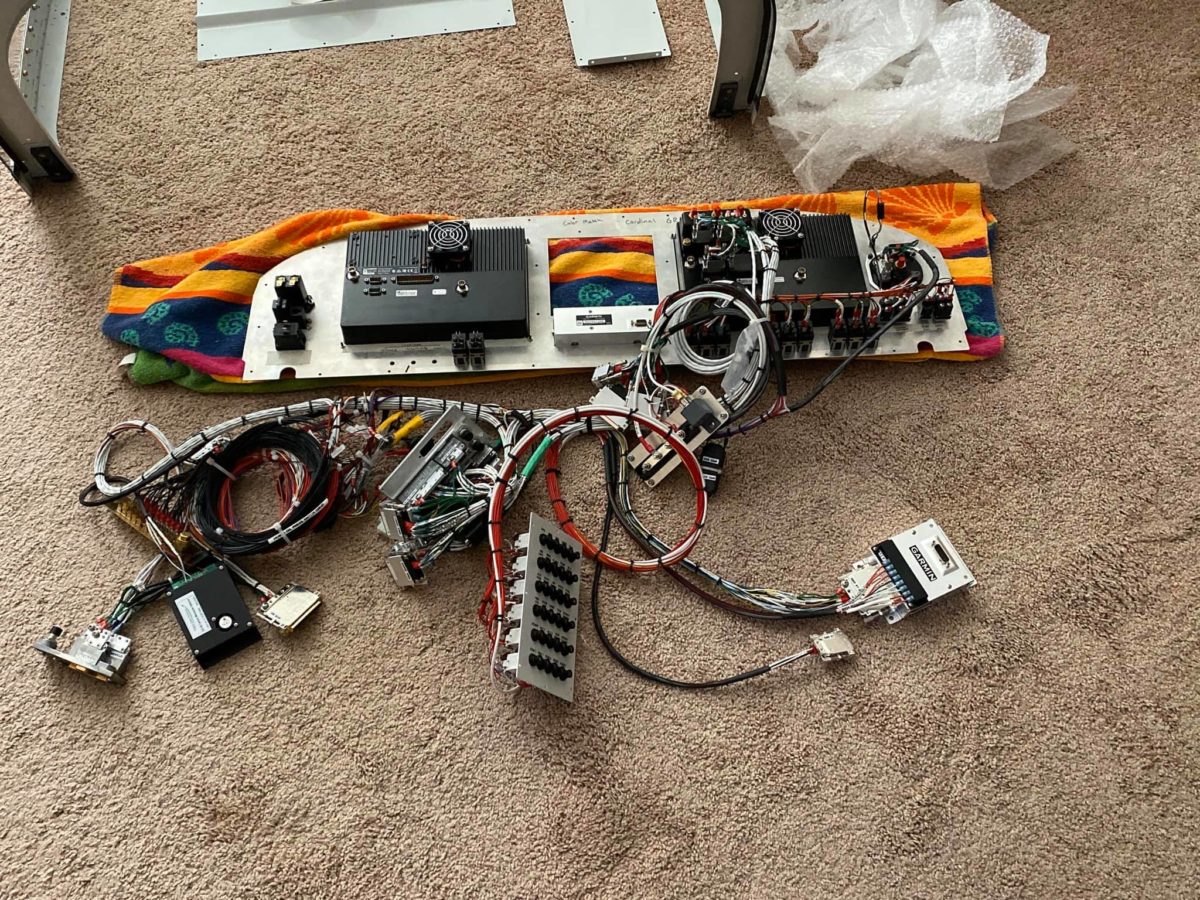
My Stein Air panel in as-received condition – just removed from the crate for the first time since it arrived about four months ago. What a rat’s nest!!

A slightly wider view of the panel showing all of the radios and other miscellany. Lots to do.

Oil door drilled to the hinge gooseneck and the hinge door lugs drilled to the cowling.

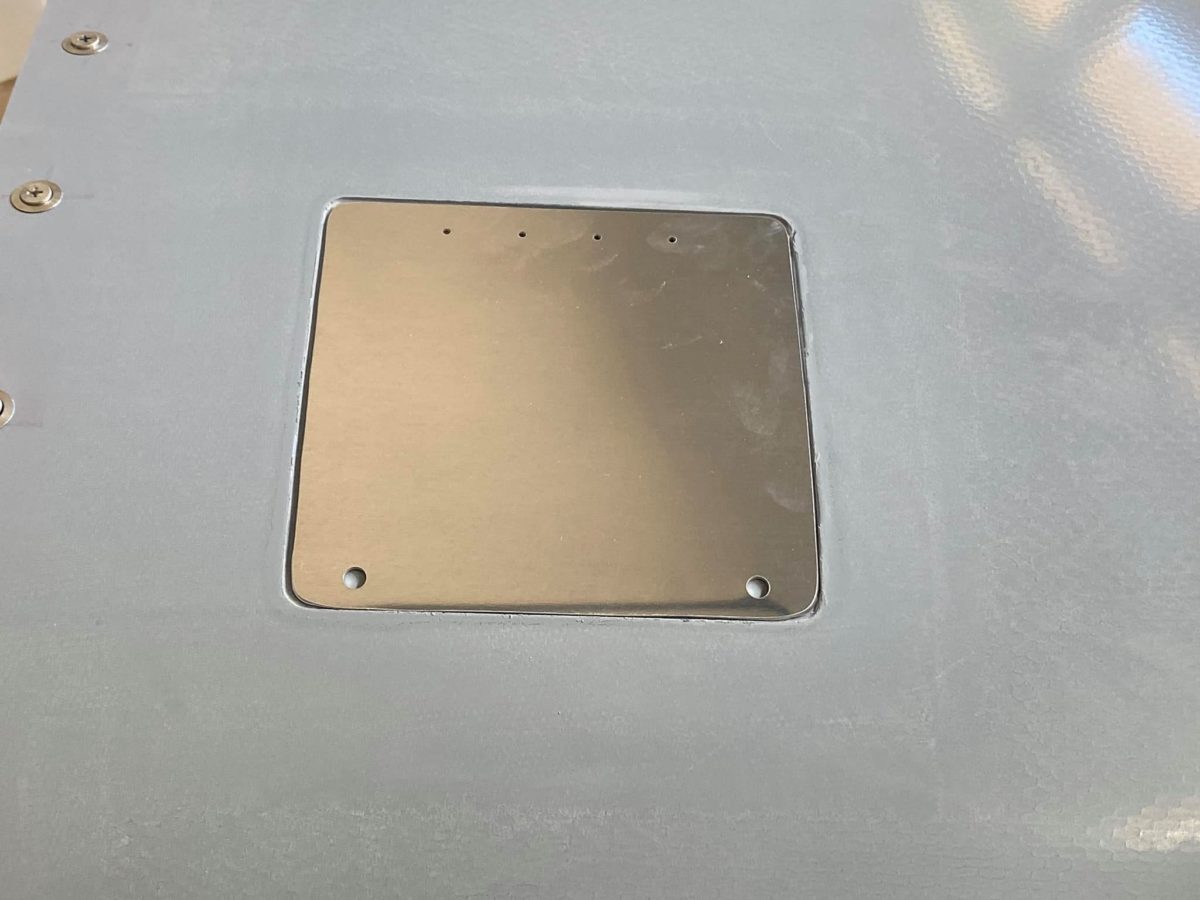
Oil door and all components riveted and ready to fly.
A little gently relieving was necessary along the upper edge of the recess in order for the door to hinge properly.

Oil door and all components riveted and ready to fly.
A little gently relieving was necessary along the upper edge of the recess in order for the door to hinge properly.

One of my pending tasks finally checked off:
Empennage fairing and gap covers screwed down for keeps – or until the airworthiness inspection!

One of my pending tasks finally checked off:
Empennage fairing and gap covers screwed down for keeps – or until the airworthiness inspection!