Canopy forward seals installed.

Canopy side seals installed.

Canopy back inside for the duration.

Nose gear leg and fork ready for installation.

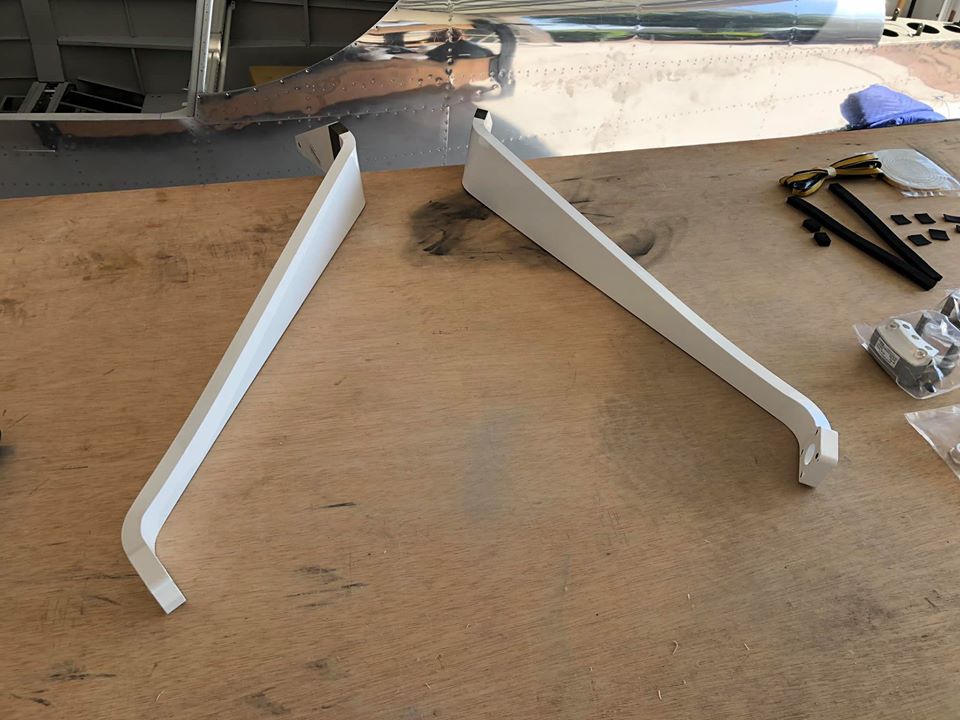
Landing gear components ready for installation.

Construction Blog and Builder's Resource

Canopy forward seals installed.
Canopy side seals installed.
Canopy back inside for the duration.
Nose gear leg and fork ready for installation.
Landing gear components ready for installation.
The interior has arrived!! It’ll be months before all these bits are installed, but there may be a sneak peak at one of the seats shortly…

The panel is done and ready to ship!

Main landing gear legs awaiting their date with the fuselage. That’ll be 6/4, hopefully…
The interior components arrived yesterday, so I popped the pilot’s seat back in place, set the floor panel loosely in place, and…

…Voila!
It’ll be a few months before all the bits are permanently installed, but there’ll be matching carpet, side panels, armrests, stick boots, etc. I think it turned out great; it’s easy to see why Abby at Flightline has her sterling reputation!

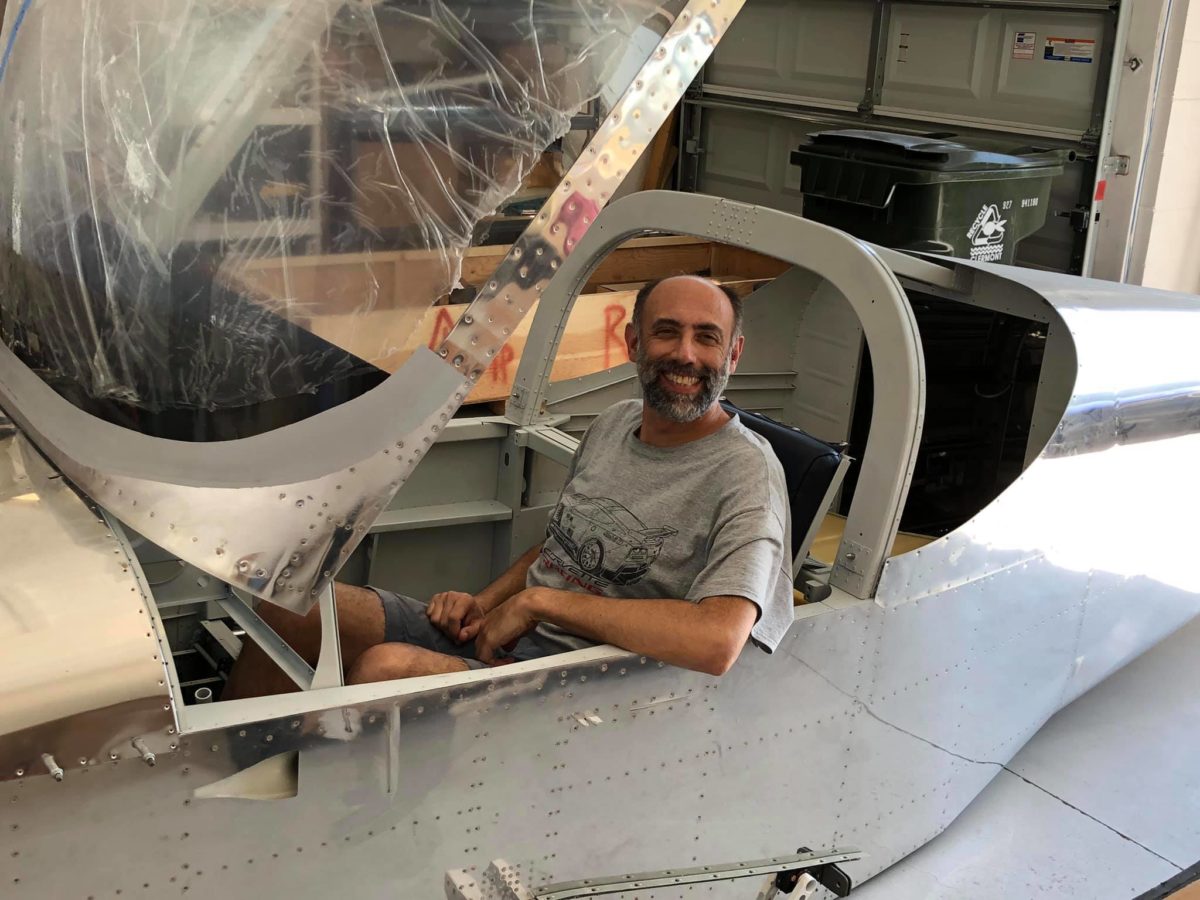
My sweaty mug aside, the real point of my sitting in there this morning was to check the position of the rudder pedals. I was concerned that, with my selected middle position for the pedals (possible to change now, but it would be a titanic PITA), none of the possible seat back positions would be a fit.
I’ve been hoping that the middle seat back position would be just right and, in fact, that’s exactly how it turned out. For other -14A builders keeping score, I’m 6′ tall with a 33/34″ inseam.

Glad to be this far along, but not thrilled with having to face the remaining 6-8 months of the project. Oh, well – there’s nothing to do but soldier on!

OK, closing the canopy for the first time with the actual seat installed was cool, even for me.

Yet another shot of yours truly. Thanks, Jean!

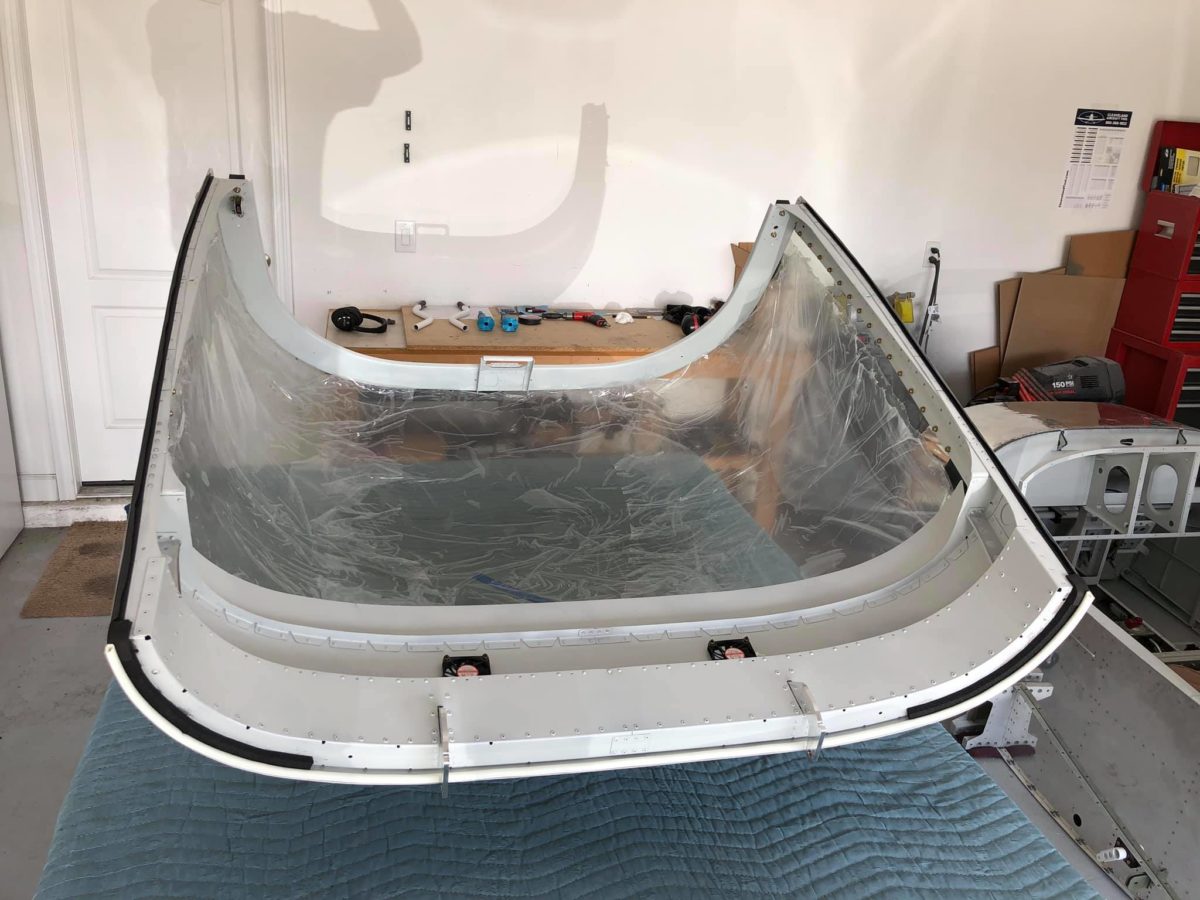
Canopy now removed for installation of remaining seals. Also, I needed it out of the way of upcoming fuselage work. Wiring, etc. It’ll be going into the house in the next few days.
The whole garage will have to be reconfigured – probably with the fuselage on the diagonal – to make room for all the FWF work. Before that, though, each wing will have to be mounted (temporarily, of course) to facilitate a few remaining tasks. Plus the tail, too.

Yep, that’s the canopy again.

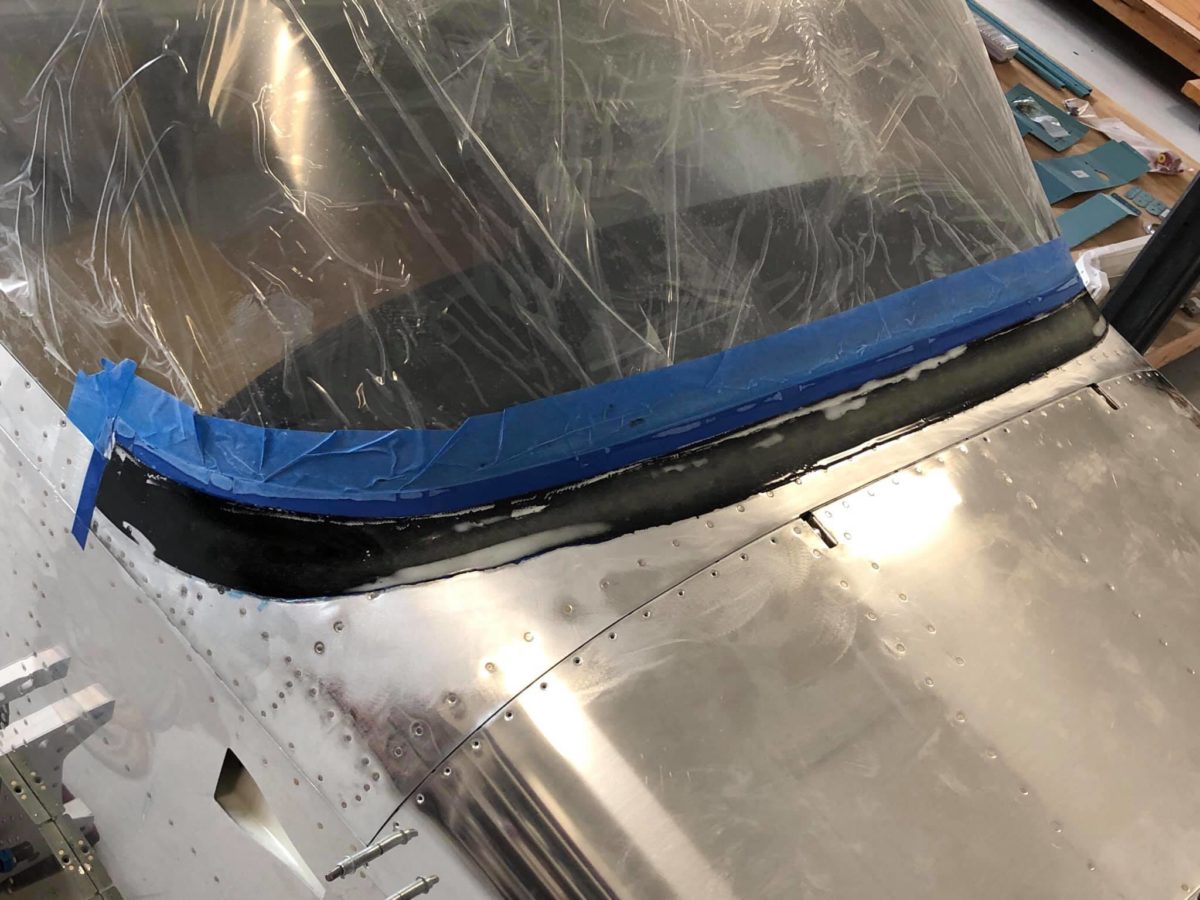
Forward top skin finally going on for good. It’s attached with Proseal and rivets for the complete, belt & braces anti-leak solution. It’s done in three stages and today’s sealing session was the first. Tomorrow morning we’ll complete the riveting, followed by the second sealing stage. Fun times…

The forward top skin’s other side…

Getting ready for the gear mounting party next Tuesday by locating all of the necessary hardware. I’m dreading having to remove all of those labels, but that’s probably another project for tomorrow.
Van’s Aircraft Inc. – Why, oh why, do you persist in using those horrific white stickers on powdercoated parts?!? They’re a freaking nightmare to remove. If part numbers are really necessary (not too many of the powdercoated parts could possibly be mistaken for anything else), write them on with Sharpie. At least that would come off with a swipe of acetone.

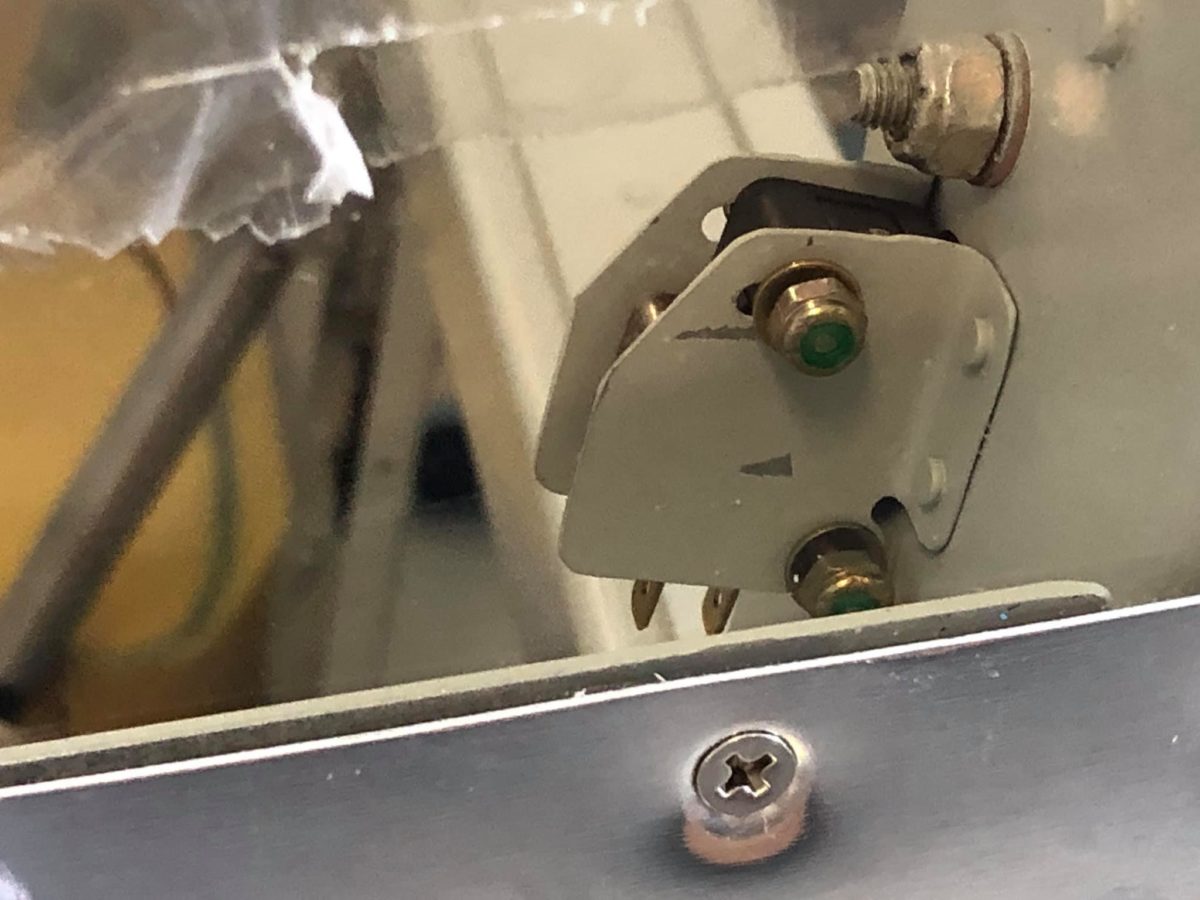
Canopy micro-switch installed. Wiring and adjustment will be done later.

Defog fans installed. Wiring to be neatened, obviously, and connected later.

Remaining canopy seals cut and ready to go. Main wheels and brakes on deck…

Gear attachment angles and upper gear braces being primed.

Final coat of pinhole-filling resin, partially sanded.

Final coat of pinhole-filling resin, sanded and masked for filler primer.

Final coat of pinhole-filling resin, sanded and masked for filler primer.

First coat of filler primer applied.

First coat of filler primer applied.

Aft edge masking paper and one layer of electrical removed. The fairing aft edge will be sanded to the width of a single layer of electrical tape.

Aft edge masking paper and one layer of electrical removed. The fairing aft edge will be sanded to the width of a single layer of electrical tape.

Aft edge now re-masked for additional filler primer.

Aft edge now re-masked for additional filler primer.

Several coats of filler primer later (sanding between each coat, of course), the final application is drying here.

Following the final sanding, all masking paper is removed.

The last layers of tape have been removed and the canopy fairing is done, at least so far as I’m concerned. This will be more than sufficient for Phase 1 testing.
The final work on the fairing will be down to Jonathan McCormick’s shop guys at Evoke Aviation.

The last layers of tape have been removed and the canopy fairing is done, at least so far as I’m concerned. This will be more than sufficient for Phase 1 testing.
The final work on the fairing will be down to Jonathan McCormick’s shop guys at Evoke Aviation.