Firewall forward, finish, cowling progress

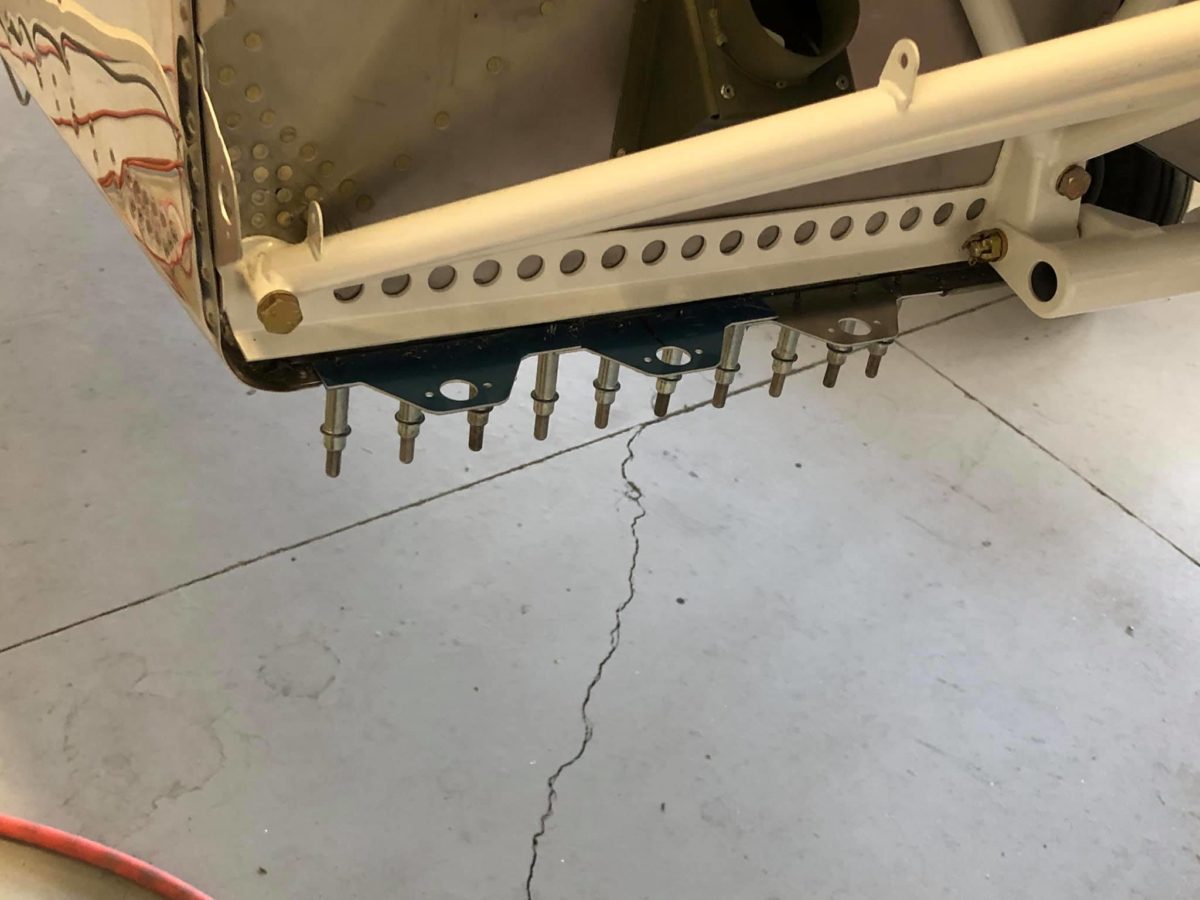
Left side Camloc flanges clecoed in place for fit.

Drill line drawn ¼” down from cowling edge.

Right side Camloc flanges clecoed in place for fit.

Left side rivet hole locations marked.

Right side rivet holes drilled.

Left side flanges drilling to cowling in progress.

Right side flanges drilling to cowling in progress.

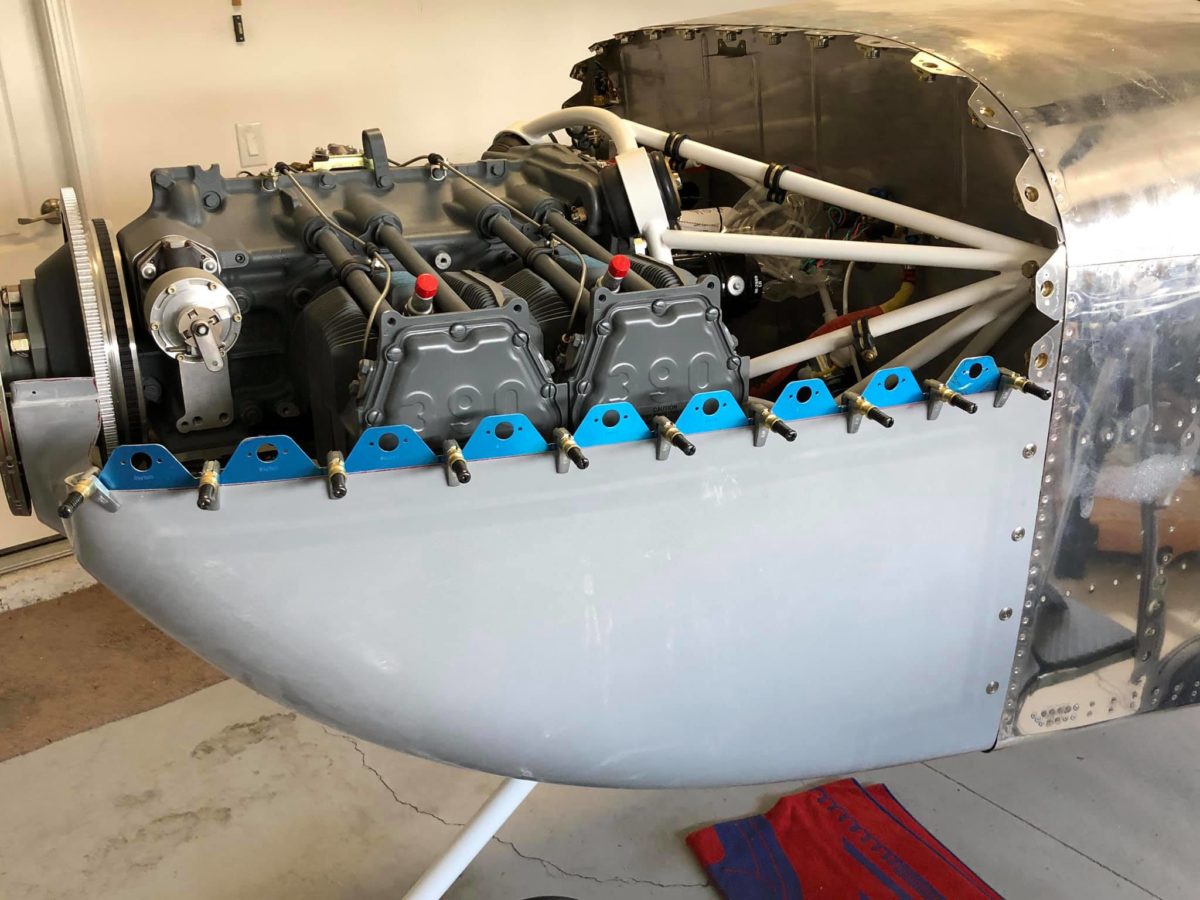
Left side flanges fully drilled to cowling.

Right side flanges fully drilled to cowling.

Right side rivet holes countersunk.

Right side flanges deburred and clecoed for riveting.

Right side flanges riveted.

Left side rivet holes countersunk.

Left side flanges deburred and clecoed for riveting.

Left side flanges riveted.

Firewall forward, finish, cowling continued…

Bottom flanges for lower cowling drilled and clecoed in place.

Bottom flanges for lower cowling deburred, countersunk, and clecoed in place for riveting. I strongly suspect that they’ll need to be pop-riveted (I’ll find some Cherry rivets which fit) due to conflict between the squeezer yoke and the engine mount.

Yes, I could try to grind down my no-hole yoke, but I’m not interested in sacrificing a $125+ yoke for this one-off task.

Upper cowling Camloc receptacles clecoed in place for riveting.

Upper cowling Camloc receptacles riveted to the flanges and ready for adjusting in conjunction with the studs.

Firewall forward, finish, cowling fitting in process

Skybolt’s cleco retainers stuck to strips of masking tape and ready to be set in place for drilling.

The first few cleco retainers taped in place.

I set one little neodymium magnet on the underside of the cleco retainer, dropped the another on top of the cowling, let it find its center, then drew rough crosshairs alignment marks around it, removed the magnets, and drilled.

I was able to immediately cleco perhaps 90% of them. The rest need to be walked a little, but no big deal; they’re all going to get opened up considerable for the Camlocs.

Top cowl drilling and clecoing underway…

Top cowl drilling and clecoing completed.

Firewall forward, finish, cowling coming along

Camloc flanges deburred, countersunk, and clecoed for riveting.

Camloc flange riveting underway.

Camloc flange riveting complete – along the firewall top and sides, anyway.

Upper cowling set in place again, now resting its aft edge largely on the Camloc flanges. A little sanding tomorrow, then mark and cut an ⅛” strip from the aft edge, then some more sanding (are you seeing a theme here?), and the upper cowl should be ready tape in place and drill for the Camloc grommets.

Upper cowling set in place again, now resting its aft edge largely on the Camloc flanges. A little sanding tomorrow, then mark and cut an ⅛” strip from the aft edge, then some more sanding (are you seeing a theme here?), and the upper cowl should be ready tape in place and drill for the Camloc grommets.