Panel component installation underway

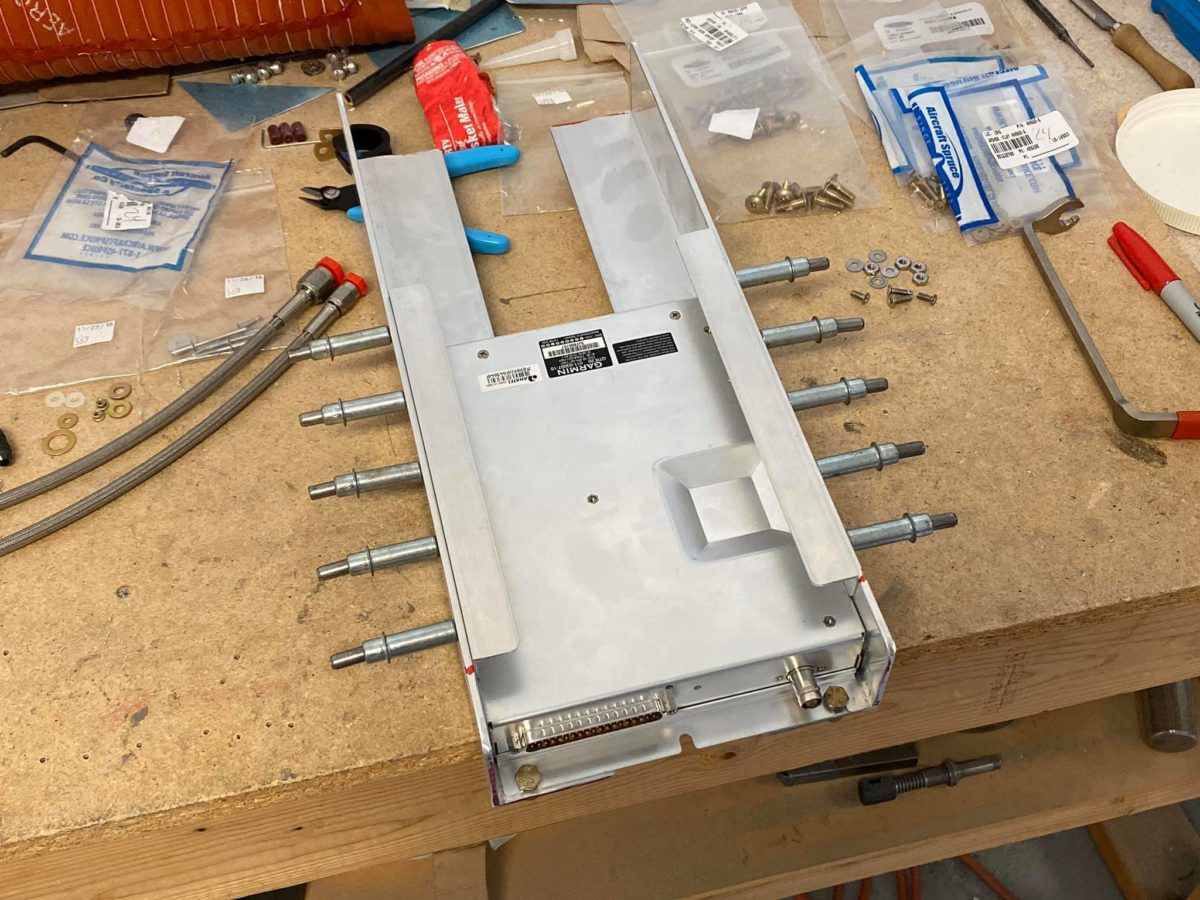
Transponder installation underway. I fabricated the tray for the remote unit and will screw it to the underside of the panel and sub-panel flanges.

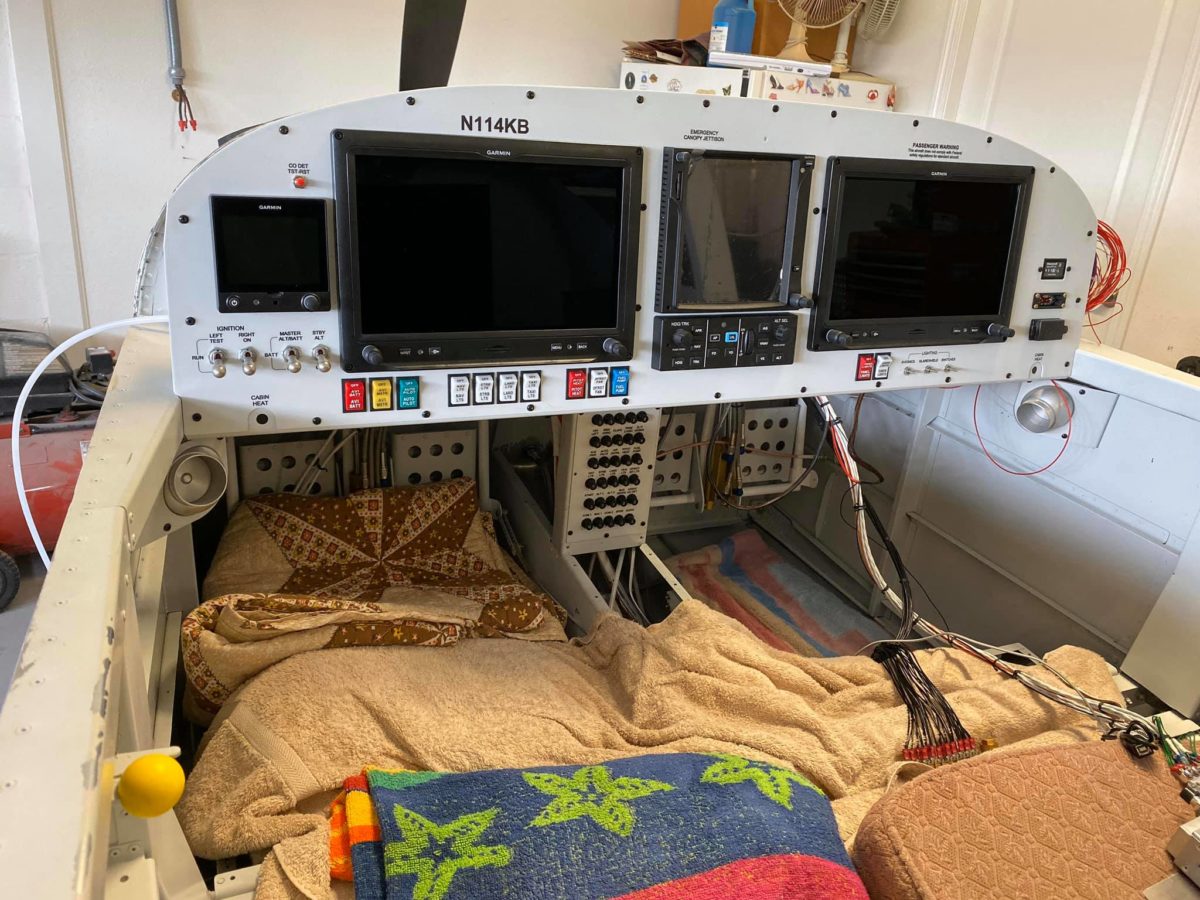
Lots of wires to get oriented and squared away, but nearly all of the connections (not including the stick-grips) have been made at this point. All of the wires that pass through the firewall have been so passed. I’m about ready to do the firesleeving of both firewall penetrations.

I moved my padded “nest” from the left side to the right in preparation for installing the remote Comm 2 box and the IBBS, as well as zip-tying all of the dangling wires on that side.

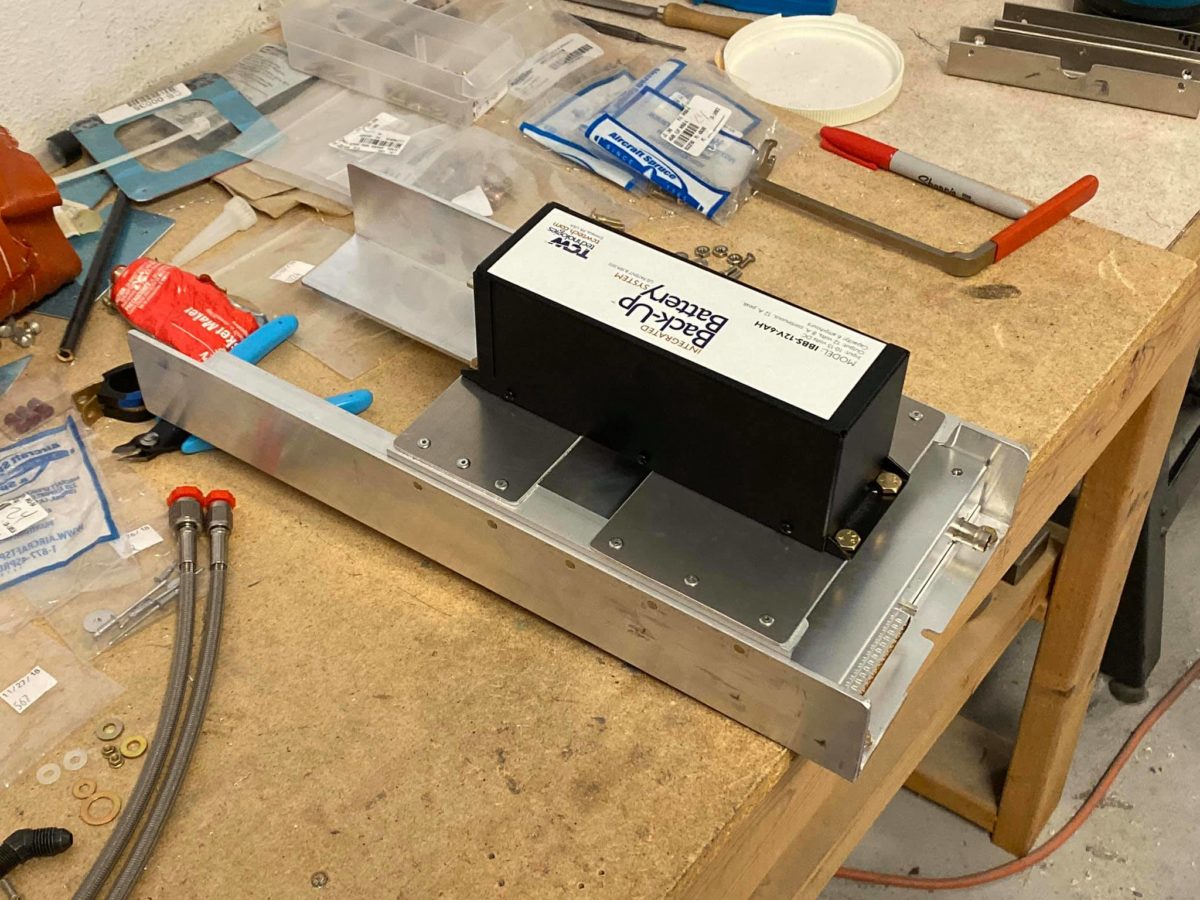
The remote Comm 2 can be seen here in the rack I fabbed for it. The IBBS will be mounted above it on a couple of span-wise plates.

Panel in process

Most of the left-side (and all of the central) wires now zip-tied up and out of the way. The Comm2/IBBS tray has been drilled to mount the backup alternator’s external regulator; installation is awaiting the arrival of two K1000-3 nutplates. It seems as though one is always awaiting the delivery of something or other on a project such as this…

Canopy jettison handle has been taped and painted. The idea was a sort of striped effect on the business end, but we’ll see how it turns out.

The panel has been drilled for the canopy jettison handle and its supporting snap bushing is now in place. The control cable bracket has been drilled for cables and mounted to the panel. Hope I don’t hit my head on the damn thing while working under the panel for the next few weeks.

BTW, for anyone interested in future, the sizes of the cable holes (for the stock Van’s cables) are, from left to right: ½”, ⅜”, ¾”, and ¾”.

For a guy of my size and limited flexibility, having to work on my back under there with my hands up over my head in a range of awkward angles is pure misery. Mark my words: I will NEVER do this again. Just ask Jeanie…