Firewall forward components in process

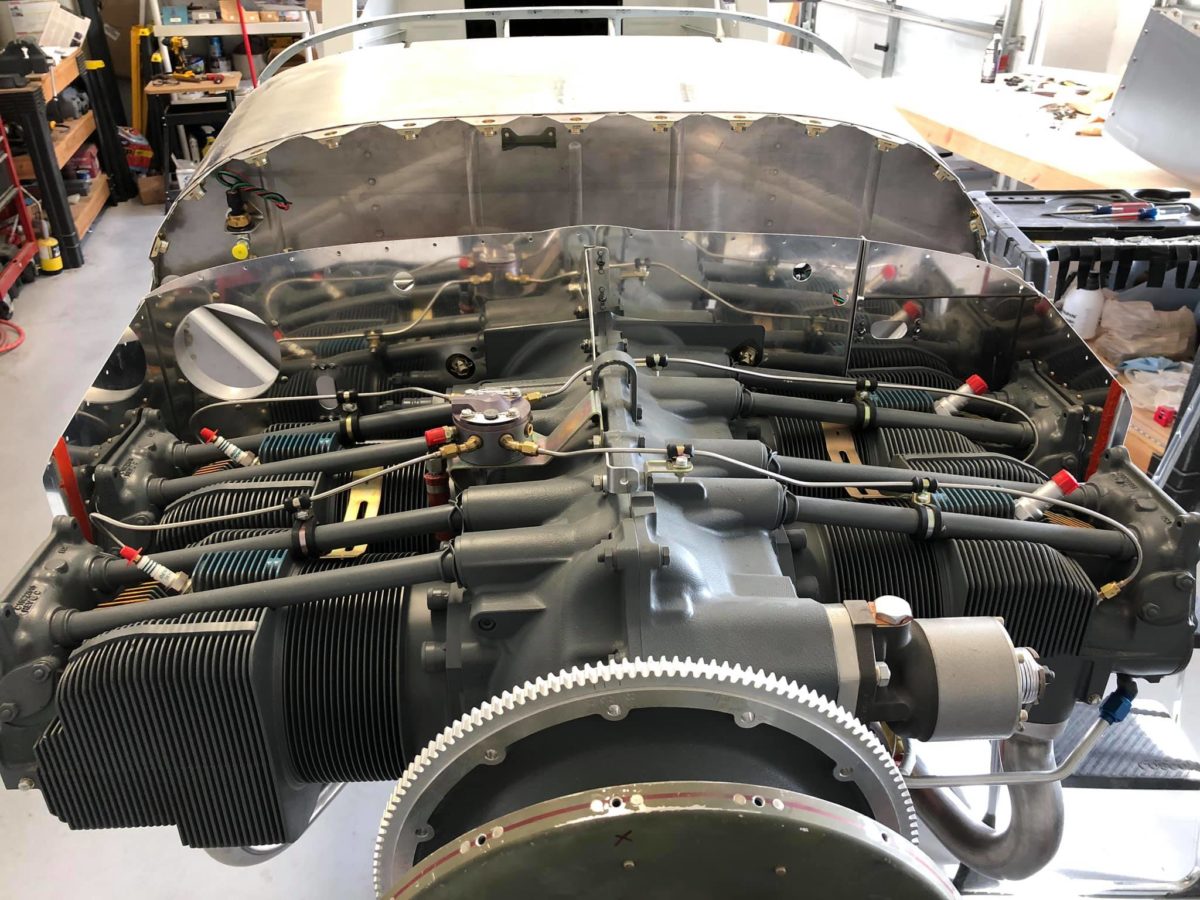
Aft baffle mounting underway. Most of the various screws and bolts have yet to be affixed in this photo, but they’re all done now. Those baffles aren’t going anywhere!

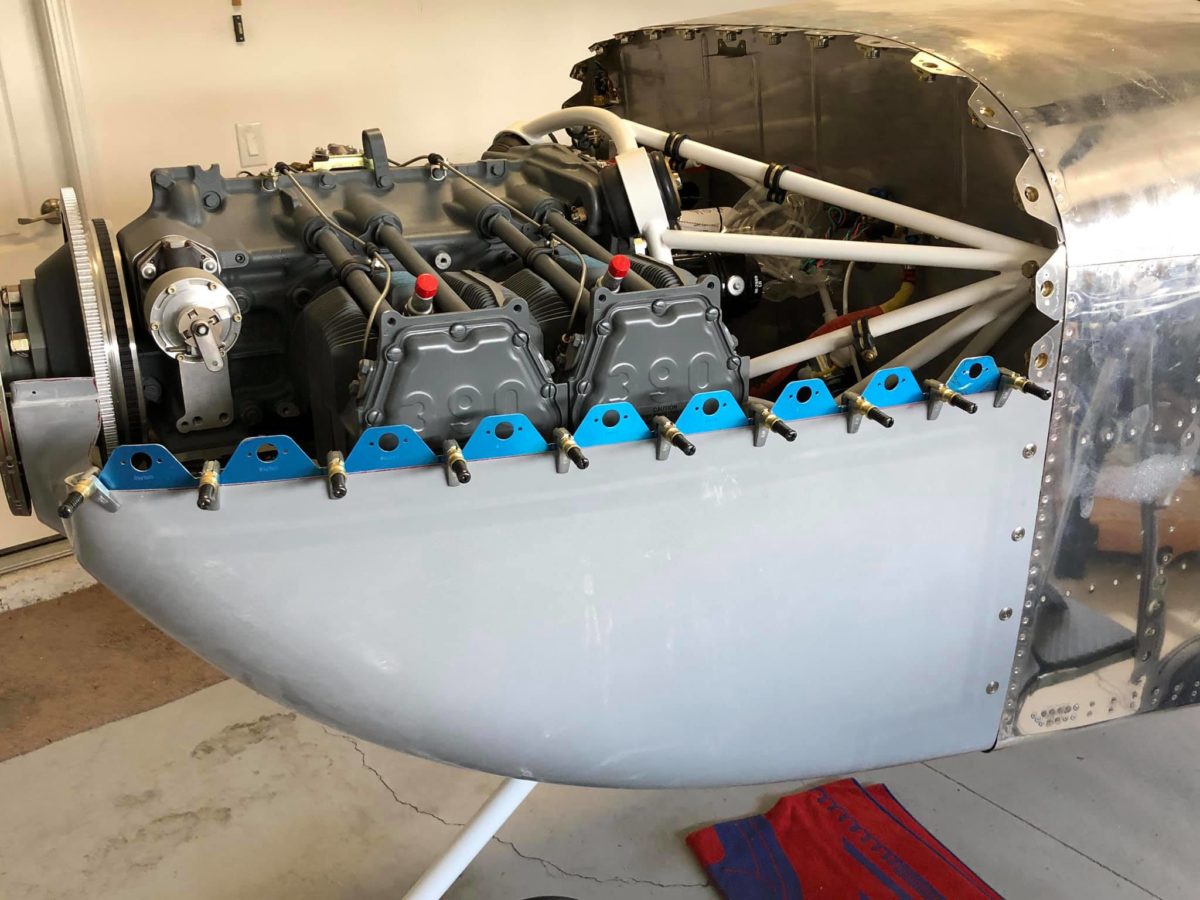
Left air ramp underway – shown here after initial drilling to the air filter frame.

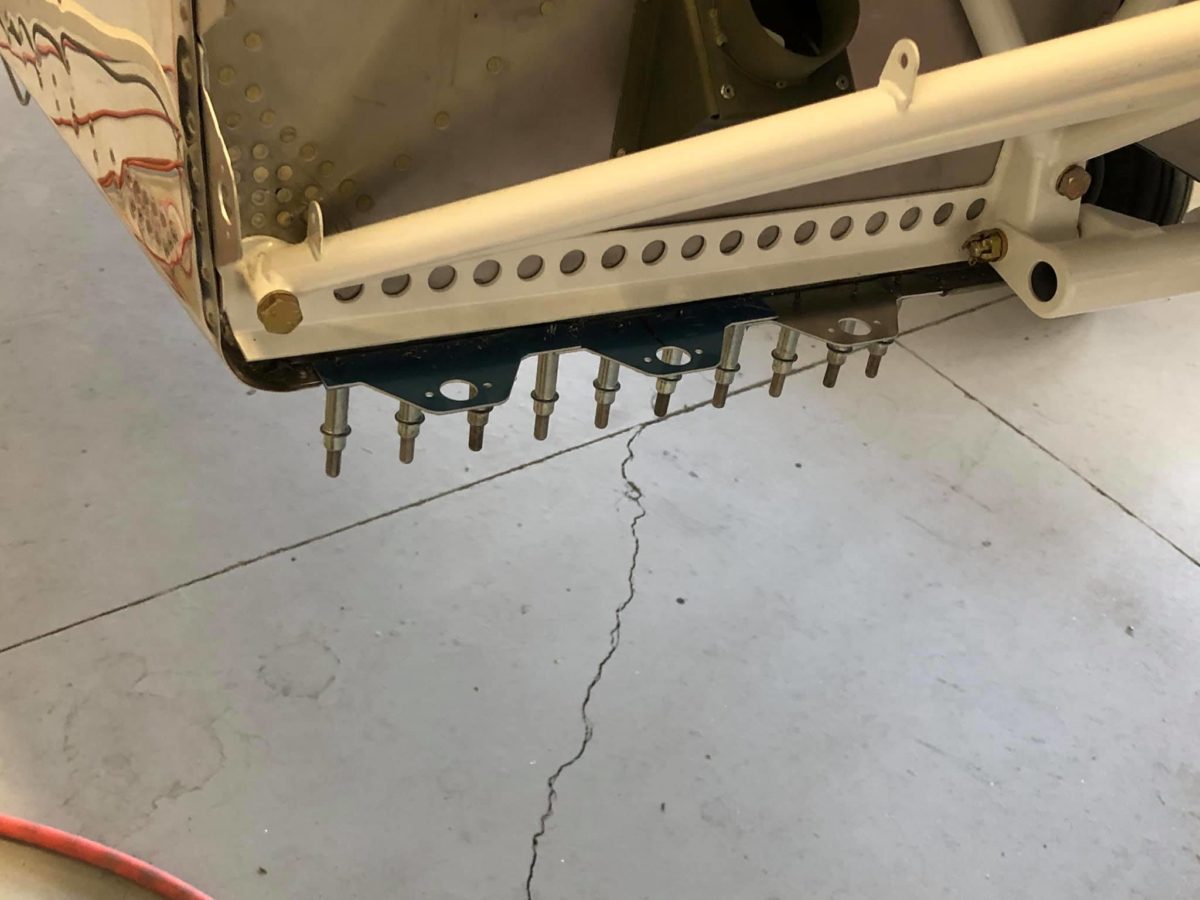
Drilling for nutplates underway.

Nutplates riveted to air filter frame.

Air filter frame forward edge trimmed to match the left air ramp profile.

Left air ramp screwed to air filter frame and left forward baffle mount riveted in place.

Firewall forward, finish, cowling installation continued…

That persnickety Camloc receptacle has been changed out for a floating type and that seems to have solved the problem.

Right side screw holes drilled.

Left side screw holes drilled.

On to the baffles! This is the entire collection of components in the sub-kit.

The first bits underway.

Baffles and doublers riveted and ready for the next step.

Some of the rivets joining these two pieces can’t be squeezed and must be driven. I had to get creative in order to do that on my own, but it worked out fine.

Ready for the next step.

Done and ready for the next step.

Aft right baffle ready for the next step.

Aft right baffle ready for the next step.

Firewall forward, finish, cowling progress

Left side Camloc flanges clecoed in place for fit.

Drill line drawn ΒΌ” down from cowling edge.

Right side Camloc flanges clecoed in place for fit.

Left side rivet hole locations marked.

Right side rivet holes drilled.

Left side flanges drilling to cowling in progress.

Right side flanges drilling to cowling in progress.

Left side flanges fully drilled to cowling.

Right side flanges fully drilled to cowling.

Right side rivet holes countersunk.

Right side flanges deburred and clecoed for riveting.

Right side flanges riveted.

Left side rivet holes countersunk.

Left side flanges deburred and clecoed for riveting.

Left side flanges riveted.

Firewall forward, finish, cowling continued…

Bottom flanges for lower cowling drilled and clecoed in place.

Bottom flanges for lower cowling deburred, countersunk, and clecoed in place for riveting. I strongly suspect that they’ll need to be pop-riveted (I’ll find some Cherry rivets which fit) due to conflict between the squeezer yoke and the engine mount.

Yes, I could try to grind down my no-hole yoke, but I’m not interested in sacrificing a $125+ yoke for this one-off task.

Upper cowling Camloc receptacles clecoed in place for riveting.

Upper cowling Camloc receptacles riveted to the flanges and ready for adjusting in conjunction with the studs.