Fuselage continued…

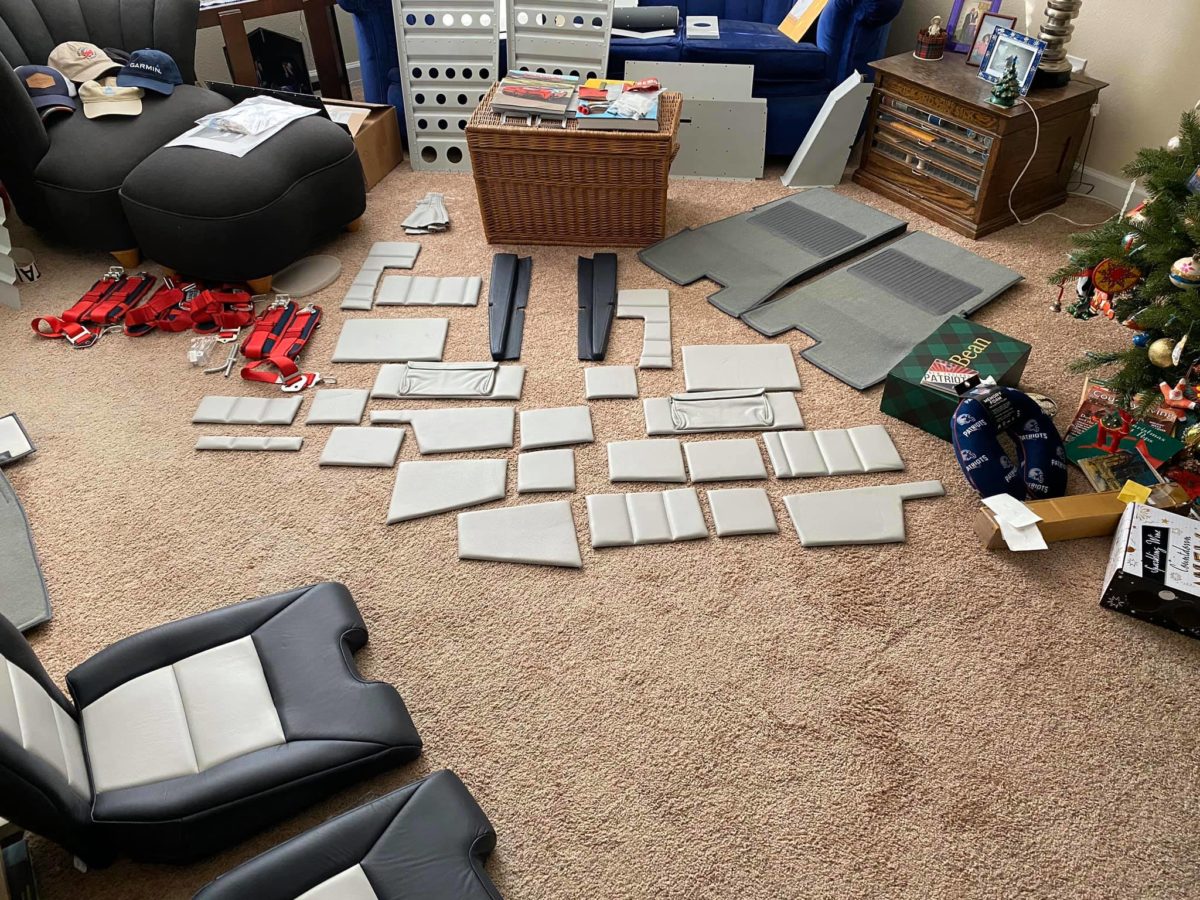
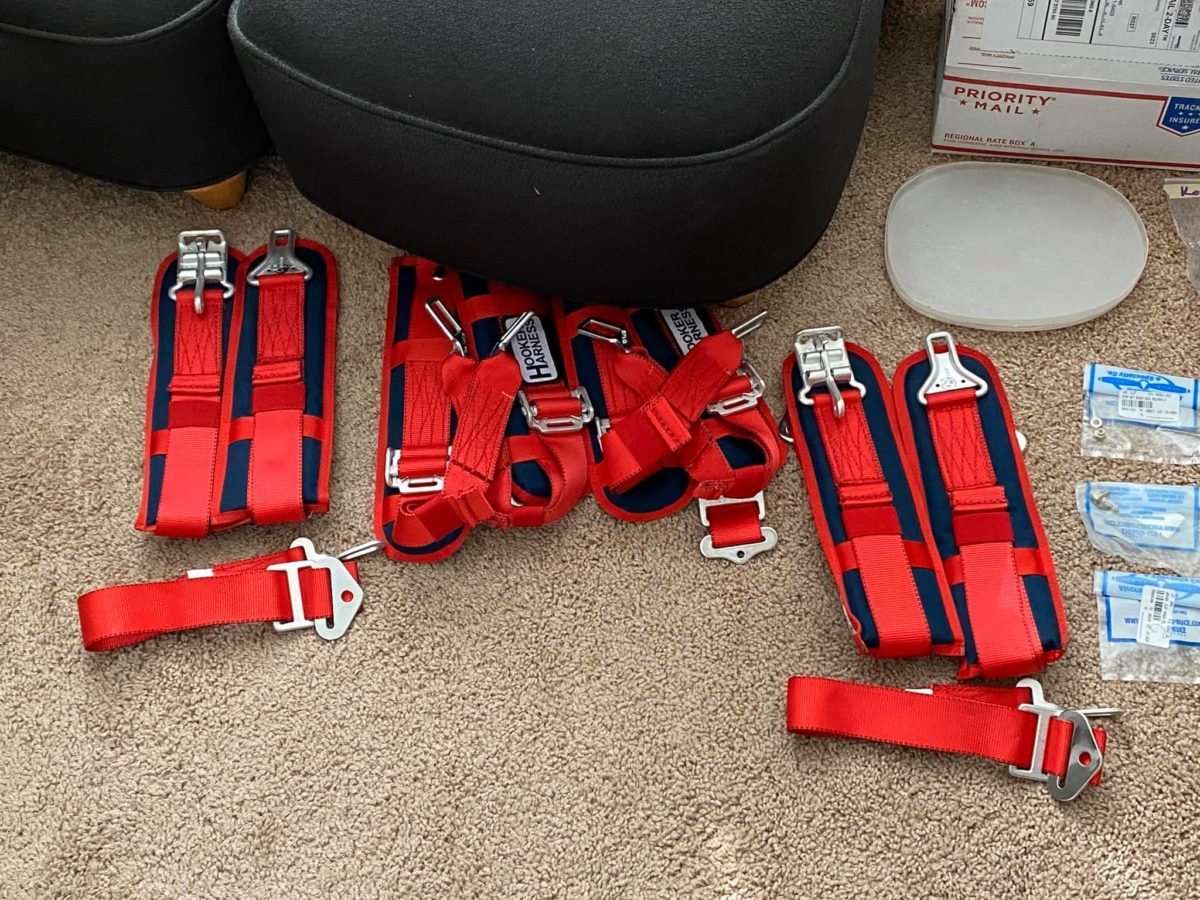
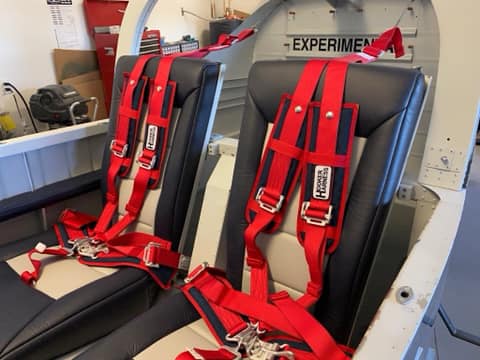
Seat belts going in. I love Hookers!!

Seat belts installed.

Seat belts installed.

Canopy wiring harness and red/white strip lights going in.

Here’s a hint: don’t even bother with the WH-00126; it’s a generic harness and isn’t likely to match anybody’s requirements exactly – or even very closely. Just use the supplied Molex shells and pins to quickly fab your own.

In my case, I needed to wire the defrost fans, the strip lights, and the canopy warning switch. Easy-peasy. Except, of course, for one task…

Canopy wiring harness and red/white strip lights going in.

This is the beginning of the ugly task/odyssey revolving around running the two wires aft through the left-side canopy frame to the warning switch.

Van’s suggests using a length of safety wire to “fish” the wires down the channel. I tried two thicknesses of safety wire and both got kinked/hung up.

This time around, the safety wire made it through, but got hung up when pulling the copper wires.

Harness and Molex connectors in work.

Another iteration of the effort. No luck.

I tried using old plastic cards (credit cards, driver’s licenses, etc.) to pry the canopy side skin away to make a little more room in the channel. No luck.

Eventually, I had to suck it up and drill the side skin mostly off in order to place the two wires. Then re-riveted and re-screwed. I managed to drill out something like 40 rivets without buggering a single one, so that’s good.

Connectors connected.

Re-riveting underway…

Re-riveting underway…

Job done!

Fuselage, canopy installation

Shoulder harness cables installed.

Infinity grip installation underway. Here, the passenger stick has been cut down, the powdercoat stripped off the end, and the spacer fitted.

The guts of the passenger’s Infinity grip. Some fiddly little parts in there. I’d forgotten how much fun it was from the last time…

The canopy has been installed – hopefully for good! Thanks, Alex, for all of your help today. — with Alex Cole.

Canopy installed!

Canopy installed!

Canopy installed!

Canopy installed!

Panel installation ongoing

Harnesses laid out for the first time. Not quite ready for installation, but soon…

IBBS installed atop remote Comm 2 radio.

Comm 2/IBBS angle supports seen from below. At the front, the angles are Prosealed to the firewall structure.

Lots of wiring neatening left to do here (obviously), but the Comm 2 radio has now been connected to its harness.

Not much a photo here, but it’s a quick shot of the glareshield cover sitting beneath the canopy. I’ve just affixed the glareshield edging and the Velcro patches for the cover.

The seats have finally been removed from their box! A very nice job done by Abby at Flightline. The carpets can be seen lurking in the background.

I’ve been wondering for over a year (since I built the fuselage forward floor area) about how a flat floor would be achieved with the longitudinal angle in place. Now I see – a very ingenious solution!

If you don’t already know the answer, keep wondering for another few weeks…

Right side wiring cleanup underway. Most of the delay on this side has been due to the lengthy process of deciding upon and executing a solution to the B&C regulator location conundrum.

Problem solved!

Back under the left side for some semi-final wiring cleanup.

The B&C regulator in place. It turned out (completely coincidentally!) that the bolts holding the Comm 2 radio’s forward edge to the support angles were an exact match, width-wise, for the regulator.

Ideally, I’d have used the center hole on each side of the regulator, but there was no way to do that and still fit my hand above it with a wrench. In practice, though, it’s fine; that puppy isn’t going anywhere.

Having finally received the proper 3-blade stripper and crimper for RG400, I set about installing the Comm 2 antenna cable.

Unfortunately, the antenna backplate’s center hole (around the connector) is just a tiny bit too small to allow the terminal to fully seat. I’ll have to remove the antenna tomorrow and open it up with a Unibit.

Oddly, the other side (for the Comm 1 radio) is fine. Weirdly non-standard, right? Van’s – what are ya gonna do? LOL